I guess it’s one’s of those things that will come in handy… When those moments arise
With my well intended excessive tendencies to buy gadgets and tools online, often I will stumble upon a product that is being sold for a price way more than I would pay for (before I go ahead and pay for it); and I’ve often said to myself “I could 3D print that”, to which my friend would reply “3D printer where???”
So to end that cycle of complaining and bemusement, I did some research of 3D printers (the best budget ones are supposedly the Creality Ender 3 or the Anycubic Mega S), saved up some cash and promptly opened up a hole in my wallet.
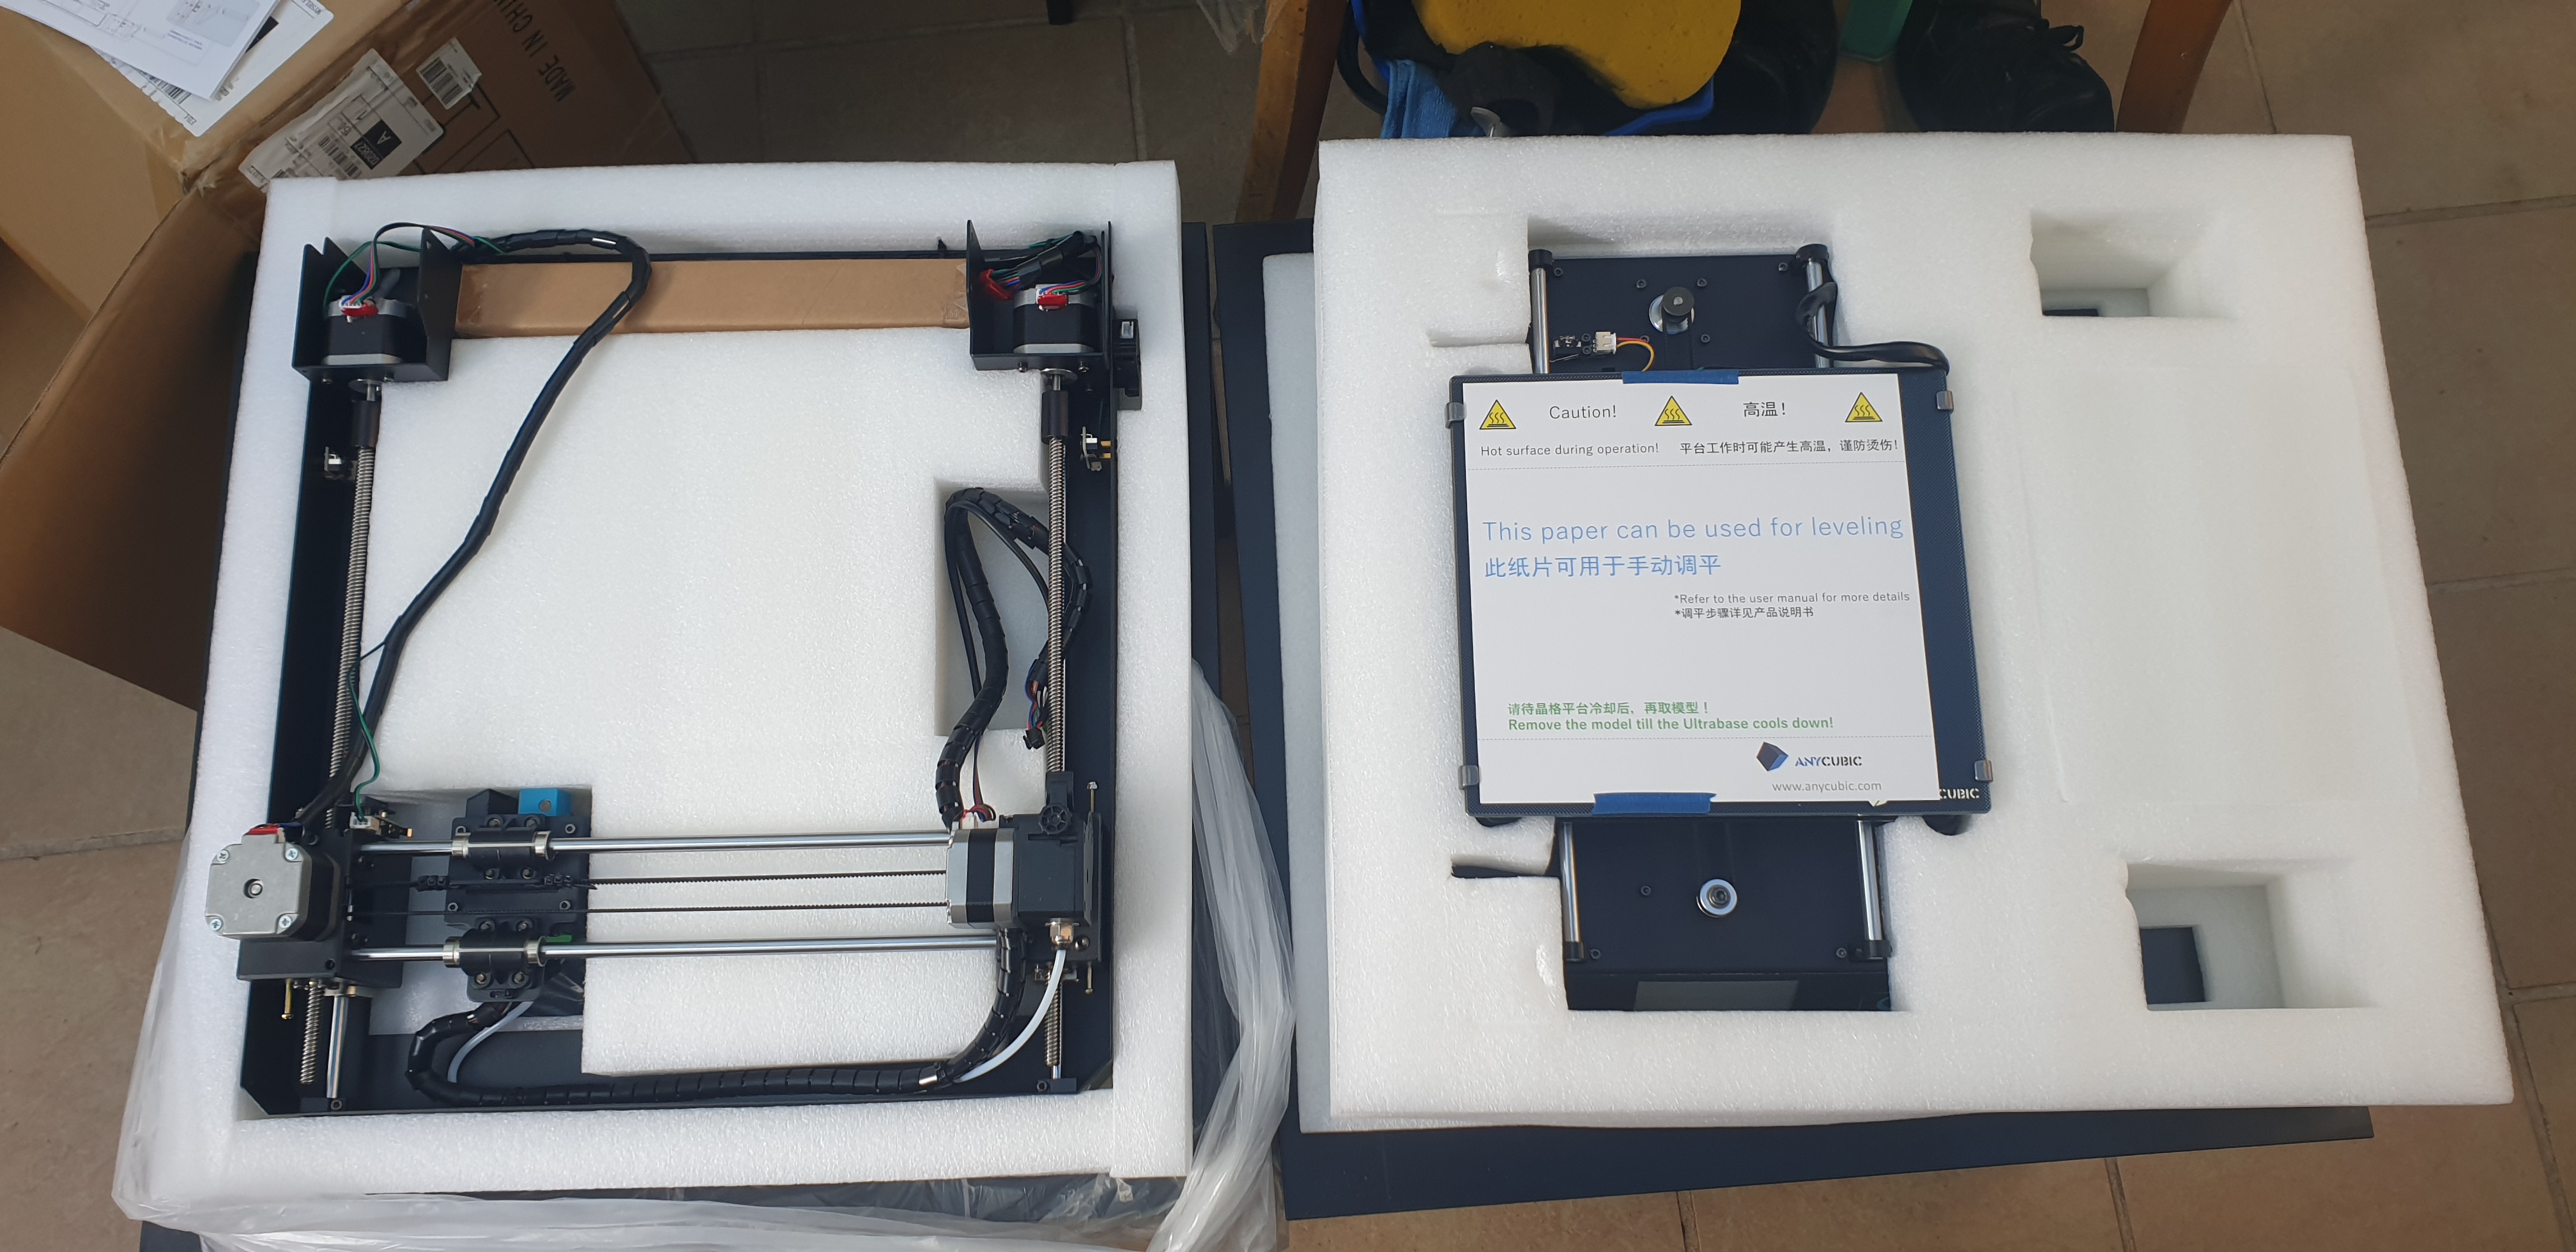
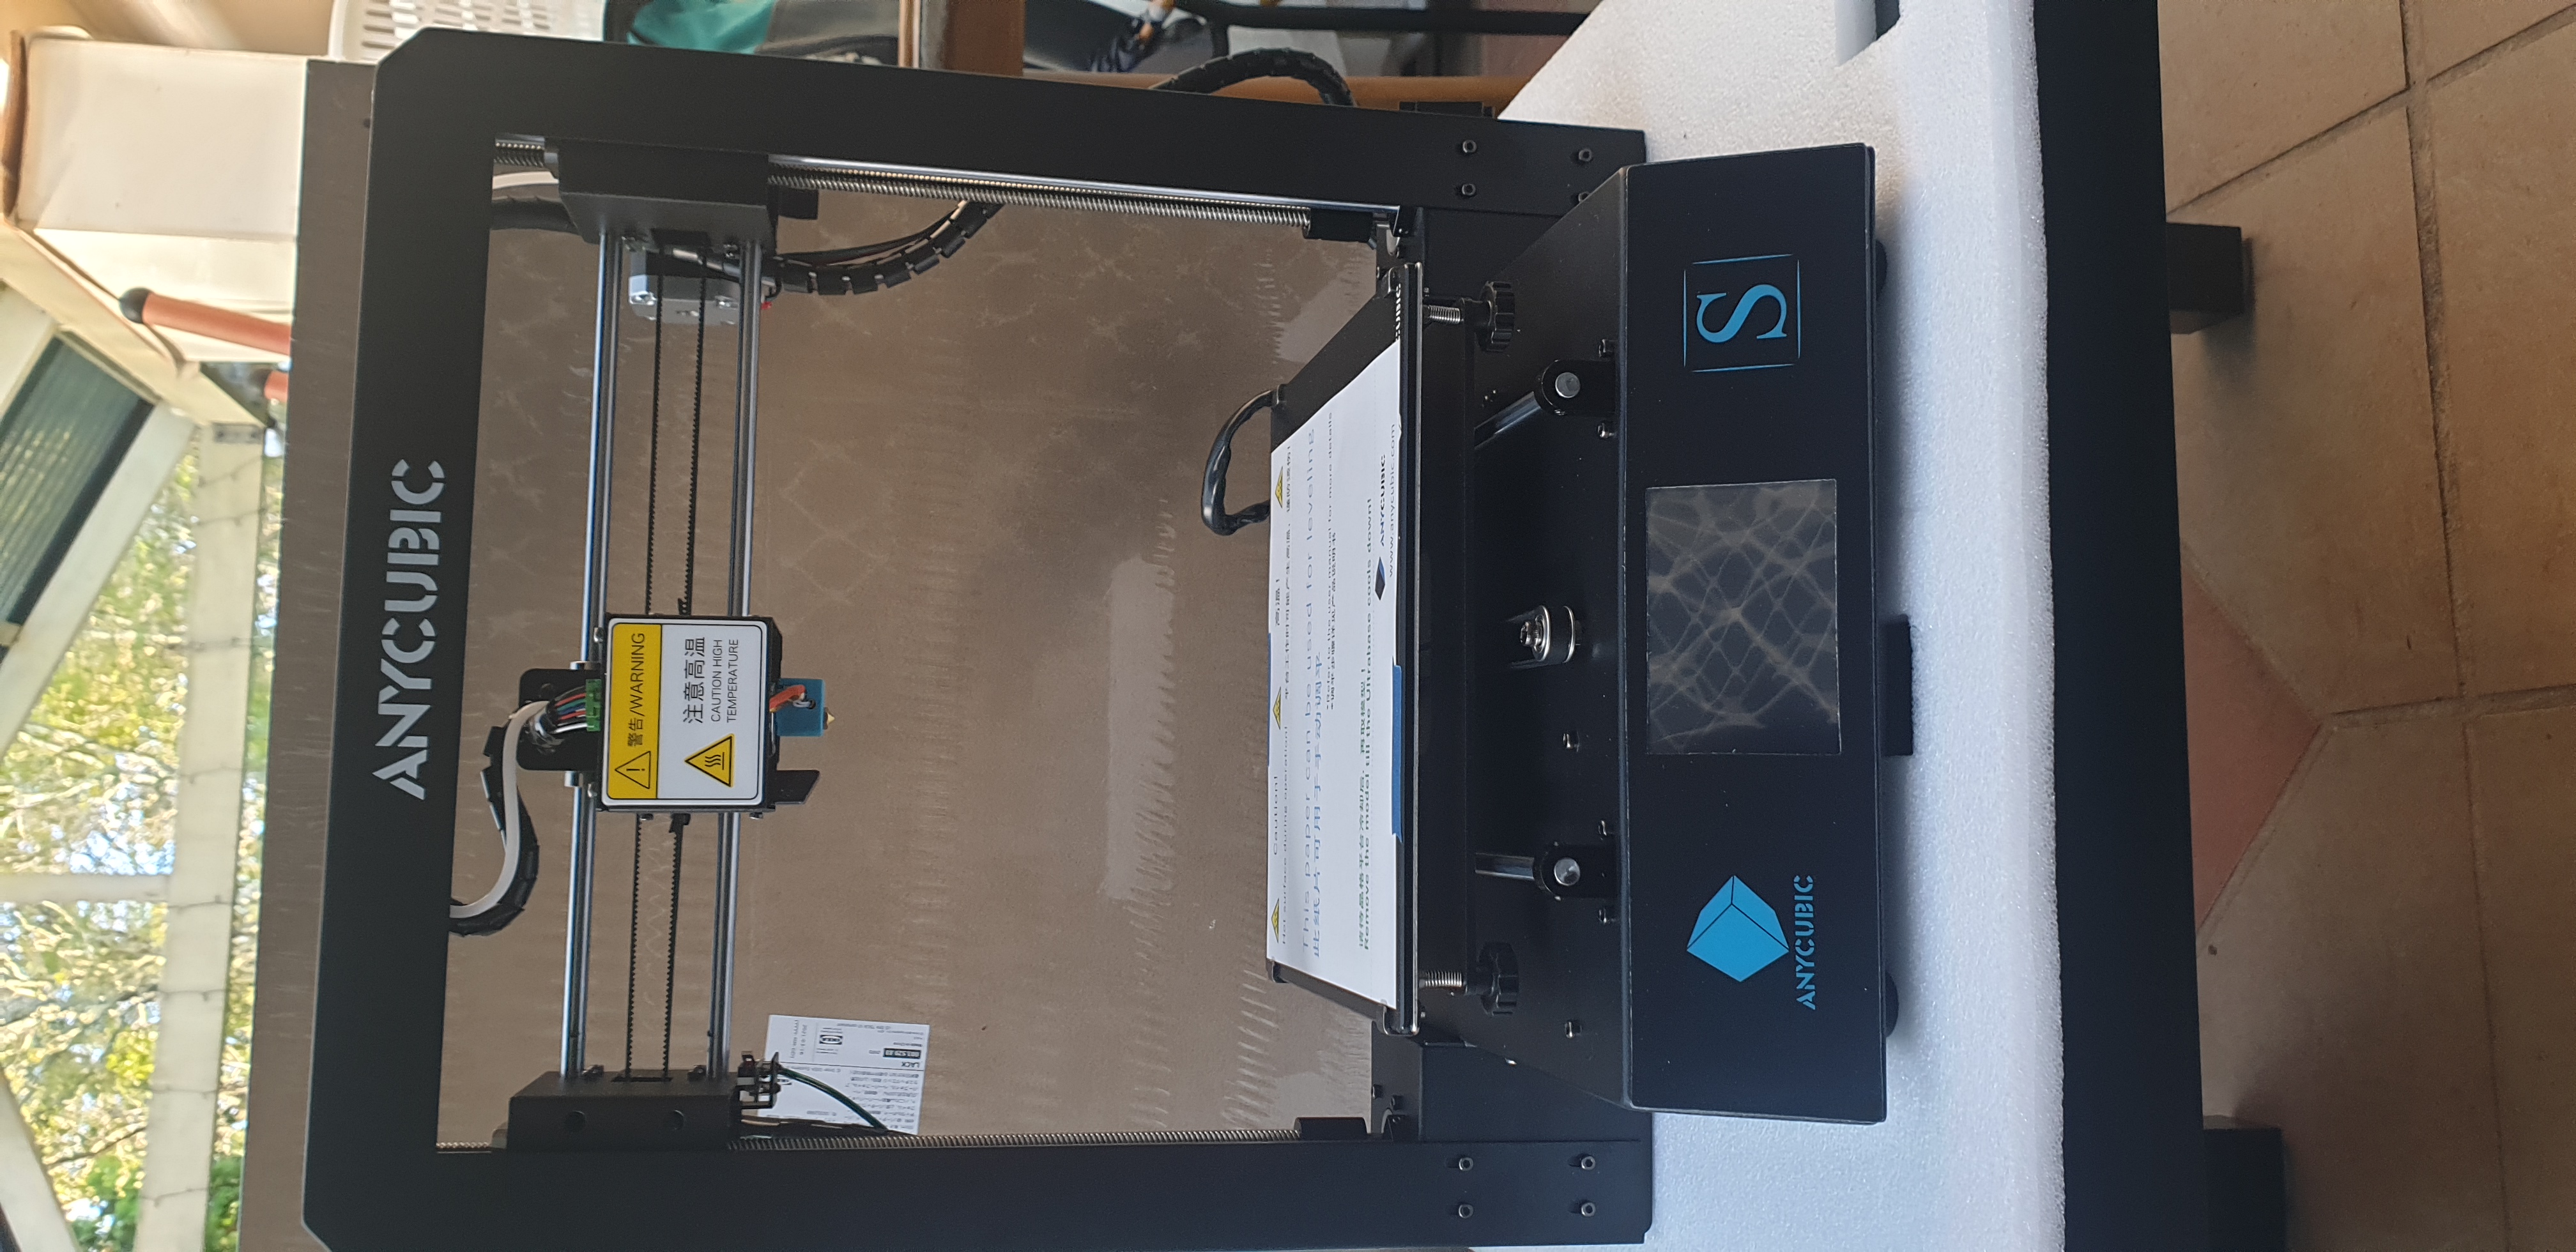
A few days later the printer arrived!
Anycubic Mega S - What’s In The Box?
Components
- Metal
- Bumper switch
- Screws
Accessories
- SD Card (4GB)
- CP2102 Driver
- Cura 15.04.6
- USB SD / MicroSD Card Reader (SuperTop
14cd:1212) - USB A to USB Type B
- IEC Cable
- 10m PLA Filament (White)
- Scraper
- Allen Wrench(es)
- Flathead Screwdriver
- Side Cutter
For around AU$280, there was quite a generous number of included stuff - including a decent pair of side cutters, a scraper, and even 10m of sample filament! A replacement extruder nozzle was also included, which is really nice of them!
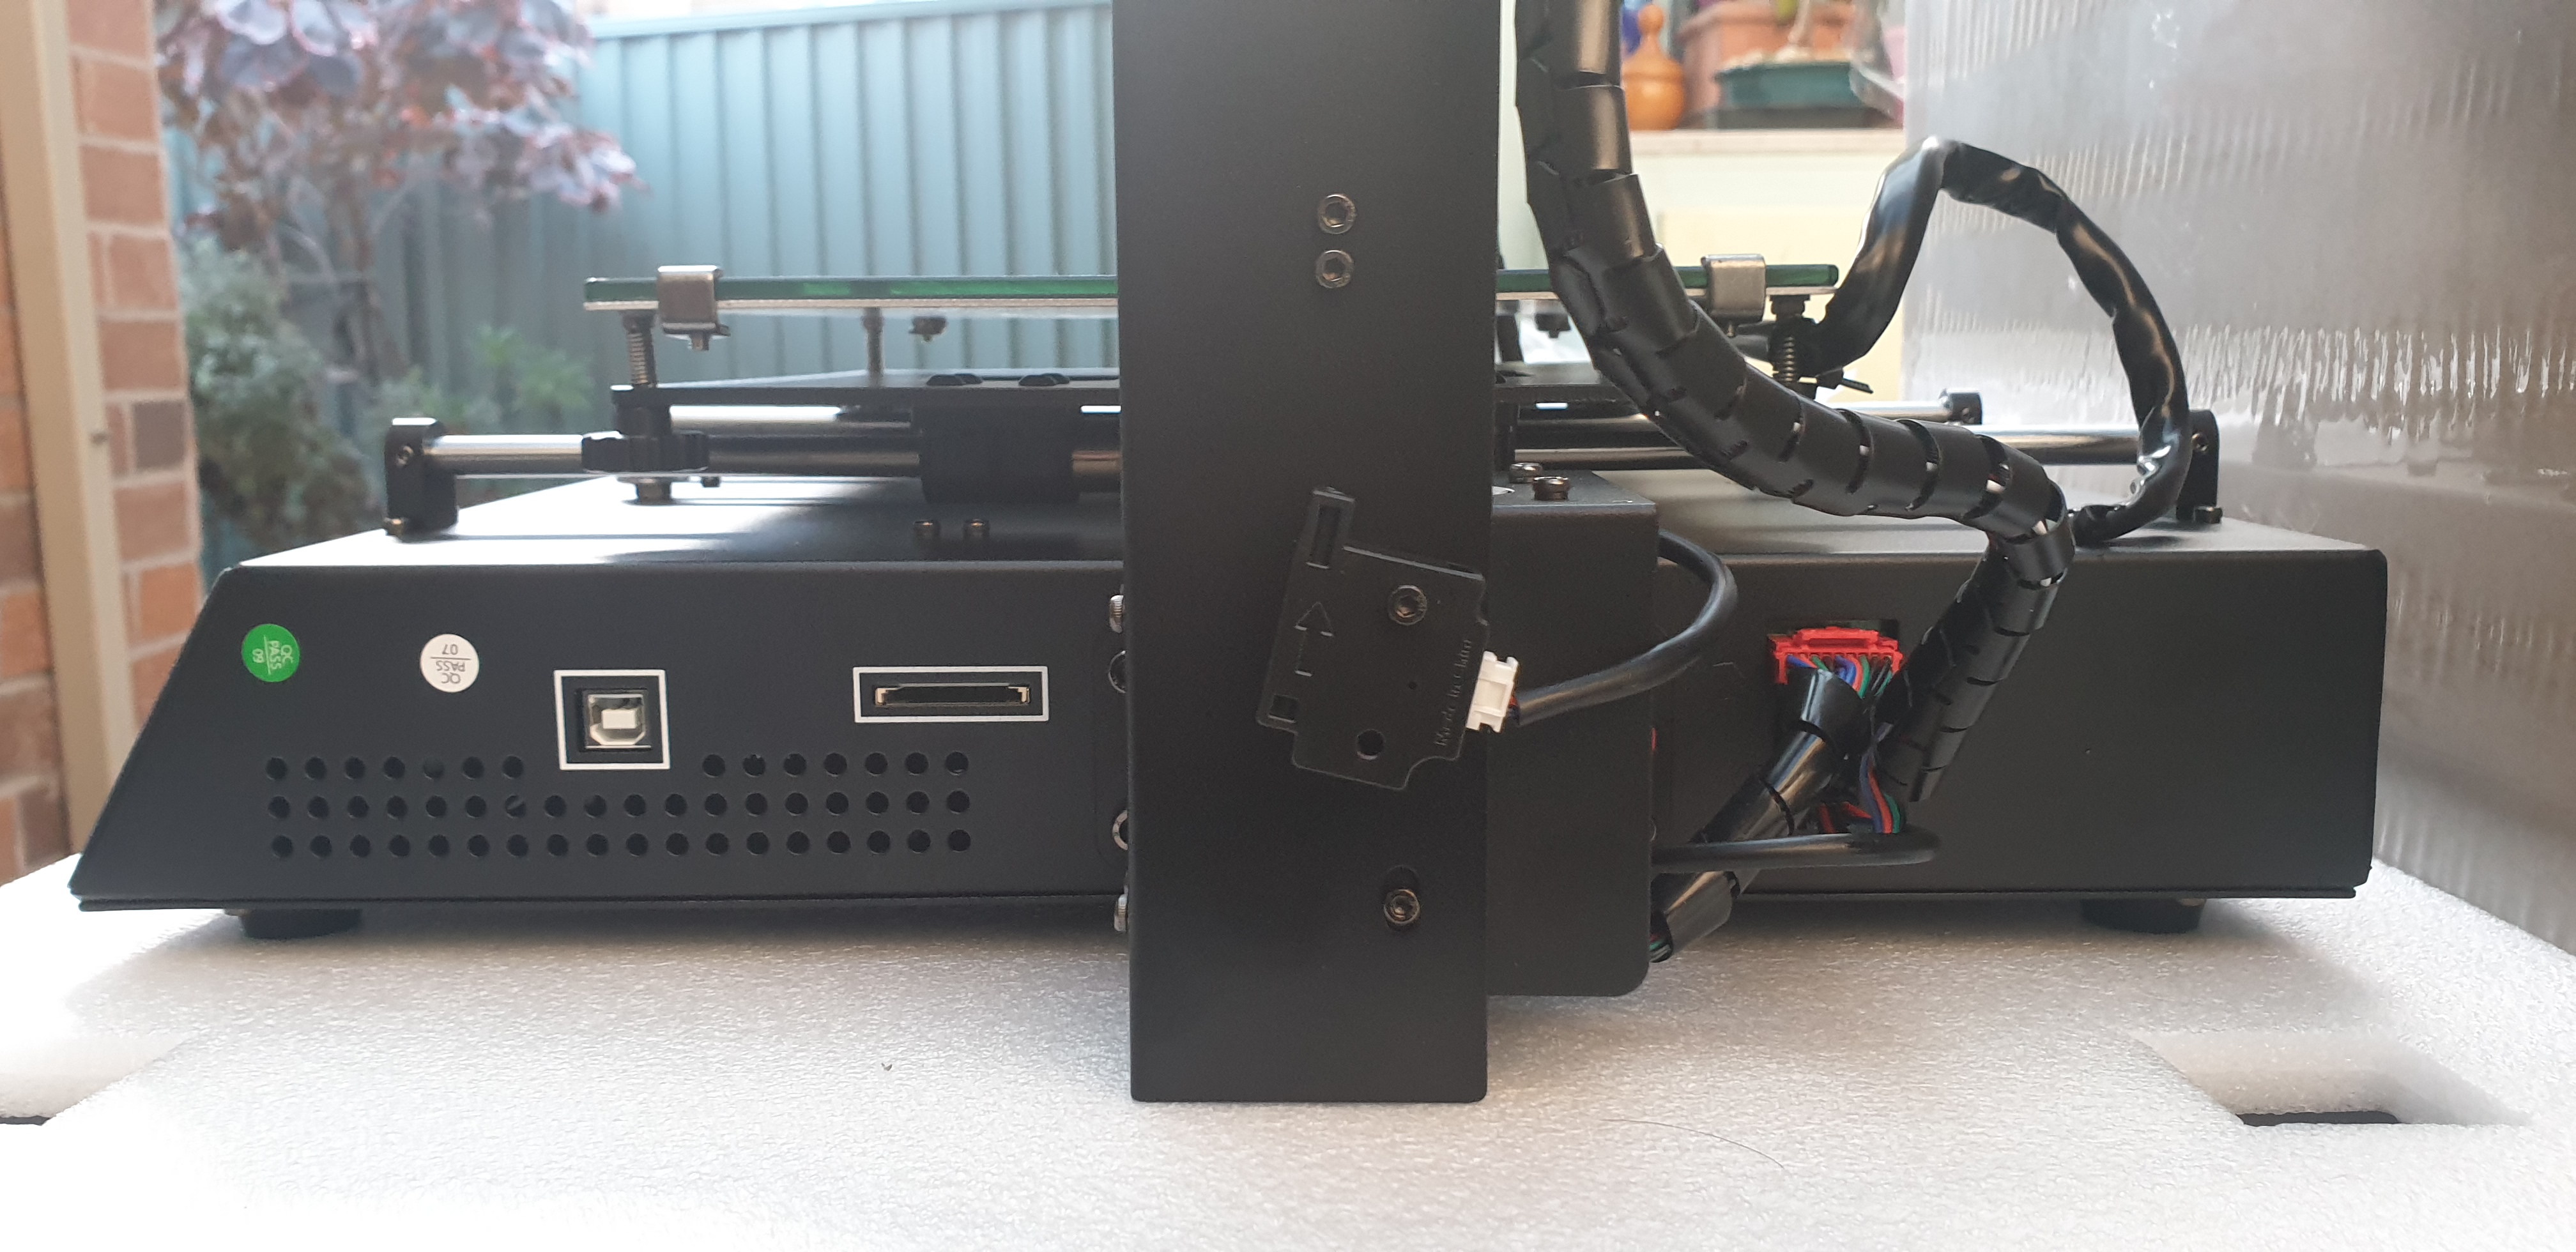
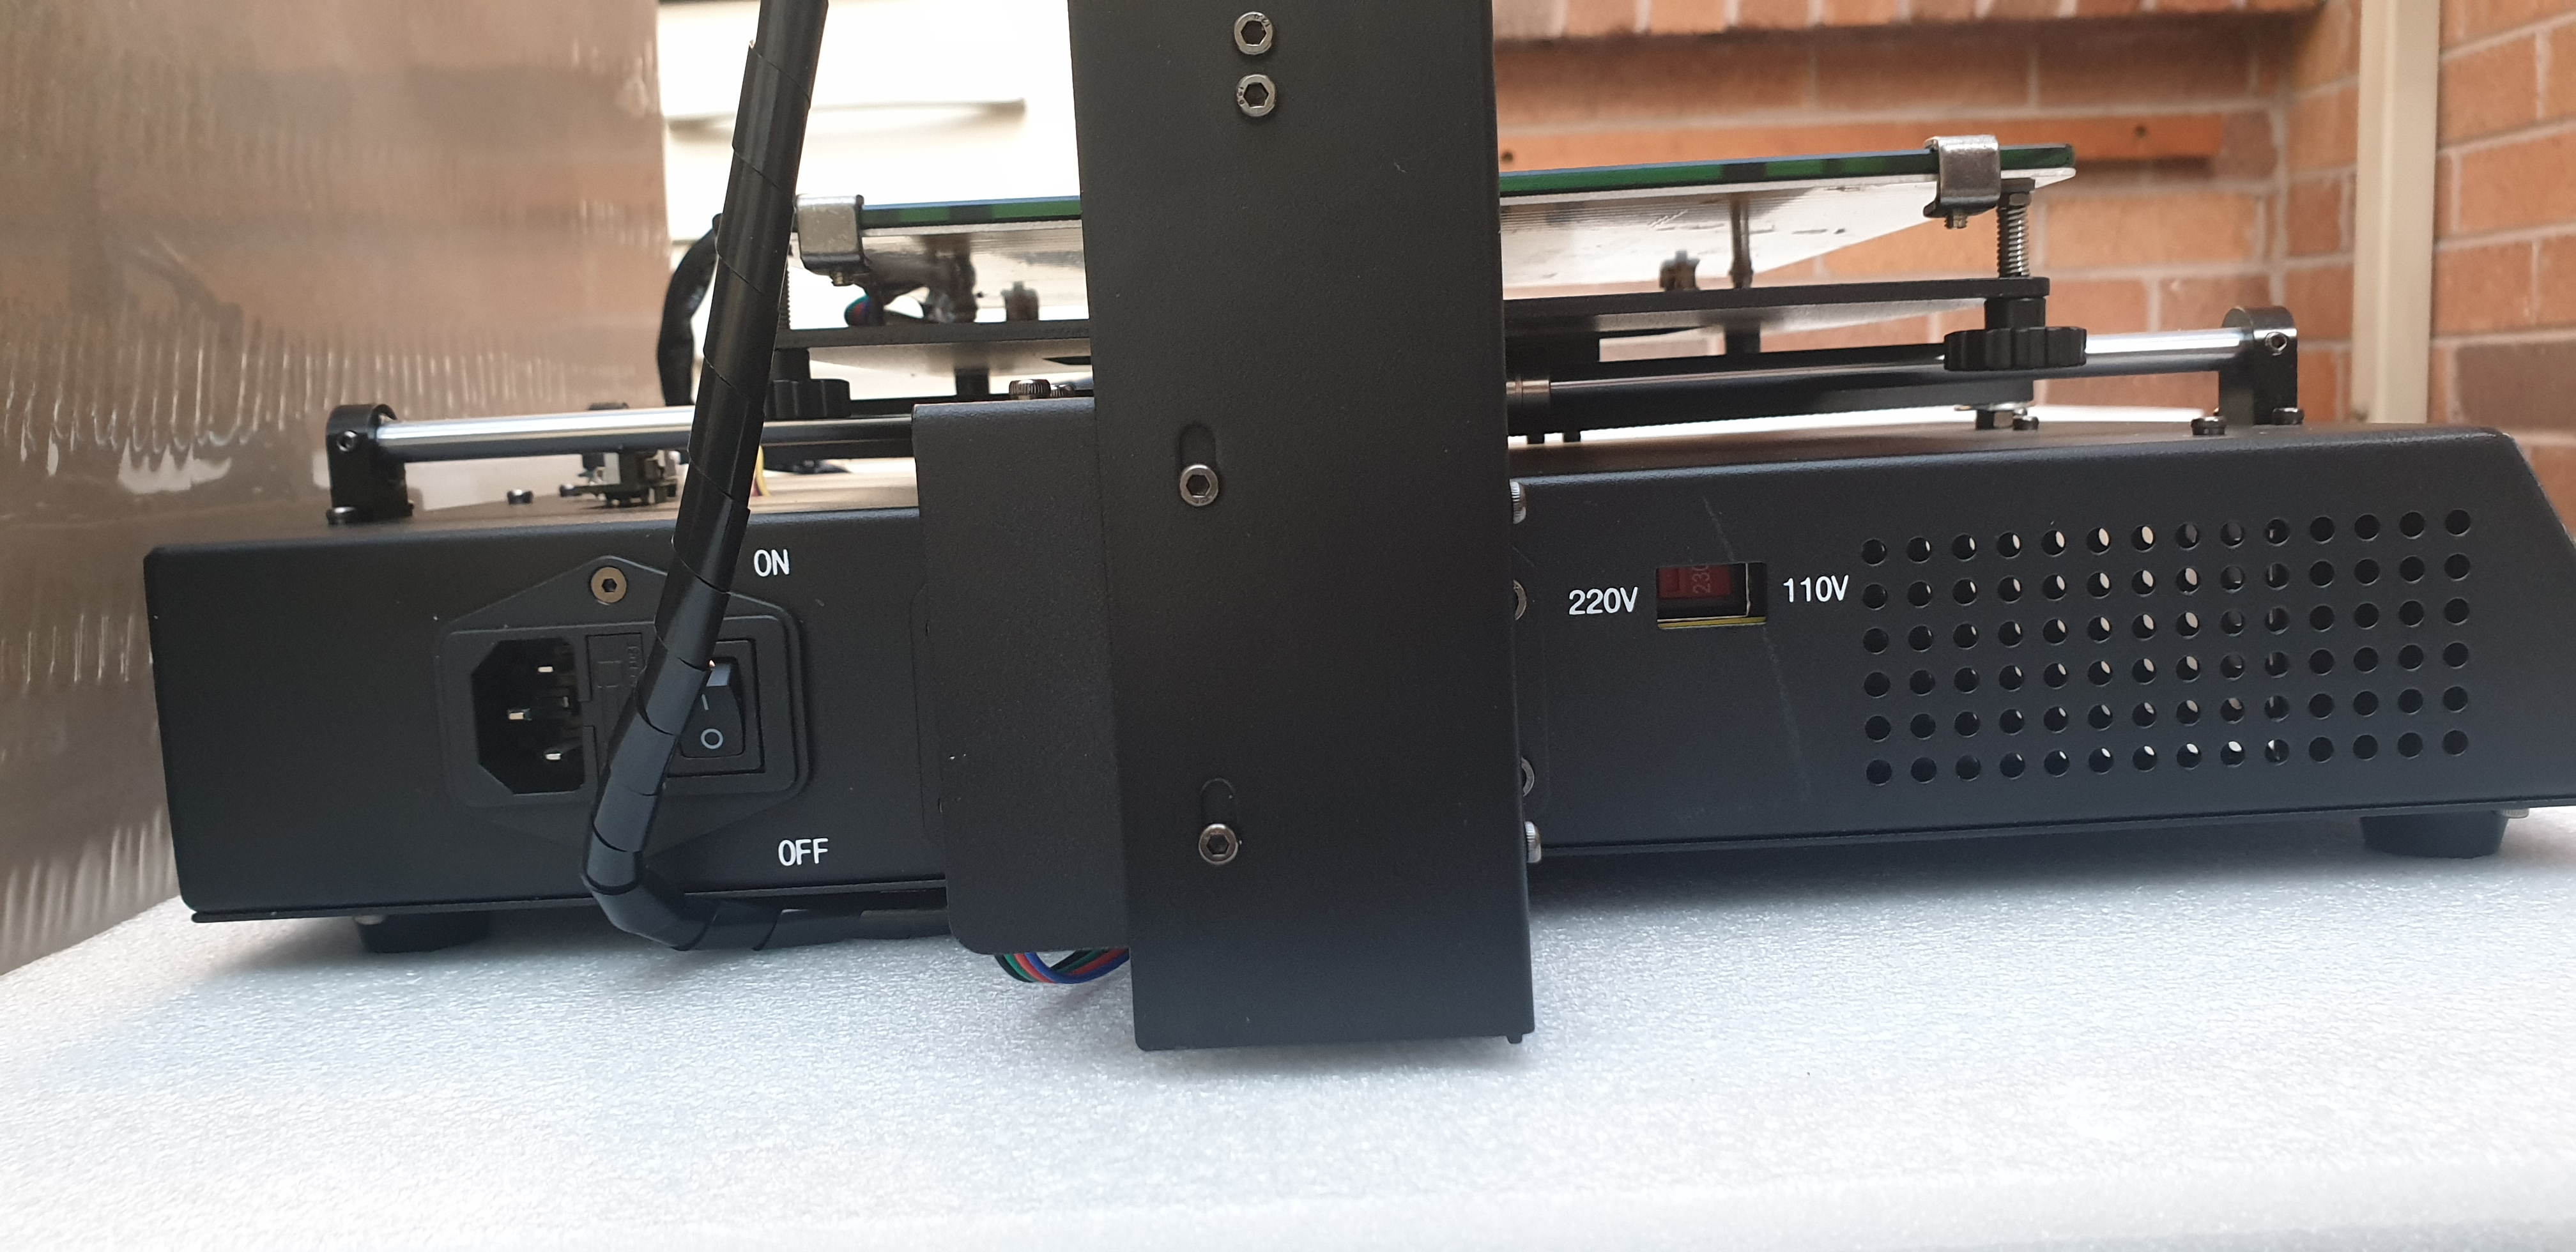
Building
The setup was incredible easy, attach the upper assembly to base assembly, and screw in four bolts. And that’s it.
Calibration
At first calibration was really difficult. I followed instructions and adjusted the corners again and again - but whilst the first position screw was basically fully unscrewed (and not biting at all), it still was not high enough…
Eventually I found a long bolt on the right side of the unit that could be adjusted to modify the Z-stop switch detection spot. Once that was done, yooooooooo it was sweet!
A Cabinet
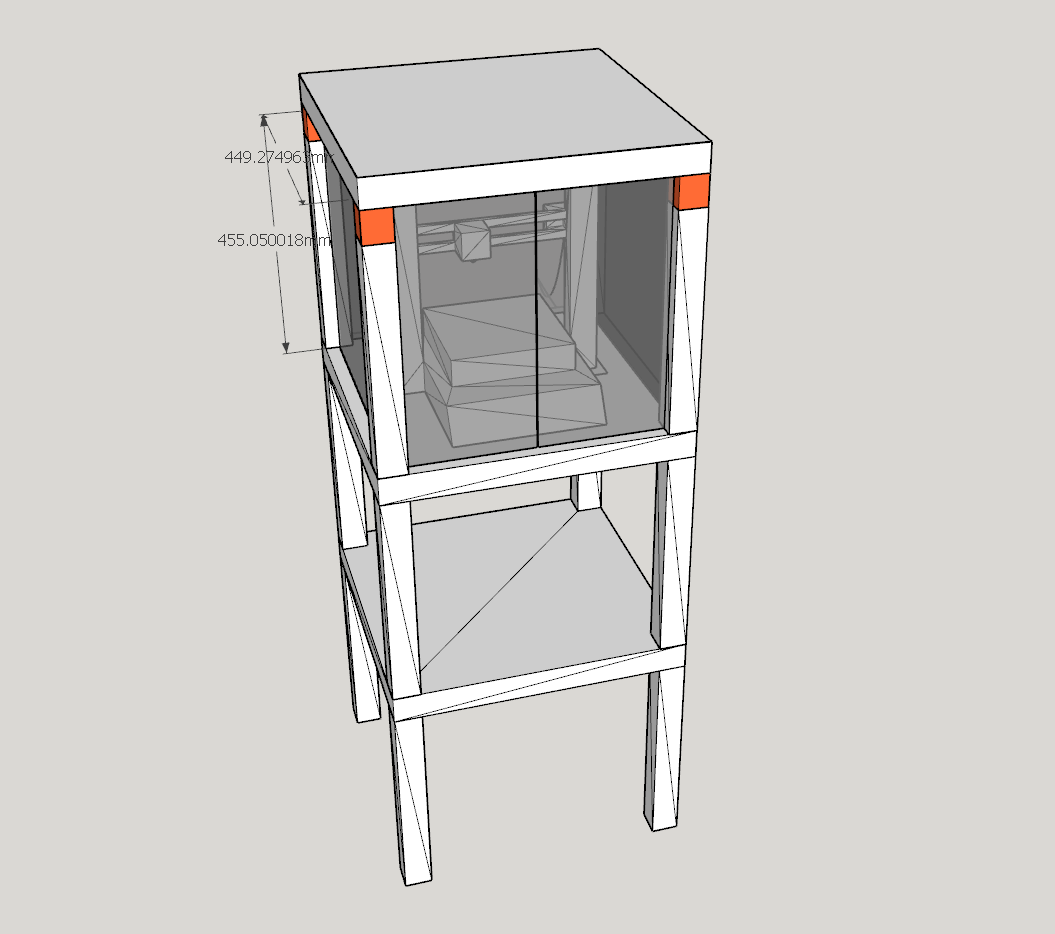
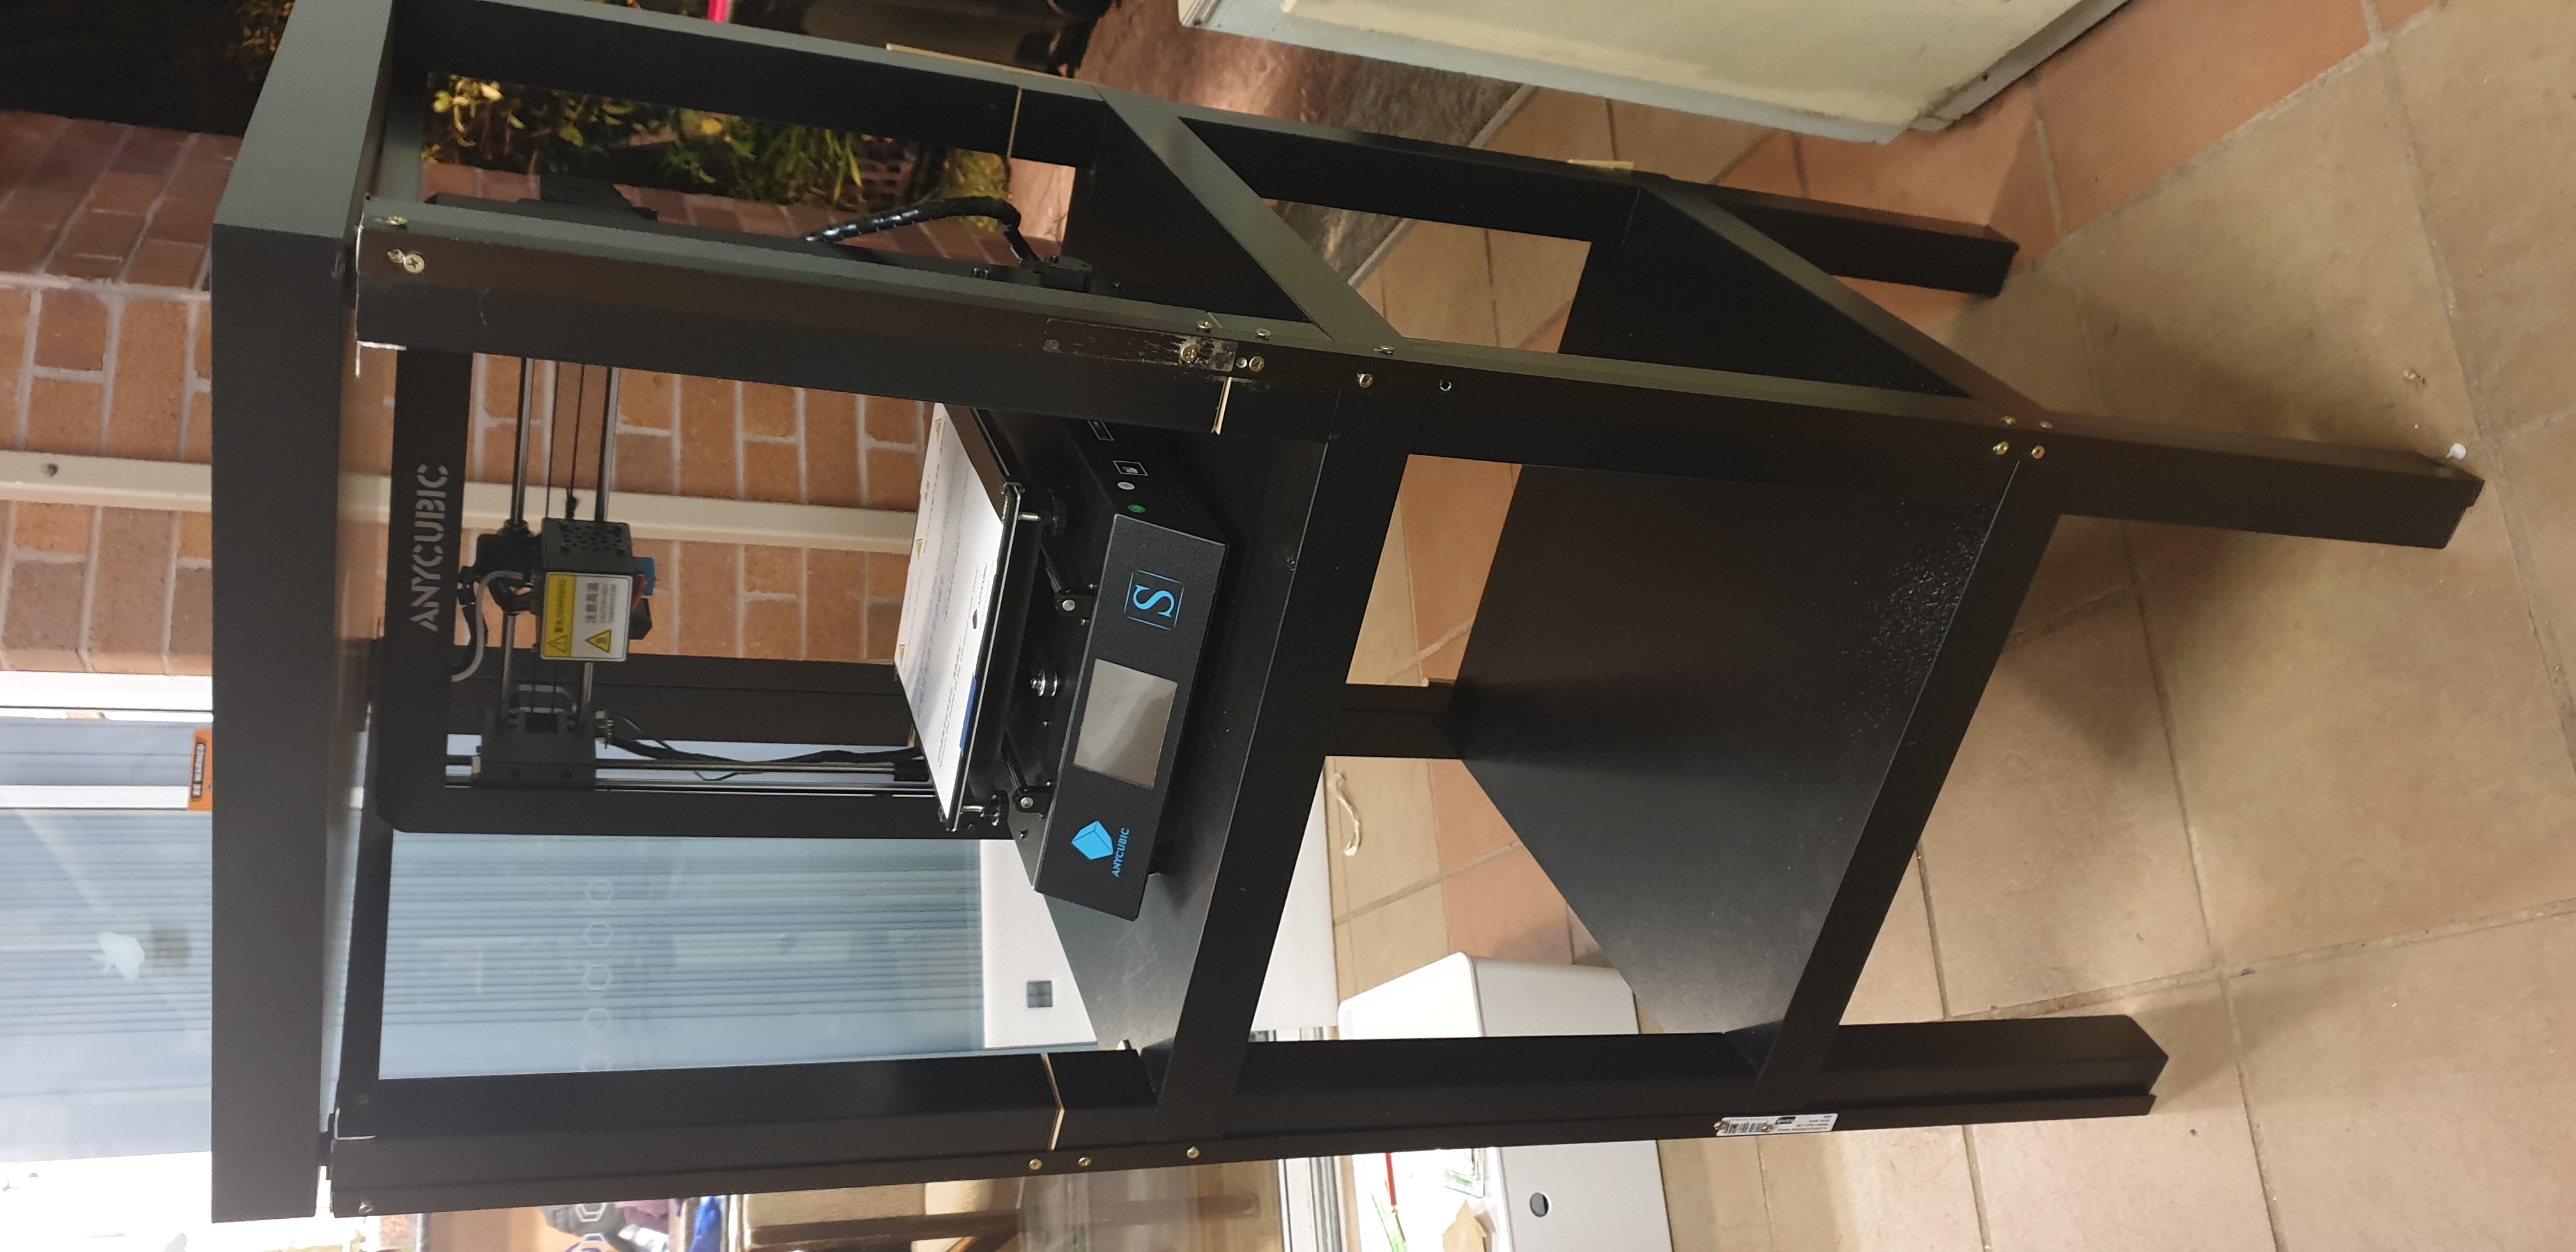
Unfortunately the 3D printer dimensions were to deep to place on the upper shelf of my table, so I resorted into going the LACK shelf way (by stacking several IKEA LACK tables together)
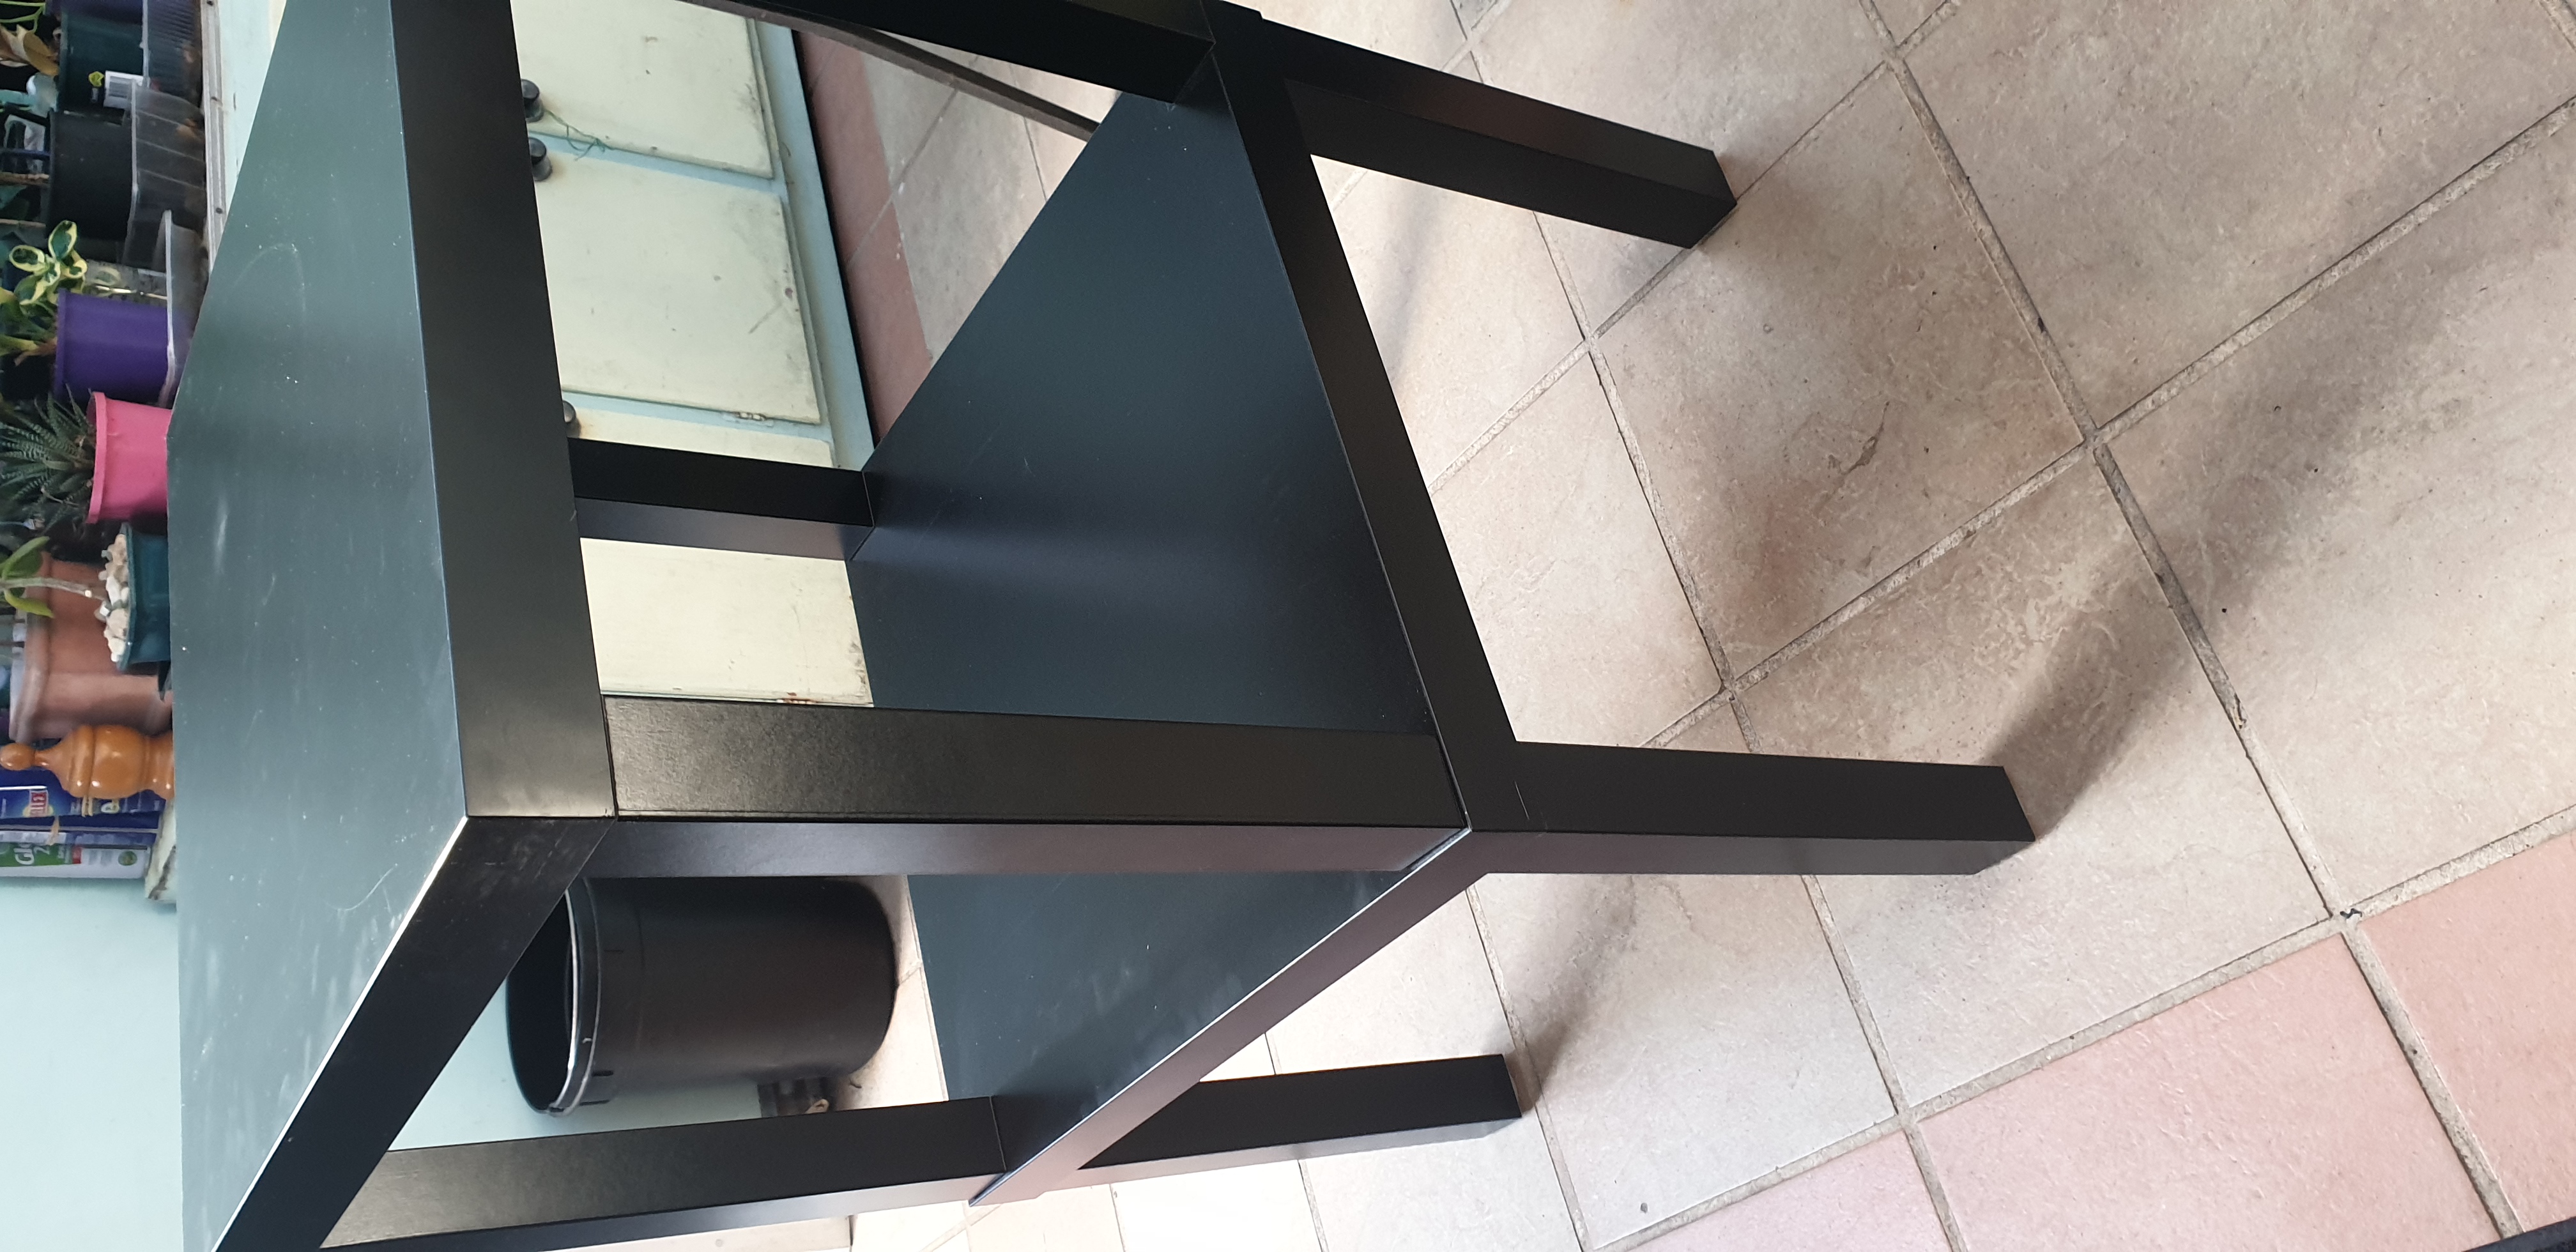
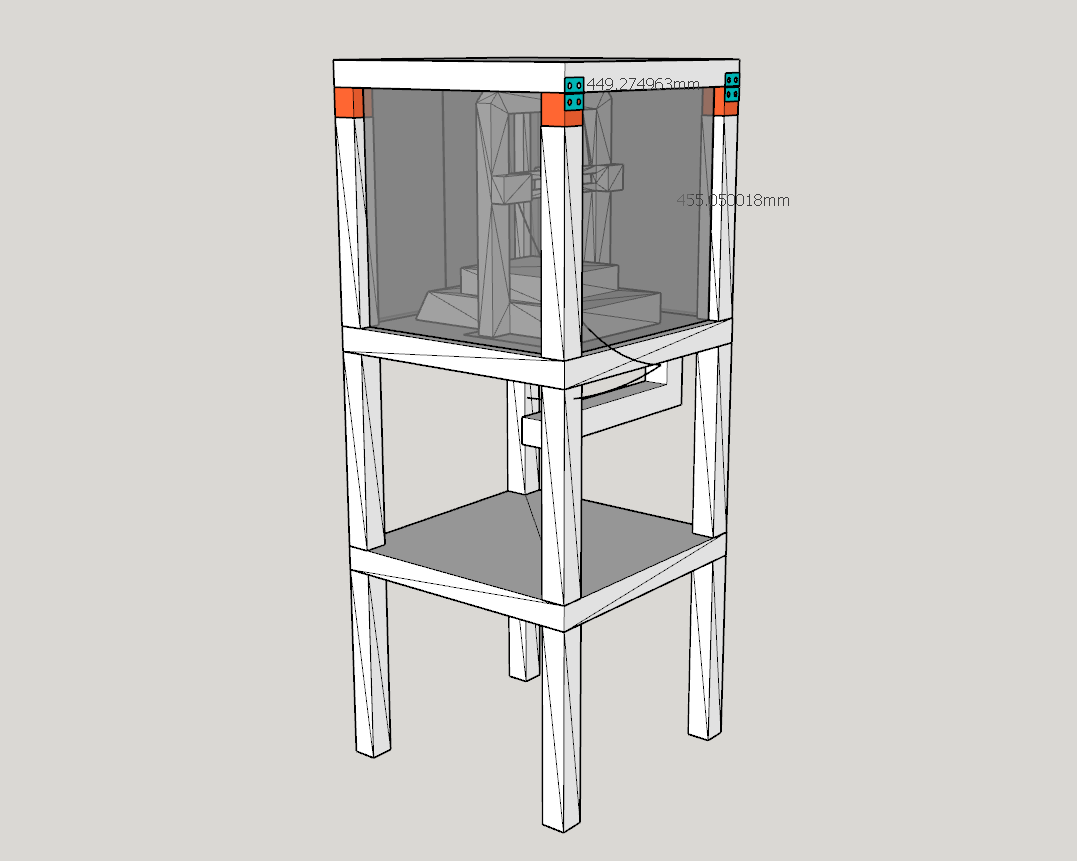
While dimensioning the shelf in SketchUp I knew that I would have to extend the height for the shelf layer that the 3D printer would be sitting on, as the printer was taller than the length of the LACK table legs. I tried to be economical and just steal some leg length from the lowest table, however I did not cut the legs perfectly straight nor perpendicular - which I now regret, as there is some imbalance to the table legs :(
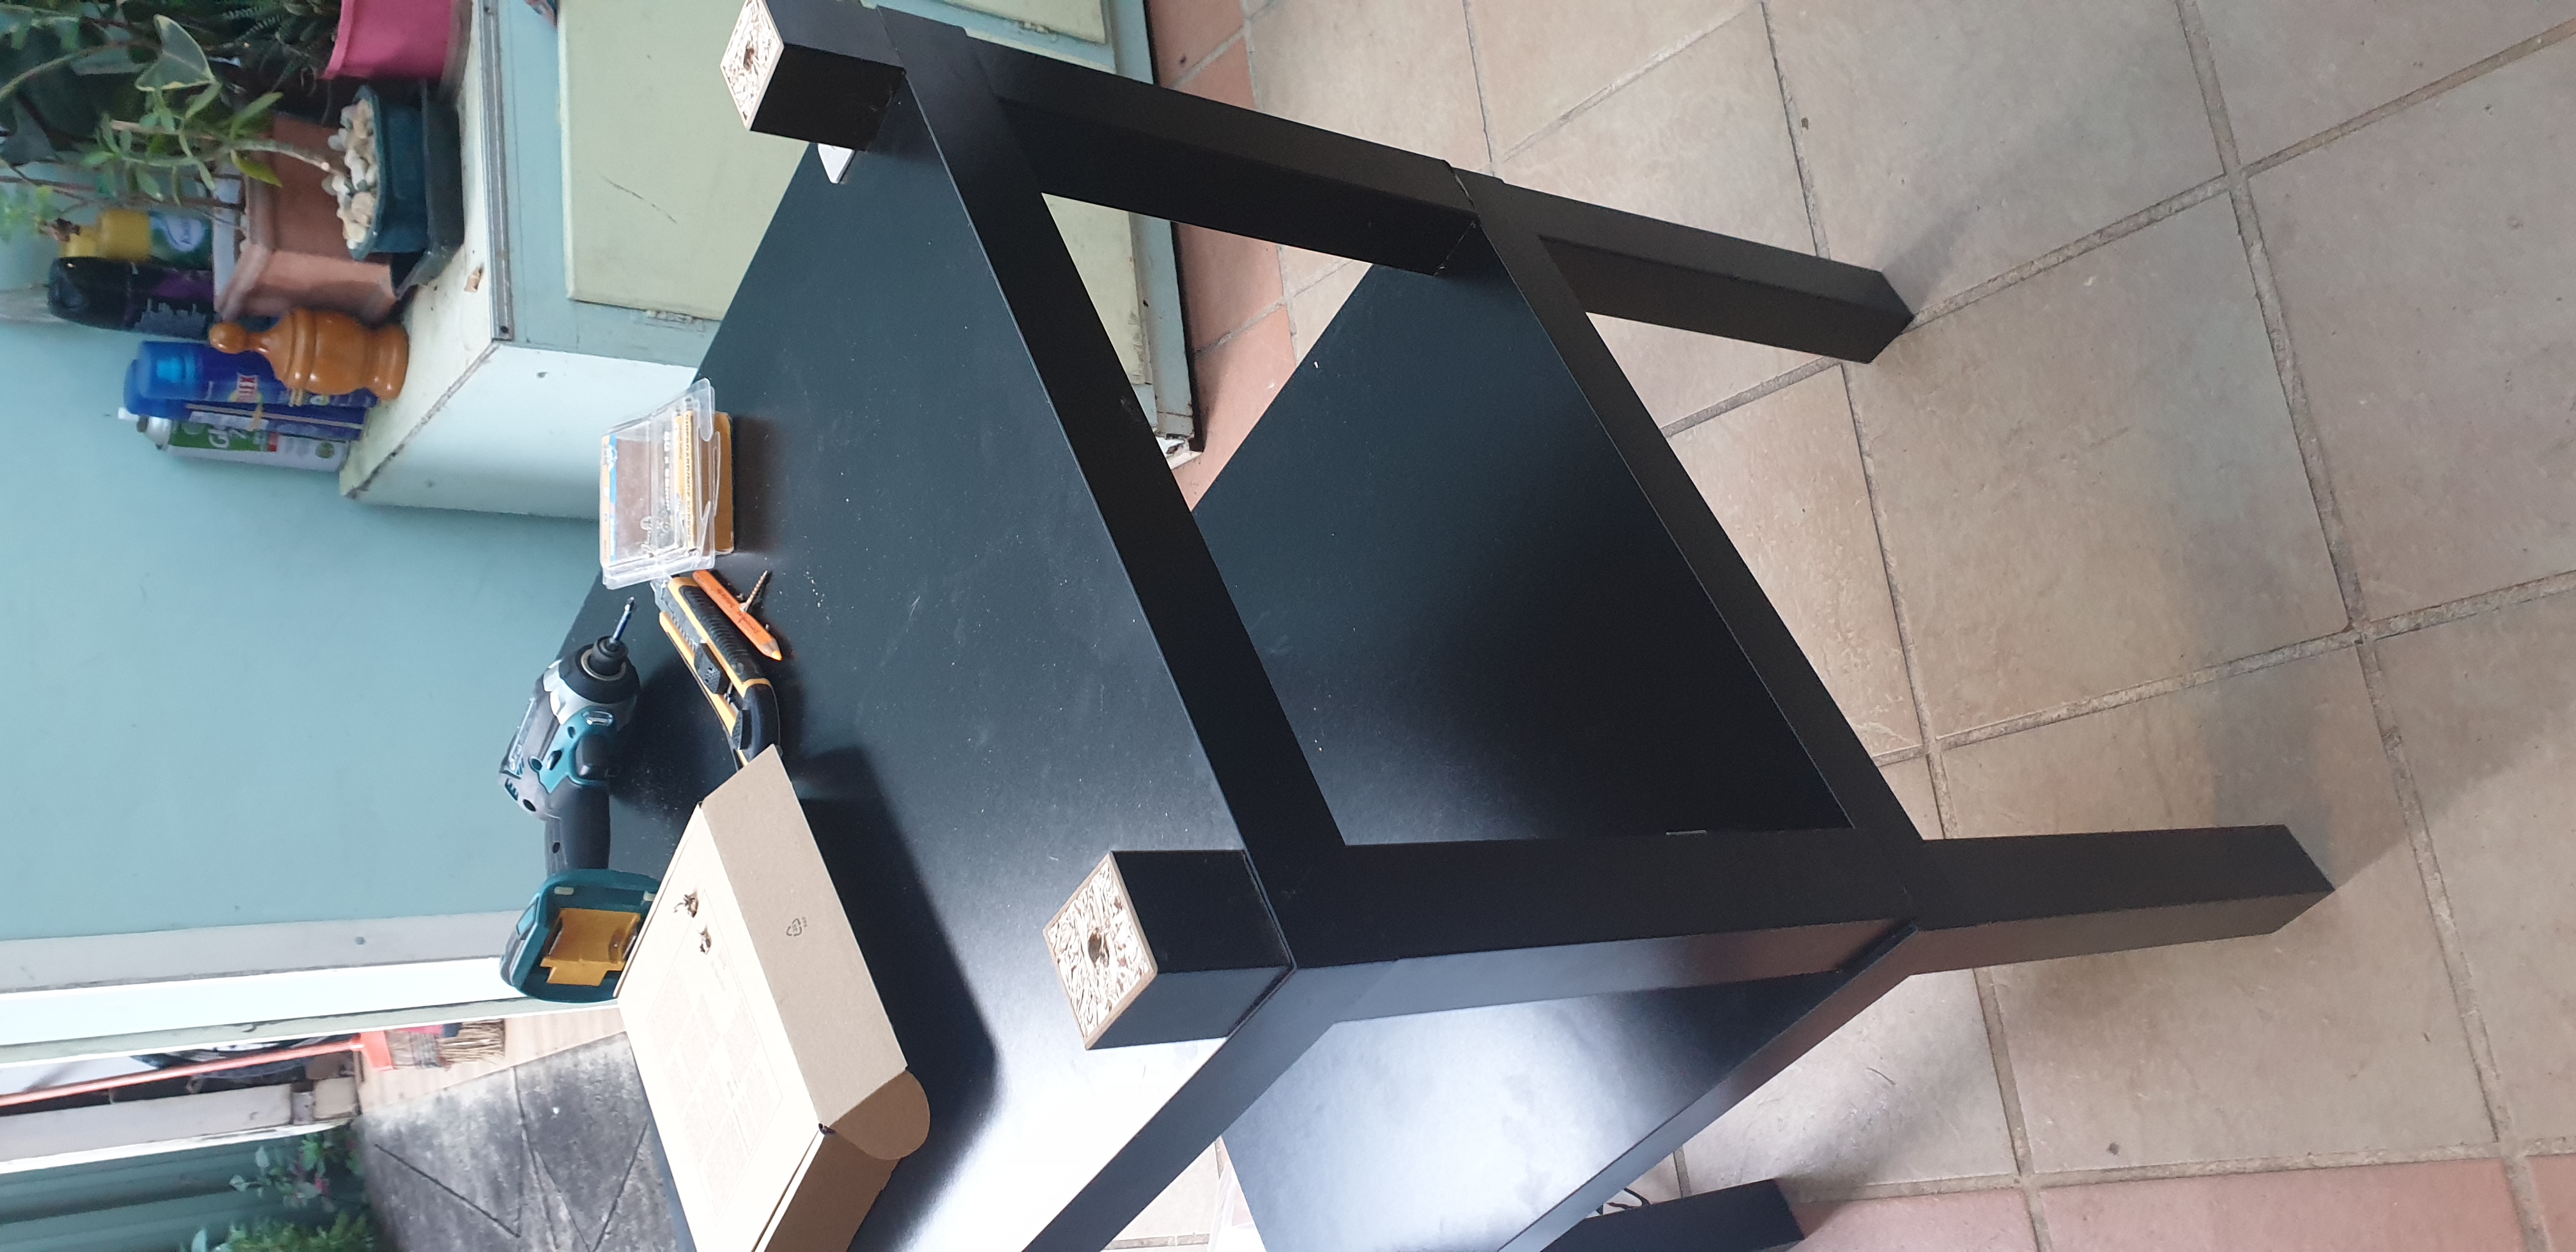
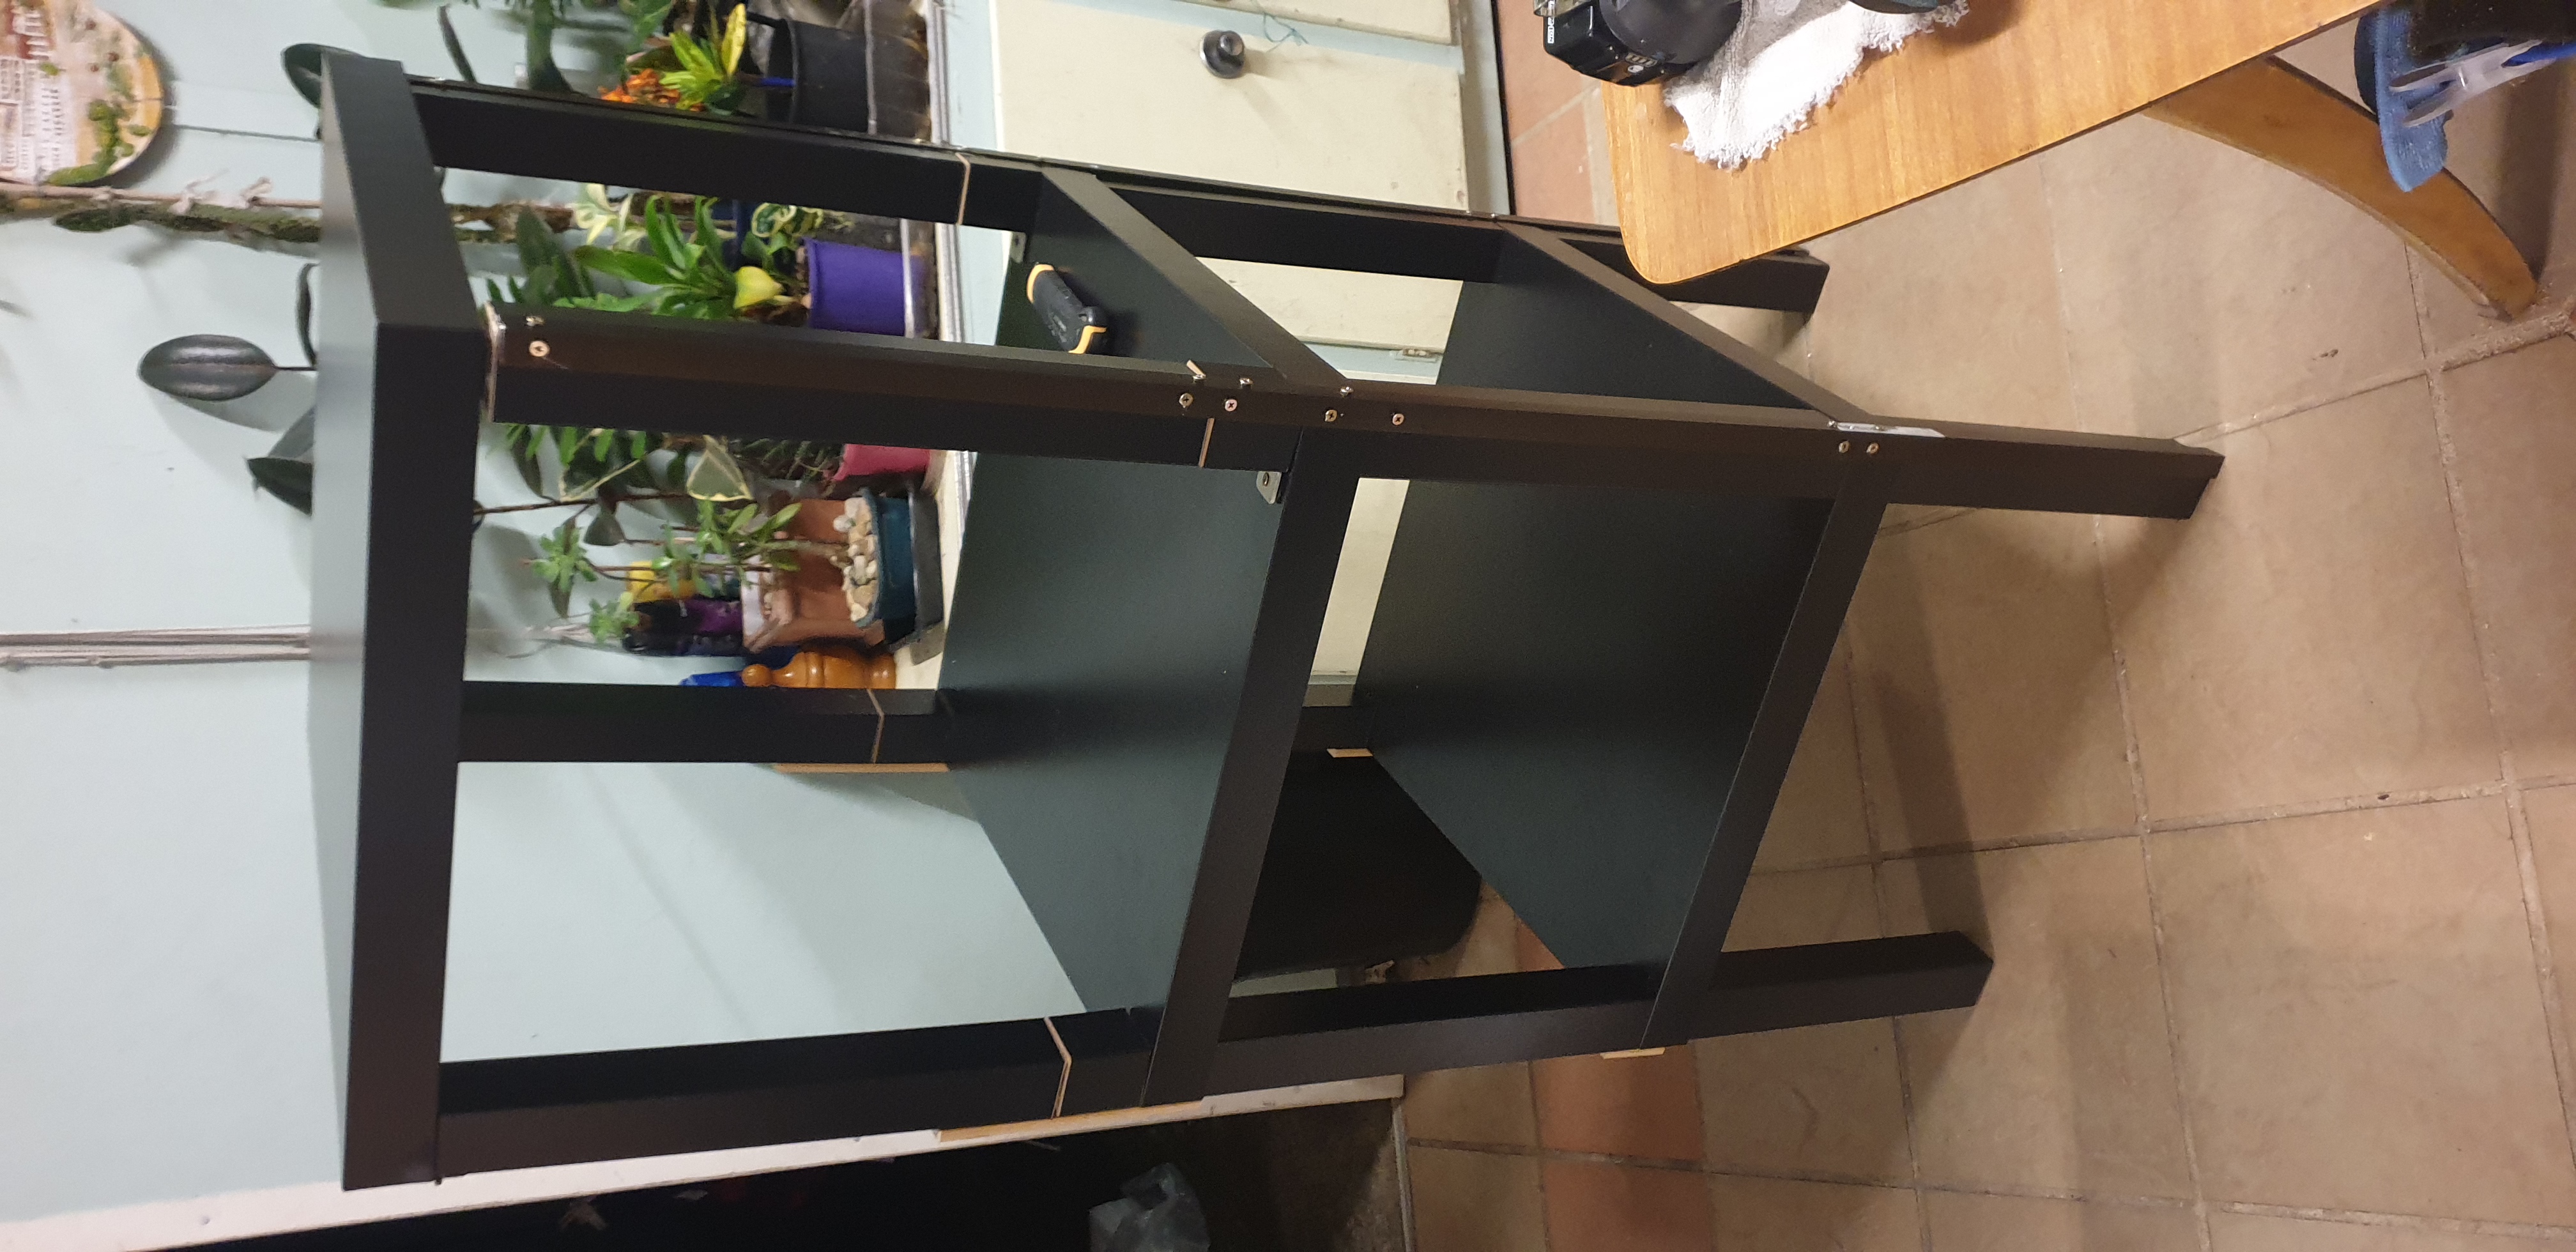
Anyway back to photos of building it ~
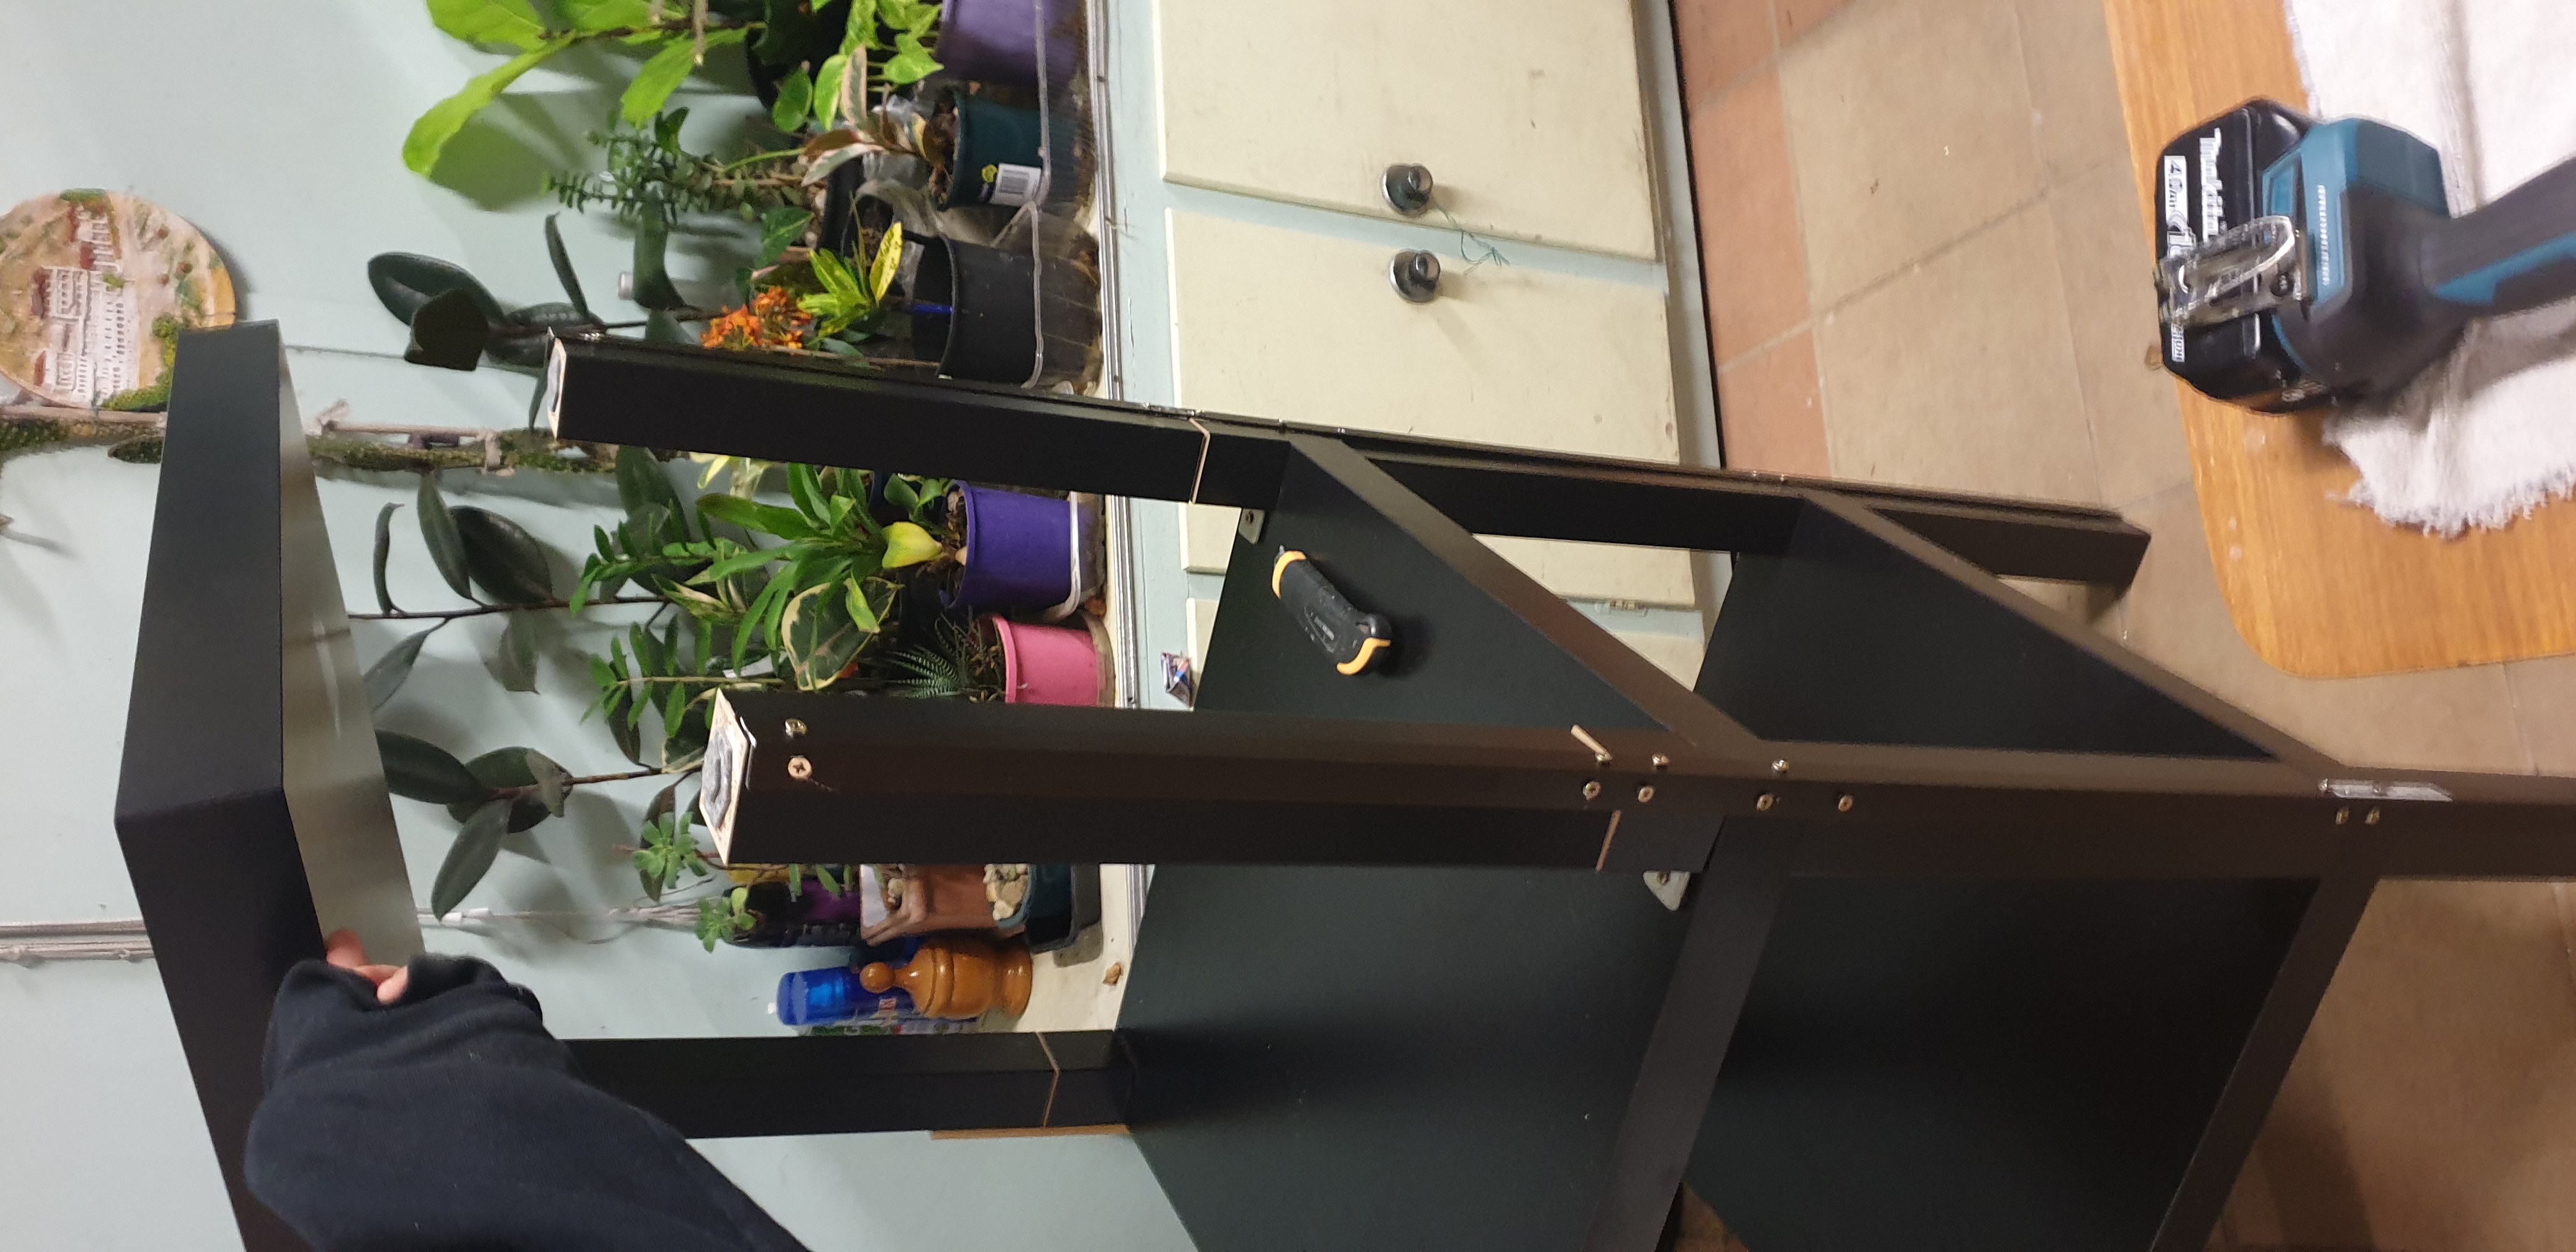
I also added hinges to the lid of the shelf, so that I could easily lift the lid if needed.
Whilst I had plans to get some acrylic to be used as both sound reduction, and heat insulation, I didn’t have any at the time, so that will be on my backlog for things to improve on.
Now with the shelf built, it was time to test out the 3D printer!
The lower shelf would be used to store all of the spare filament and tools for the printer.
Software
With the printer set up, and the shelf made, it was almost time to test printing!
However first I wanted to set up the software for it.
Whilst the printer can print files from an SD card - I wanted to remotely print things (as the printer would eventually live in the garage). So either a laptop / NUC connected to the printer…. or… with a Pi!
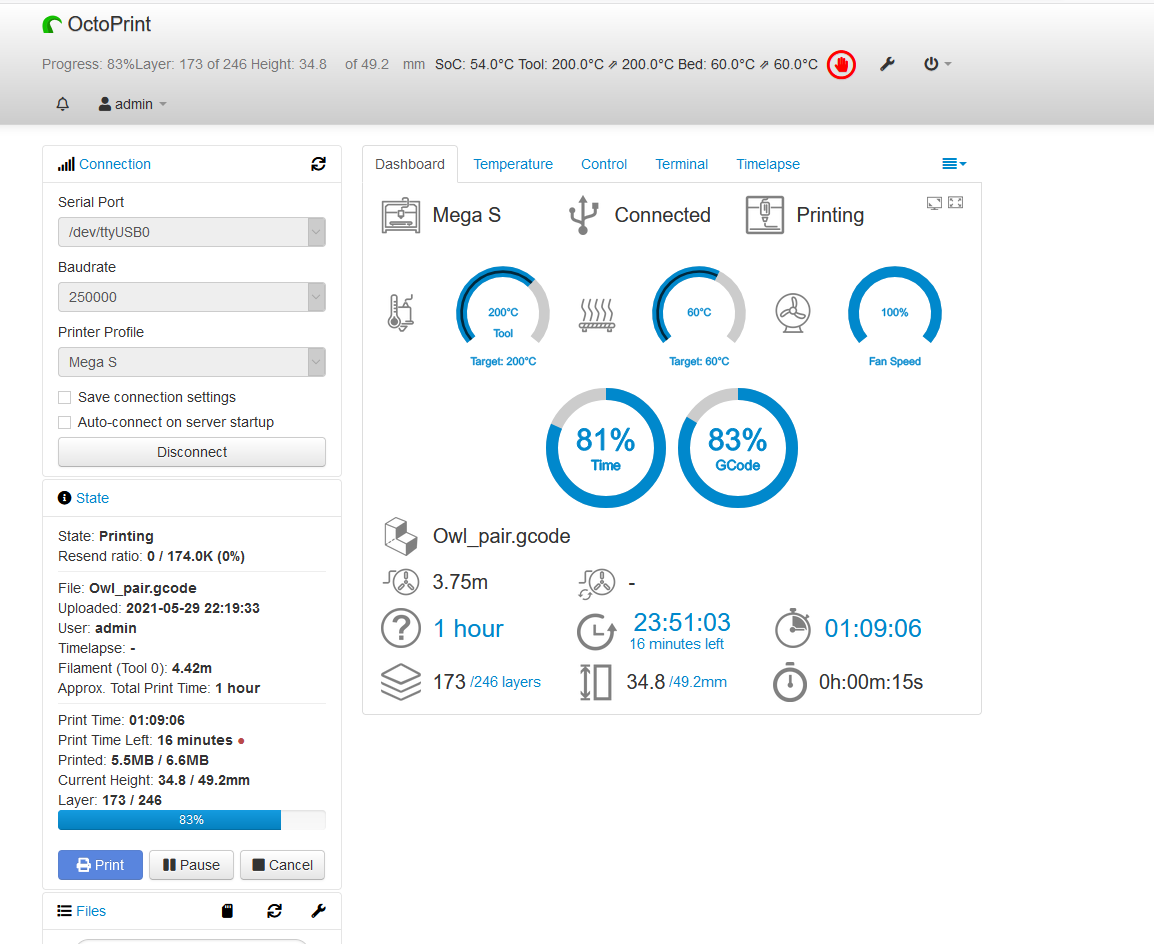
There’s a project called OctoPrint which is a 3D printing server built for Raspberry Pi devices. I had a spare Banana Pi M2 Zero, and thankfully someone had made an image of OctoPrint for it!
I also read up on some other related software and firmware for 3D printers
- Klipper - Makes 3D printing faster by offloading the conversion of gcode to actual print instructions away from the MCU on the printer, and onto the Pi - which has a much stronger processor
- Klipper firmware installed on the MCU
- Klipper software installed on the Pi (generally also with OctoPrint)
- Marlin - Supposedly the base firmware for a lot of 3D printers
In terms of creating 3D models, because I’ve used SketchUp for a decent period of time, I found an extension that could export the models into STL files, that can be used in a slicer software, like the provided Cura software. In the future I’ll probably try to use Fusion 360 more, but for now SketchUp is more than capable to make non-complex rectangular frames that I’m likely going to make.
As for some other useful software
- Meshmixer - Helps to make cuts of large models
The Print
Okay let’s finally print something!
I loaded up the preloaded Owl Pair and fired it up.
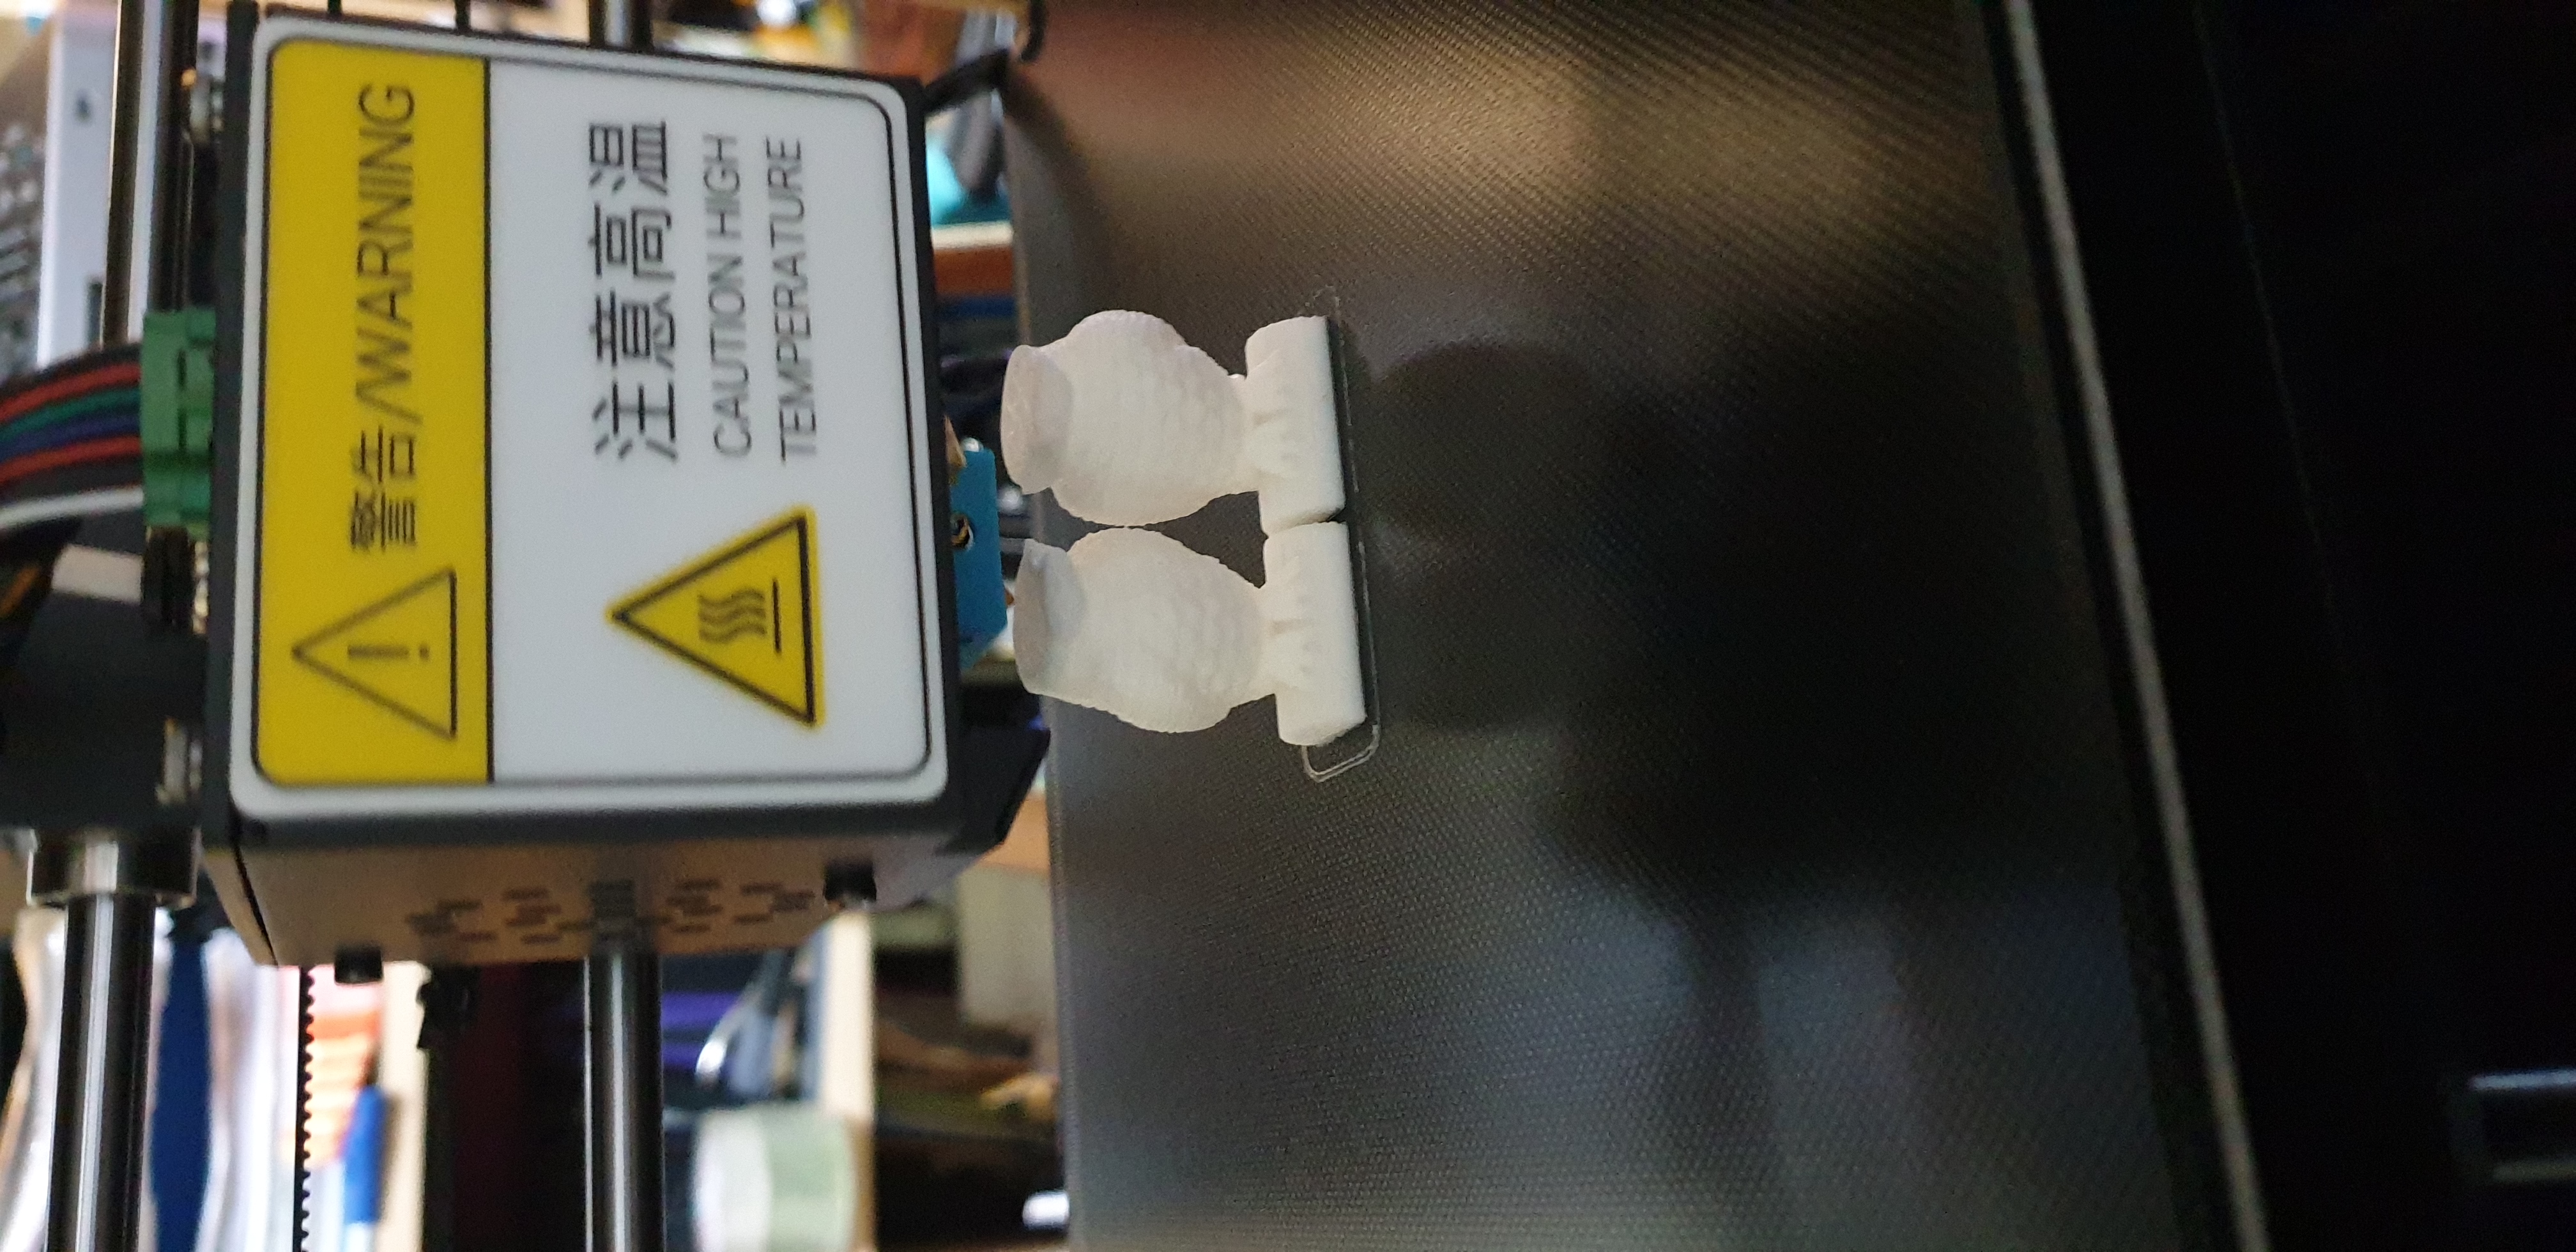

Not bad, hey!
It took around an hour, and the fan was quite noisy - but it’s not too much of a concern for me as the printer will eventually live inside the garage
A Useful Print
So let’s try model something that would be useful to me!
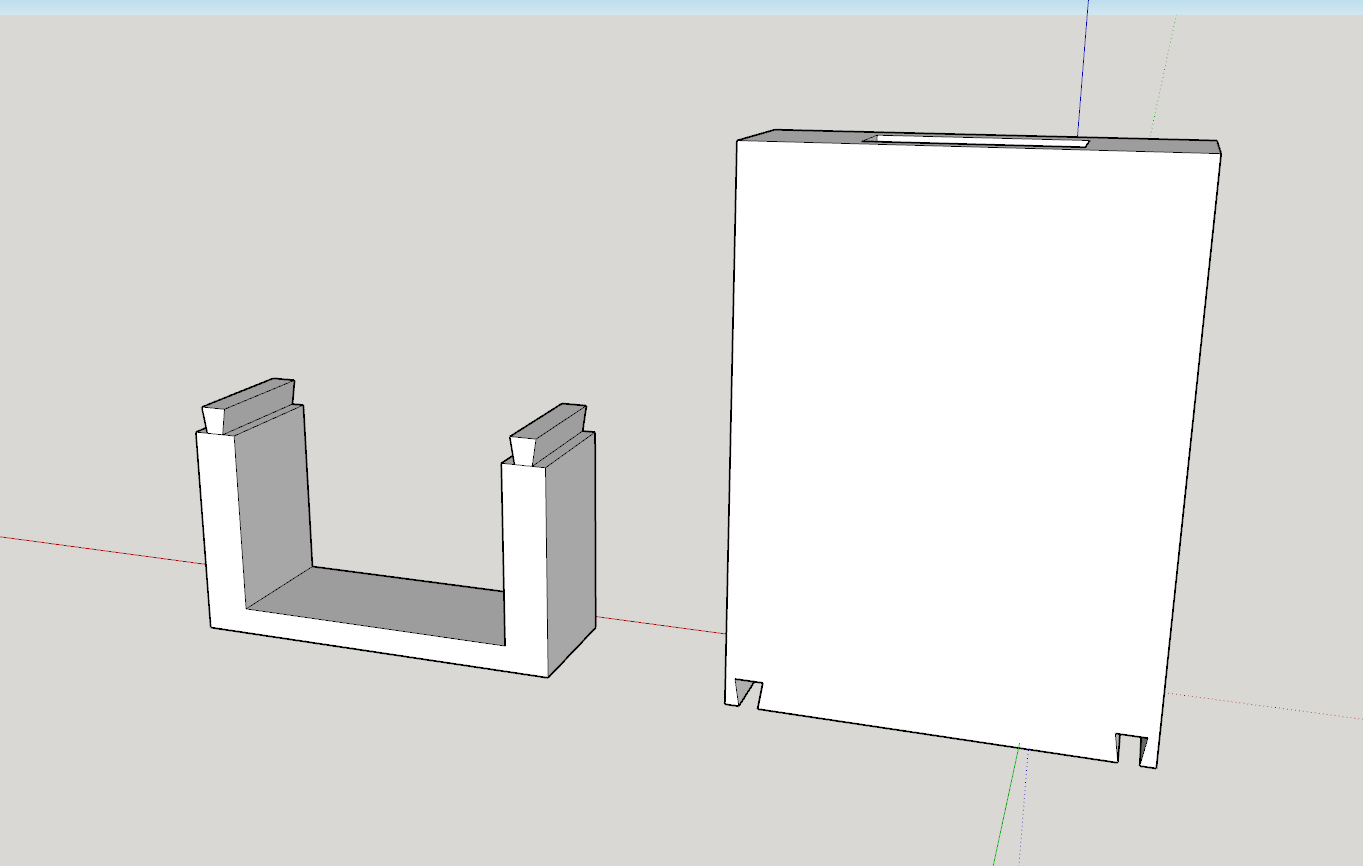
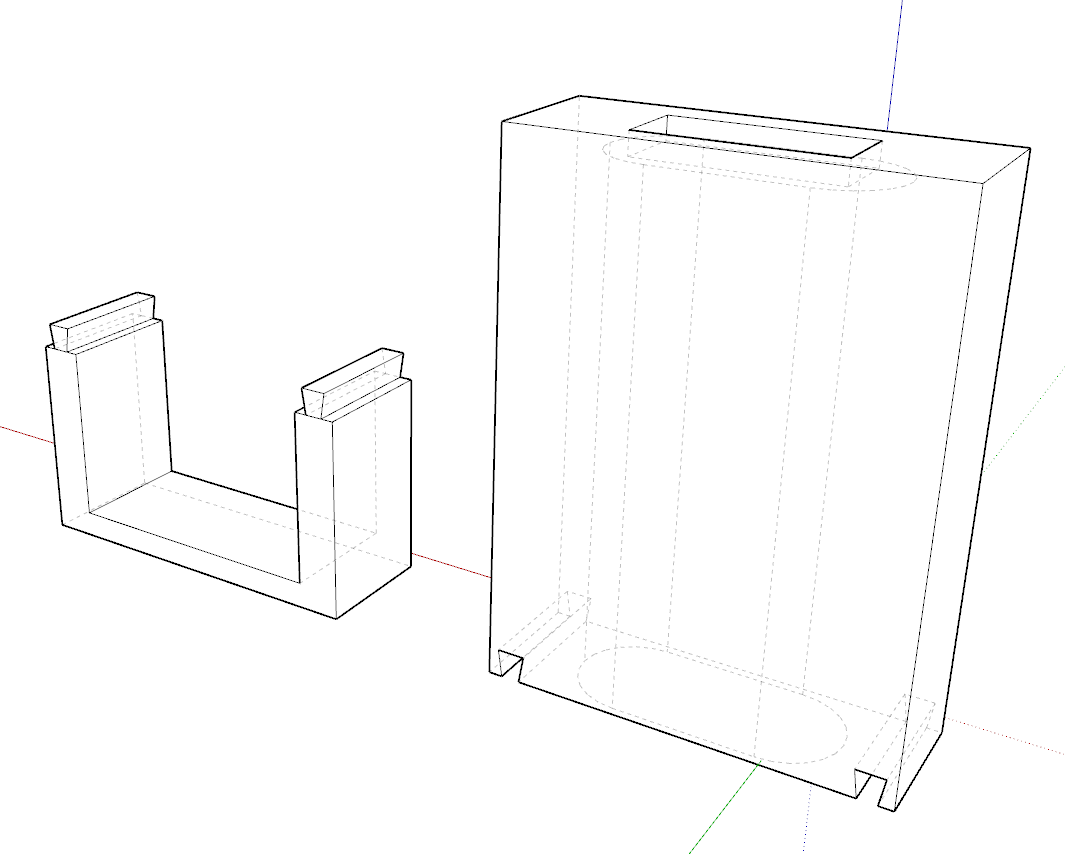
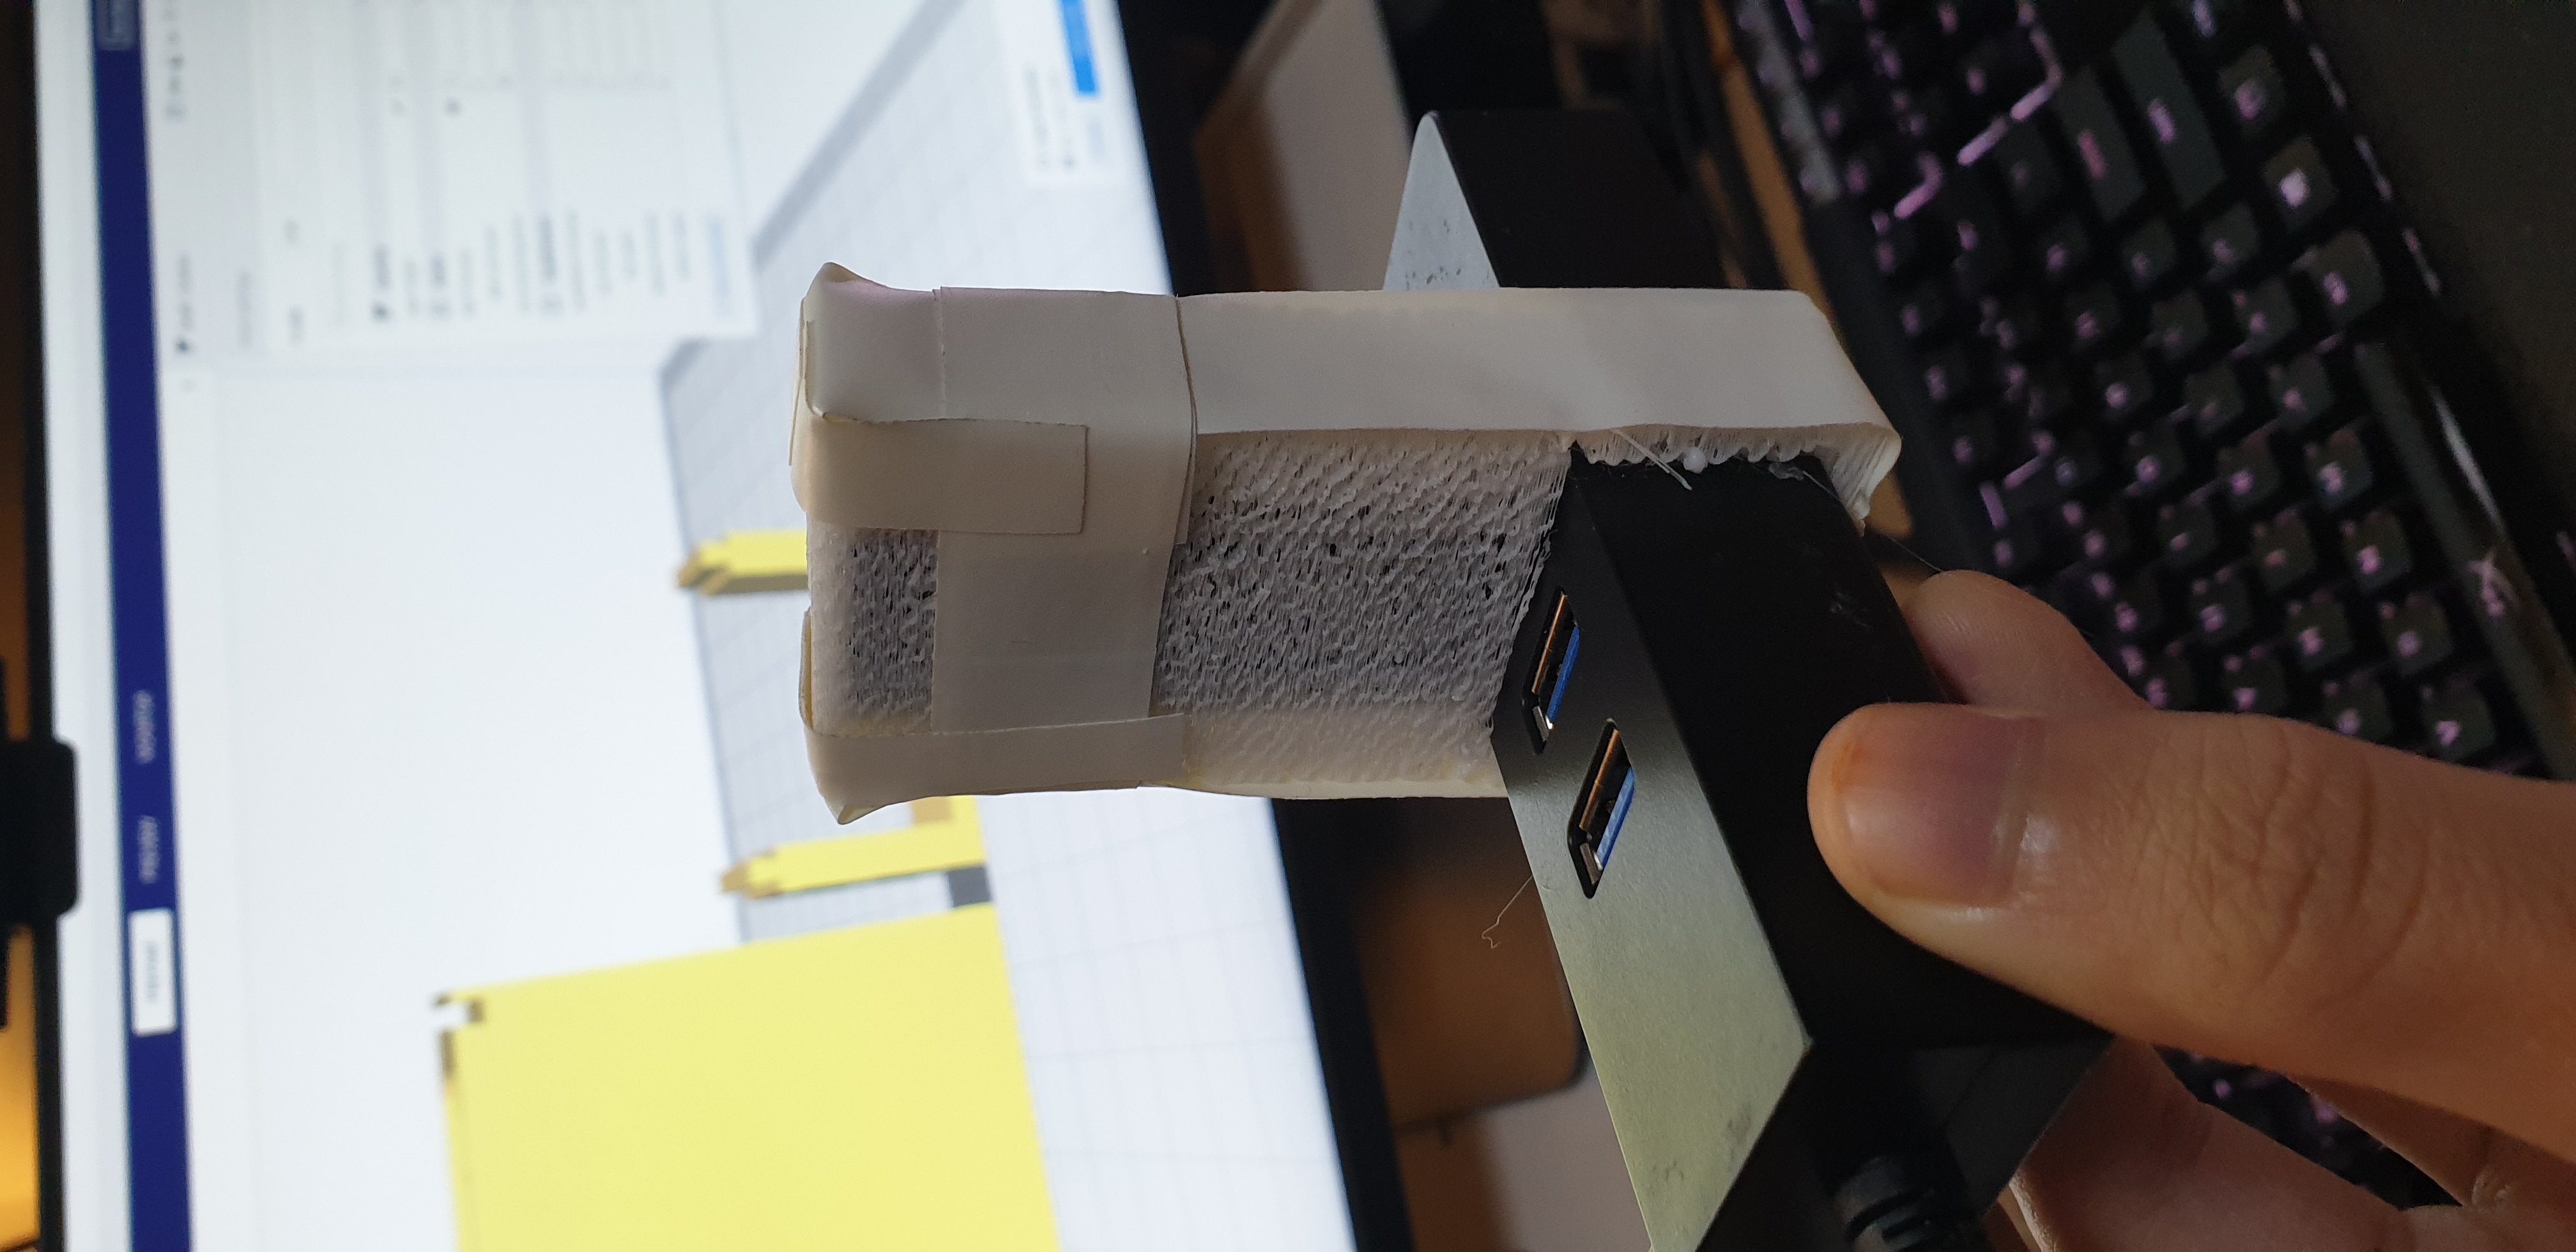
I had some cheap USB HDMI capture cards and a USB hub that I’d like to essential tether the cards onto - and lock them into place so that they don’t disconnect accidentally.
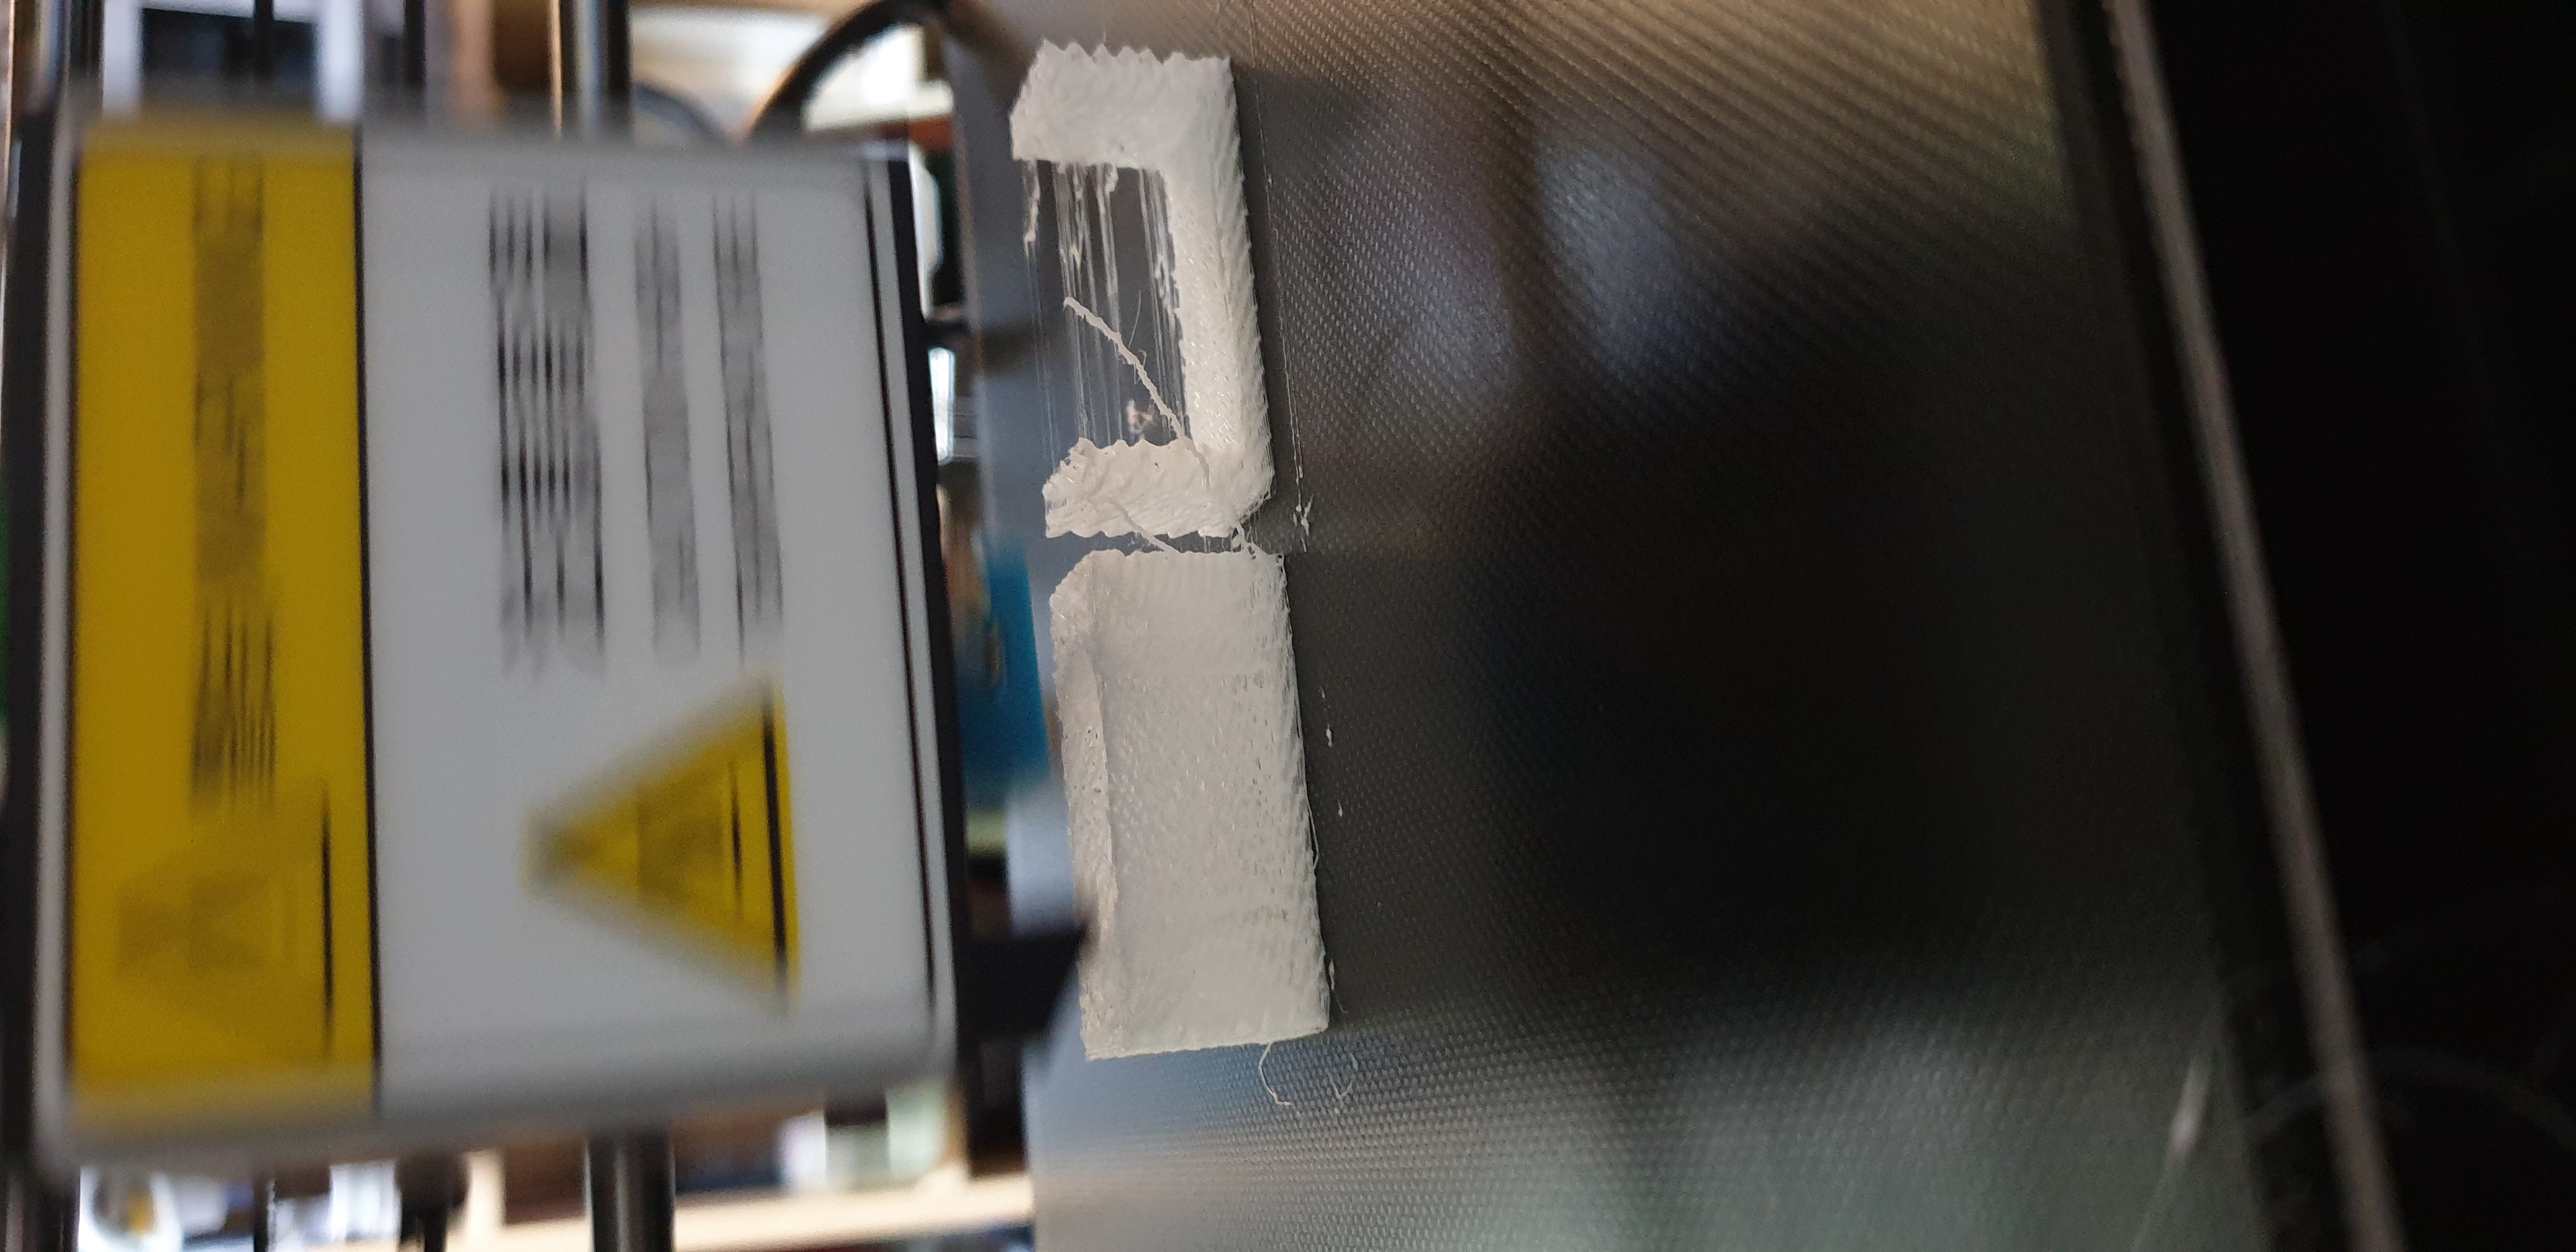
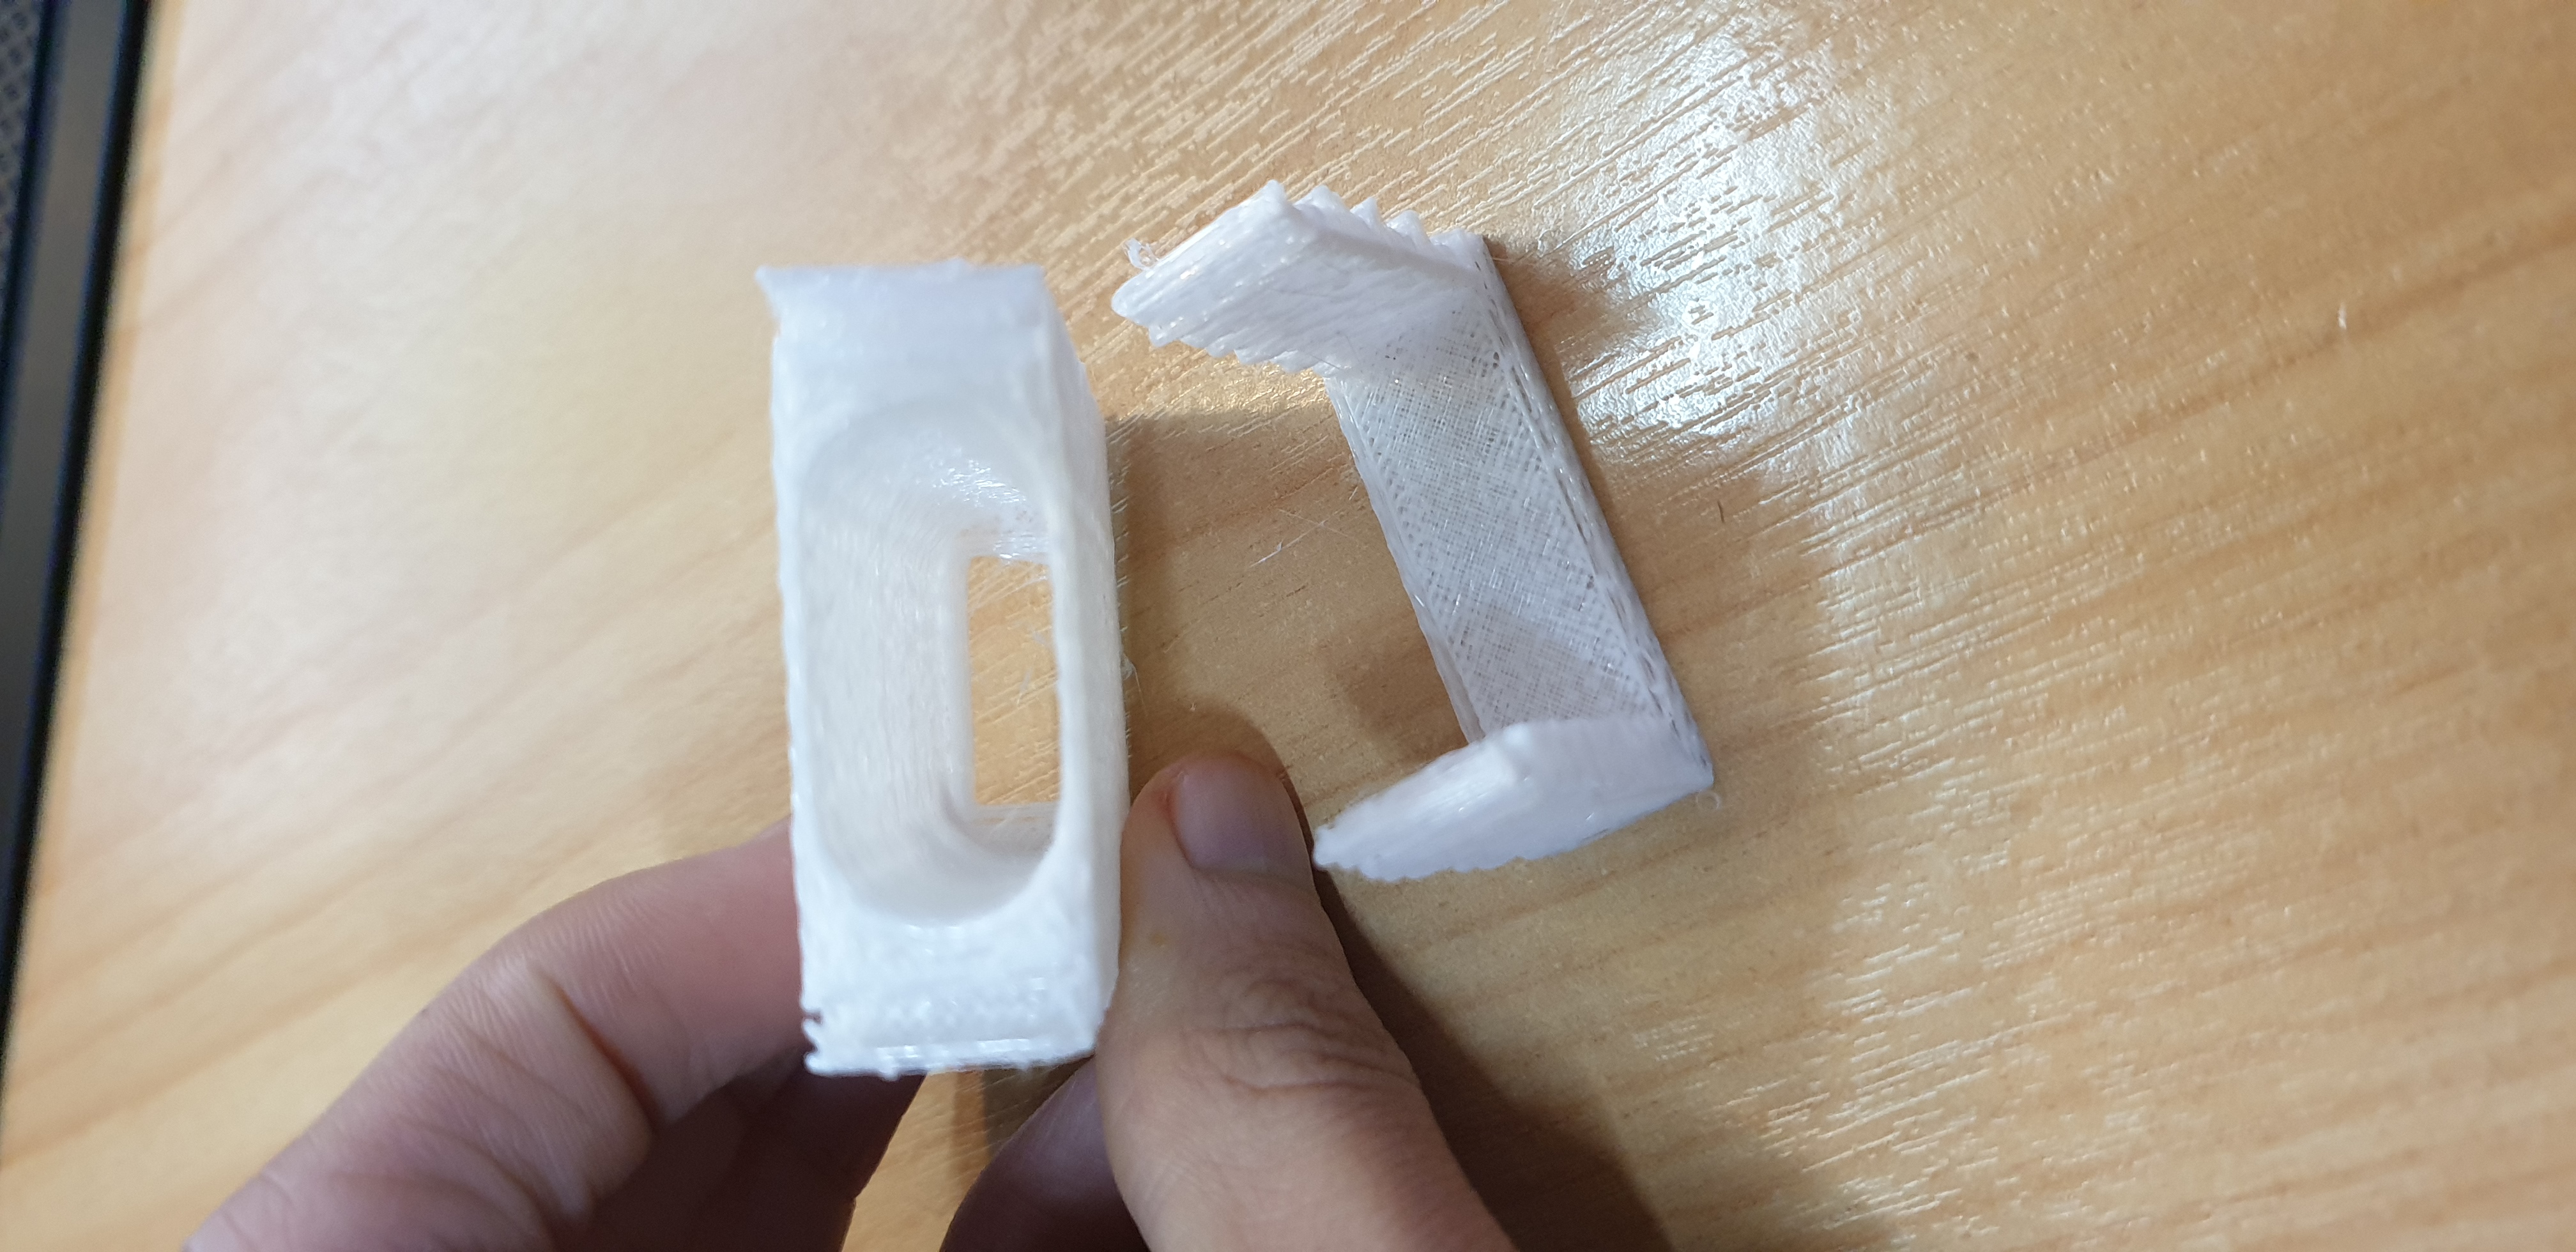
I first modelled the holder in SketchUp, having measured and drafted the dimensions for the, however I had forgotten the fact that I would need to slice the model into two re-attachable parts. After a while I ended up trying to add some dovetail joints, as it would hopefully hold shape.
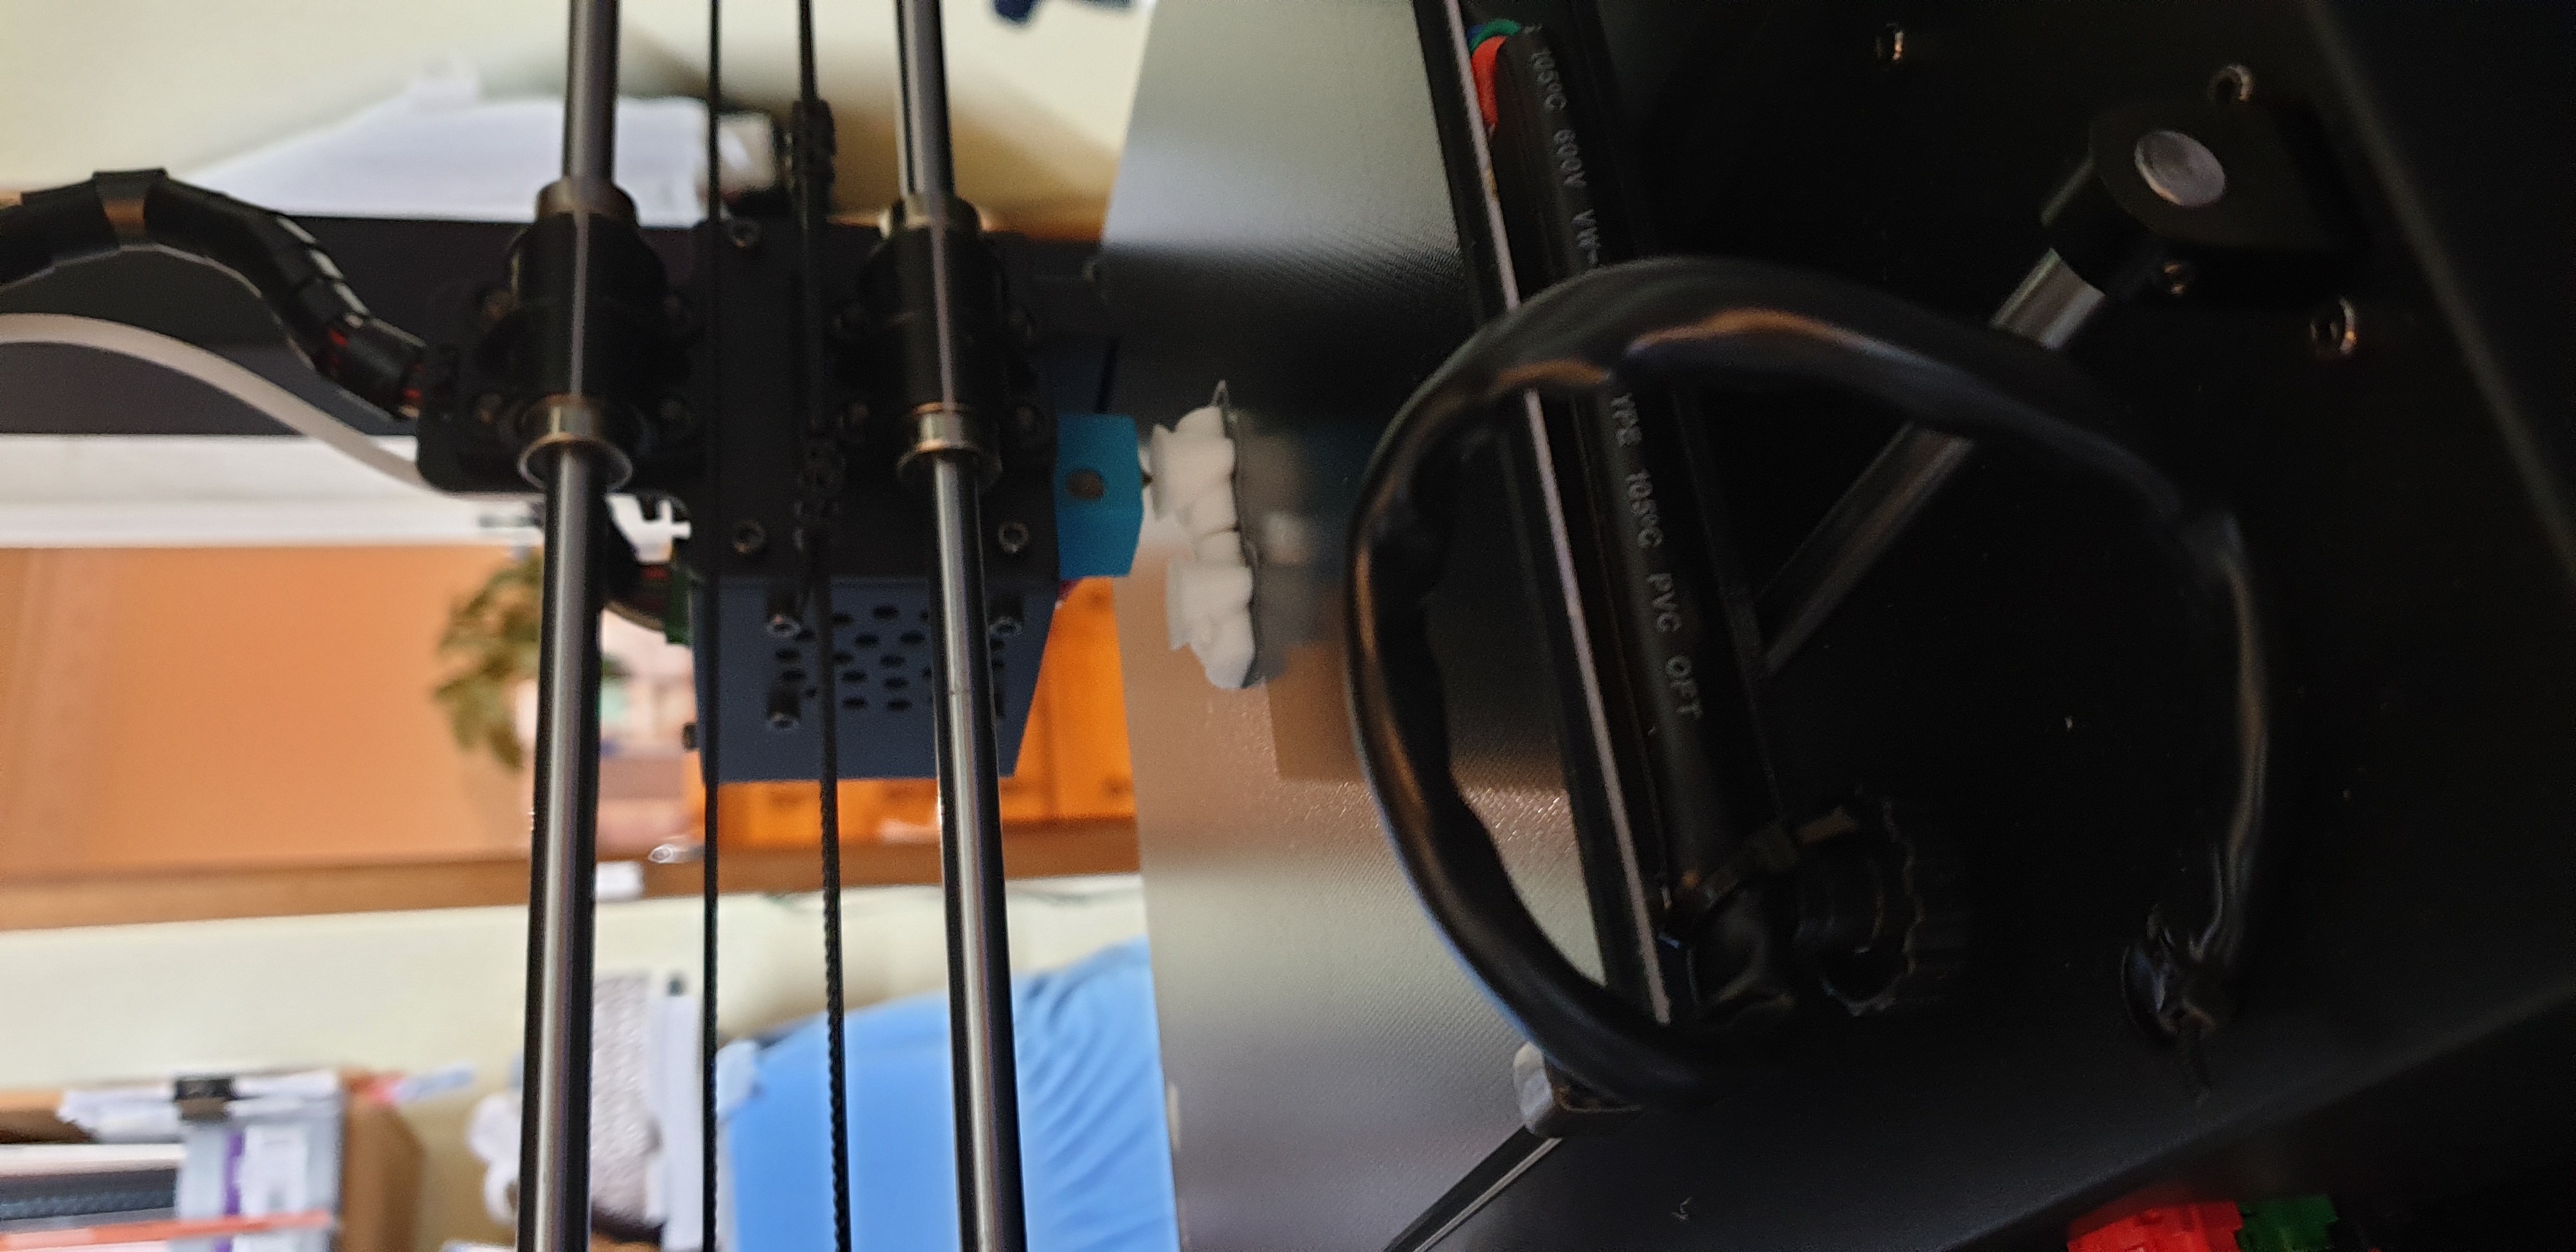
To ensure the model worked, I printed out a 1:4 scale version of the parts. However my filament didn’t appear to be adhering onto the previous layer - I had a hunch that it was too cold, as my hands were also freezing (it was like 4.30am). So the next day I tried again, this time closing my room doors and adding a space heater in the room, which yielded better results.
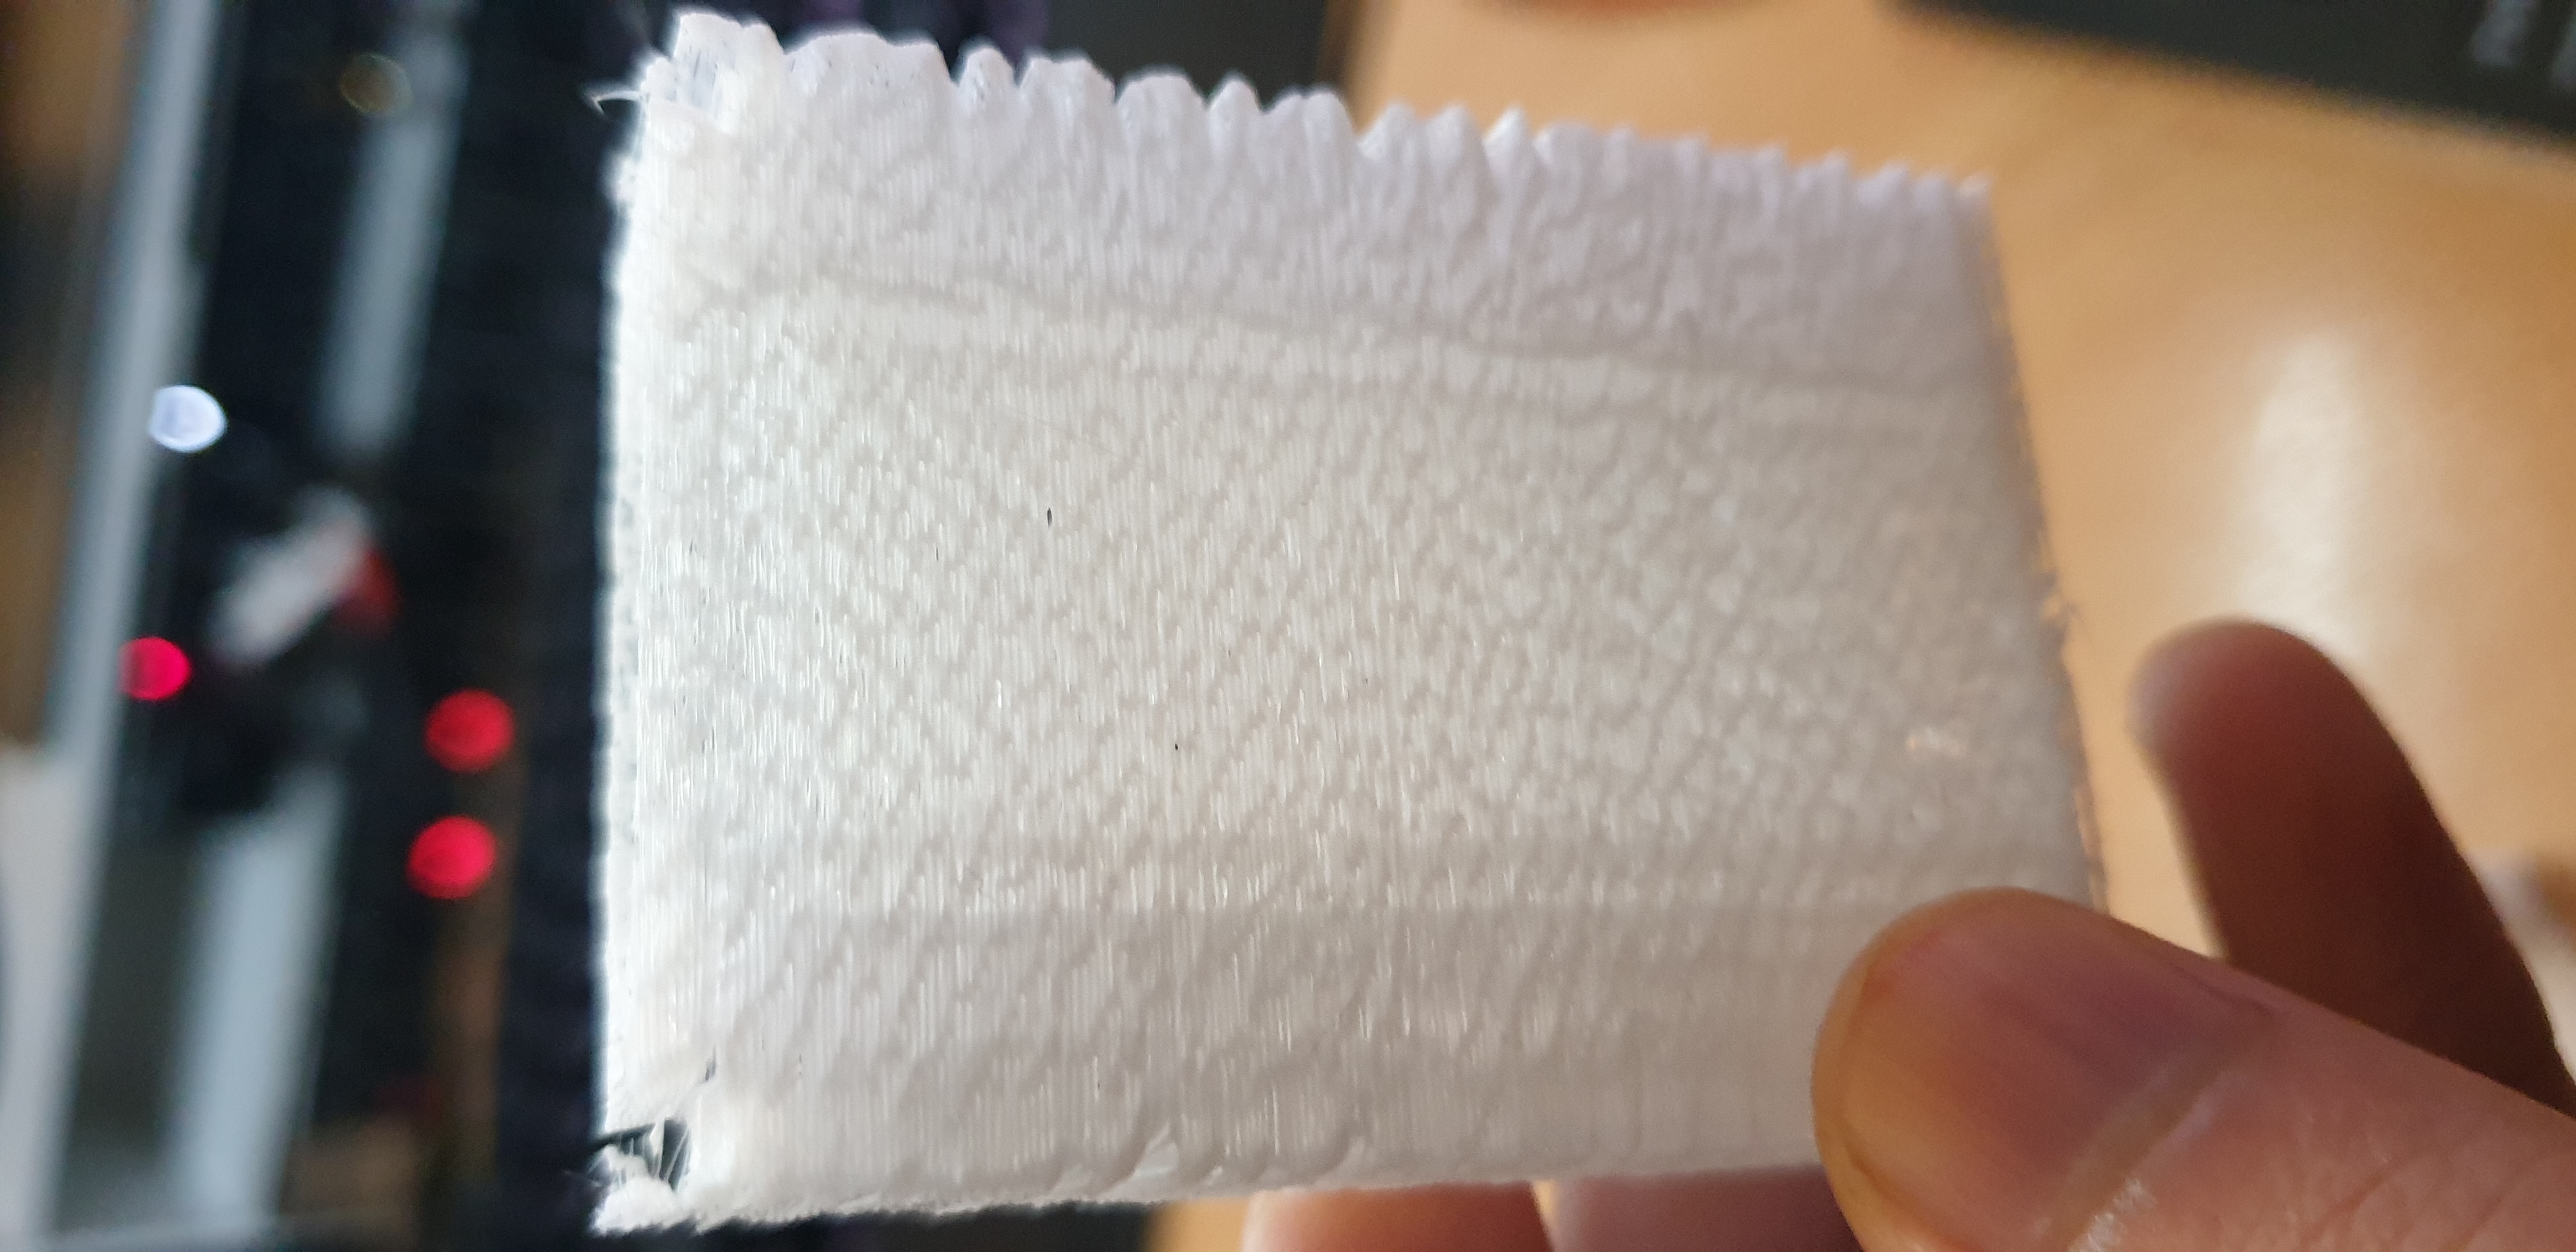
I didn’t make the dovetails large enough however - they were too weak and broke off (in both the test and scale model). In addition, I hadn’t really dialled in the optimal settings for the 3D printer, so the structure of the printed model was abit weak.
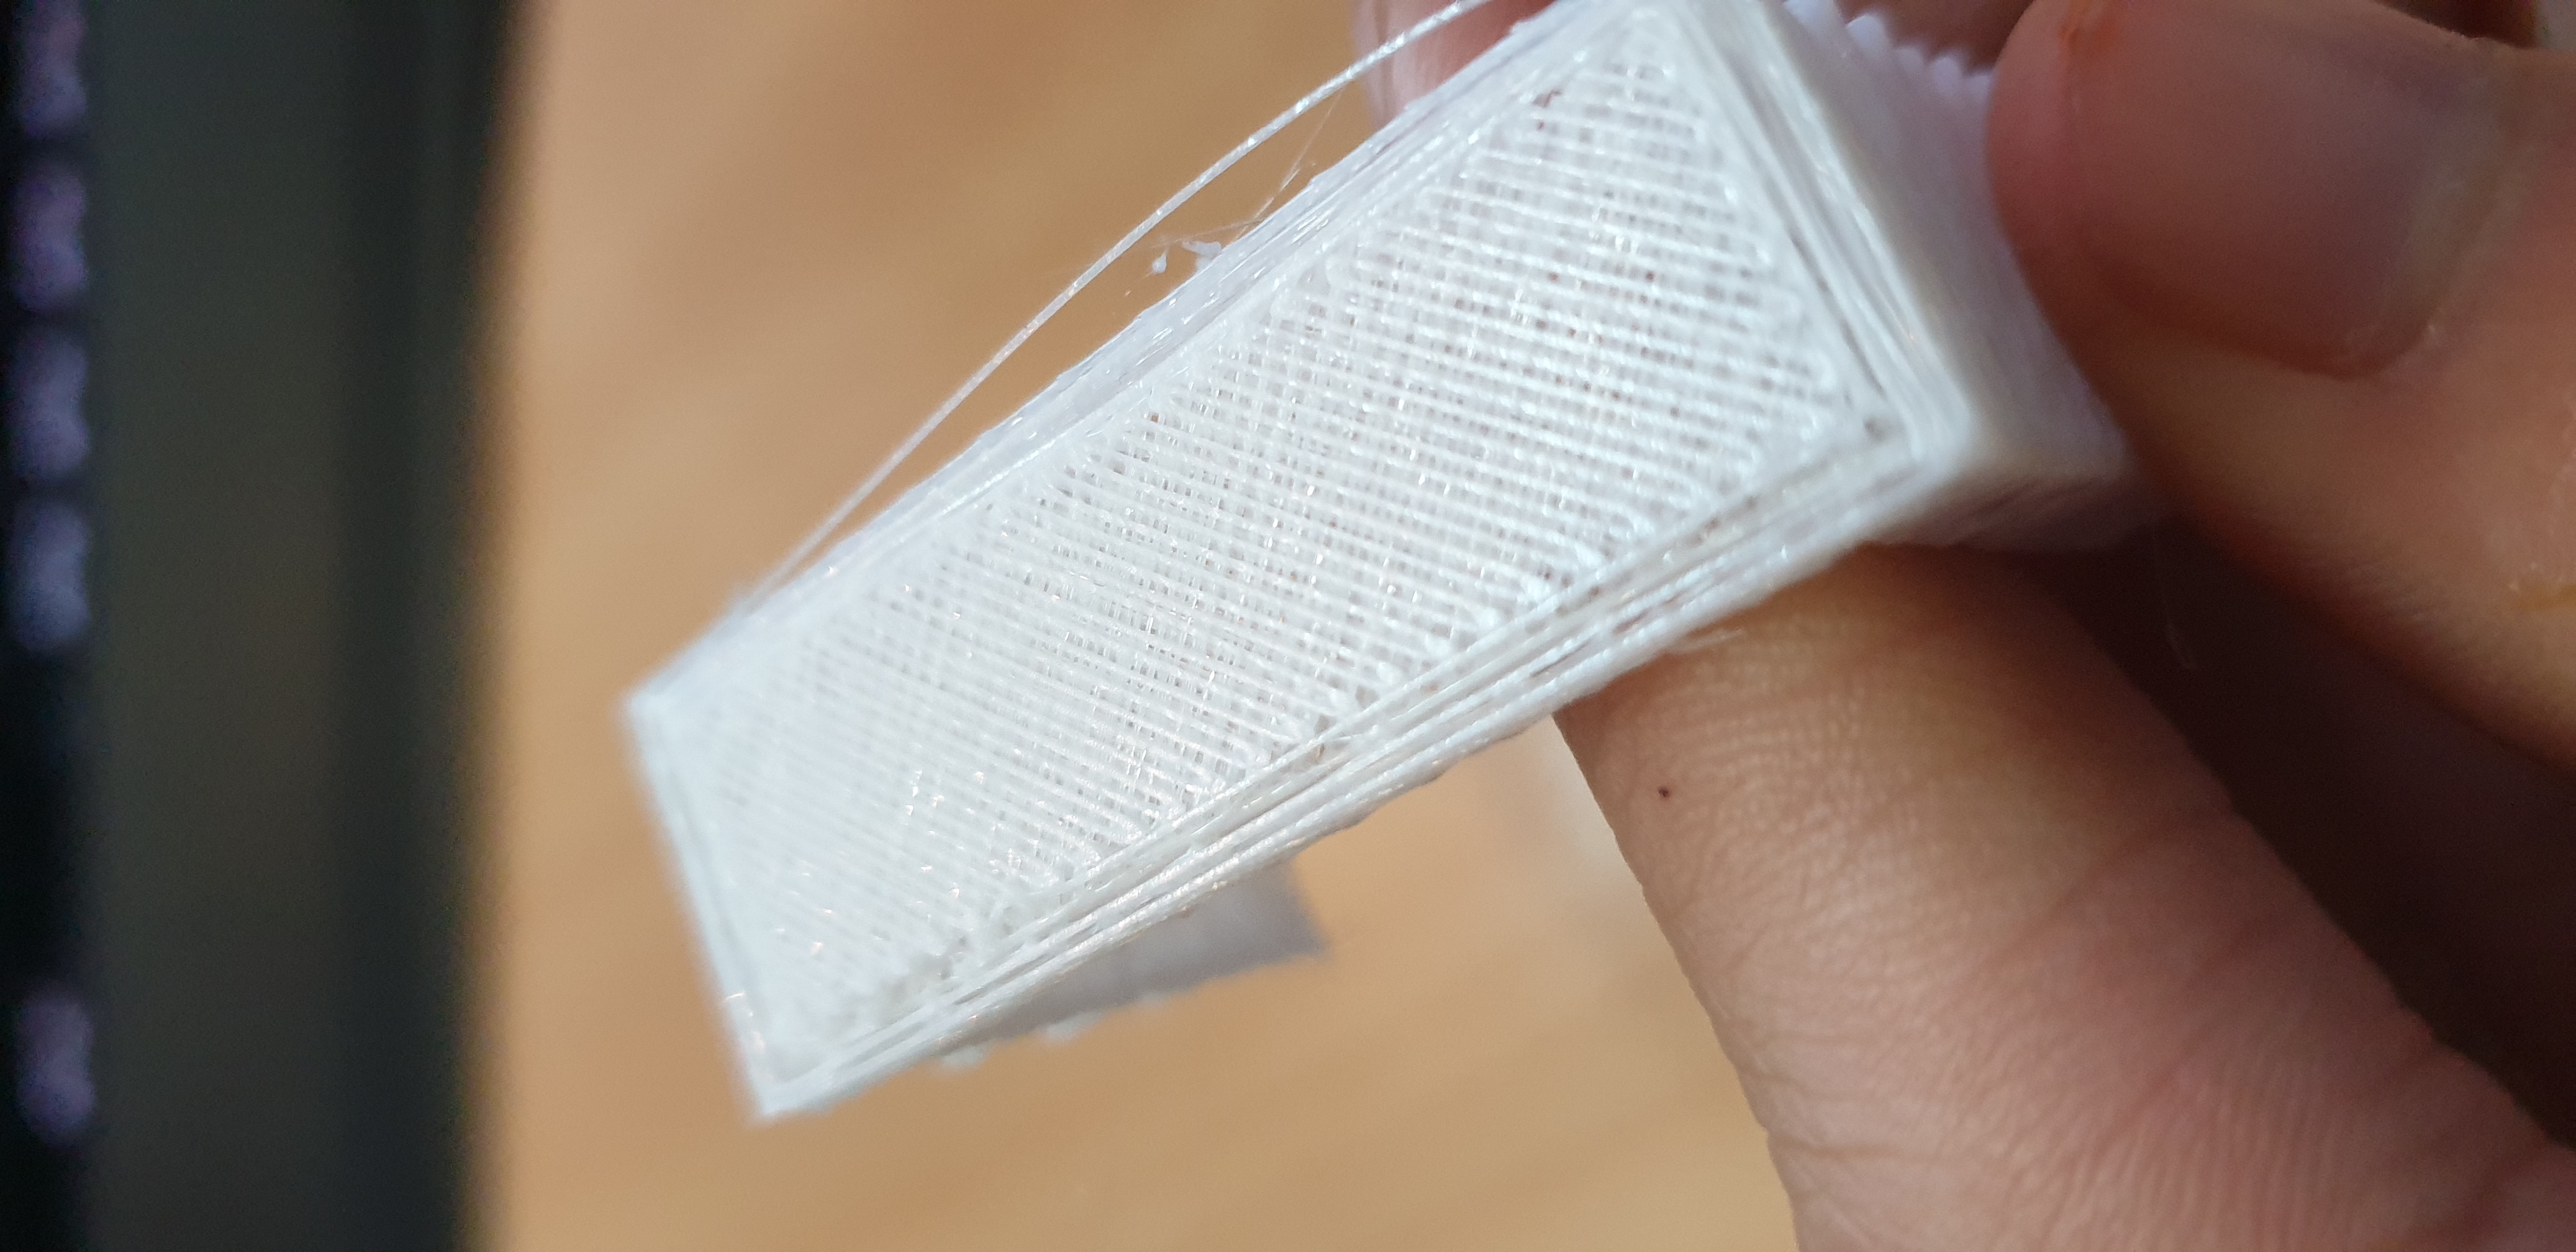
Nevertheless, I was still able to print it decently.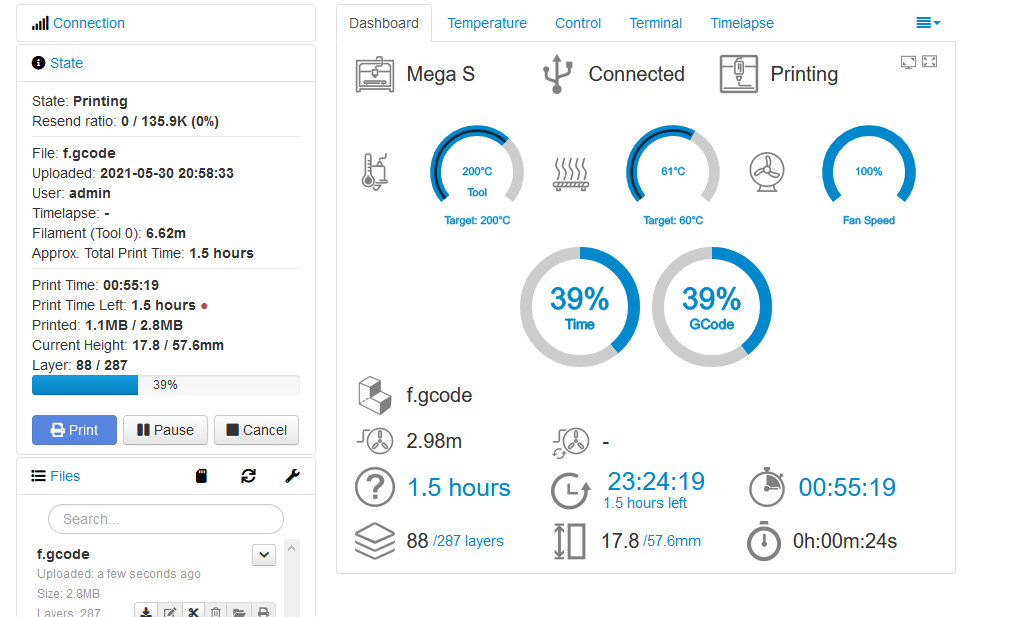
After printing two of them out, and then madly wrapping electrical tape over it, I gave it a test, and luckily both capture cards fit the holder (just barely) - but still a success!
Now the USB capture card won’t be able to accidentally disconnect from the hub!

Wrap Up
I can’t wait to see what else I’ll be printing with the 3D printer. I’ll likely print spare parts / holders and covers for things that are missing them / are broken; rather than any decorative or fancy piece. Hopefully I’ll end up using it enough to cut even and save money
Notes to a future me
- When making models, add at least 2mm of size tolerance for anything that needs to be slotted
- When slicing, add joints to attach pieces together