So my mum’s been complaining that the WiFi LED Smart Bulbs that she bought would not turn back on after she flicked the physical power switch off… (gee wow who knew), so she told me to find a solution.
Yep, can’t wait to add more random devices to my home network…
(don’t worry it’s on a VLAN)
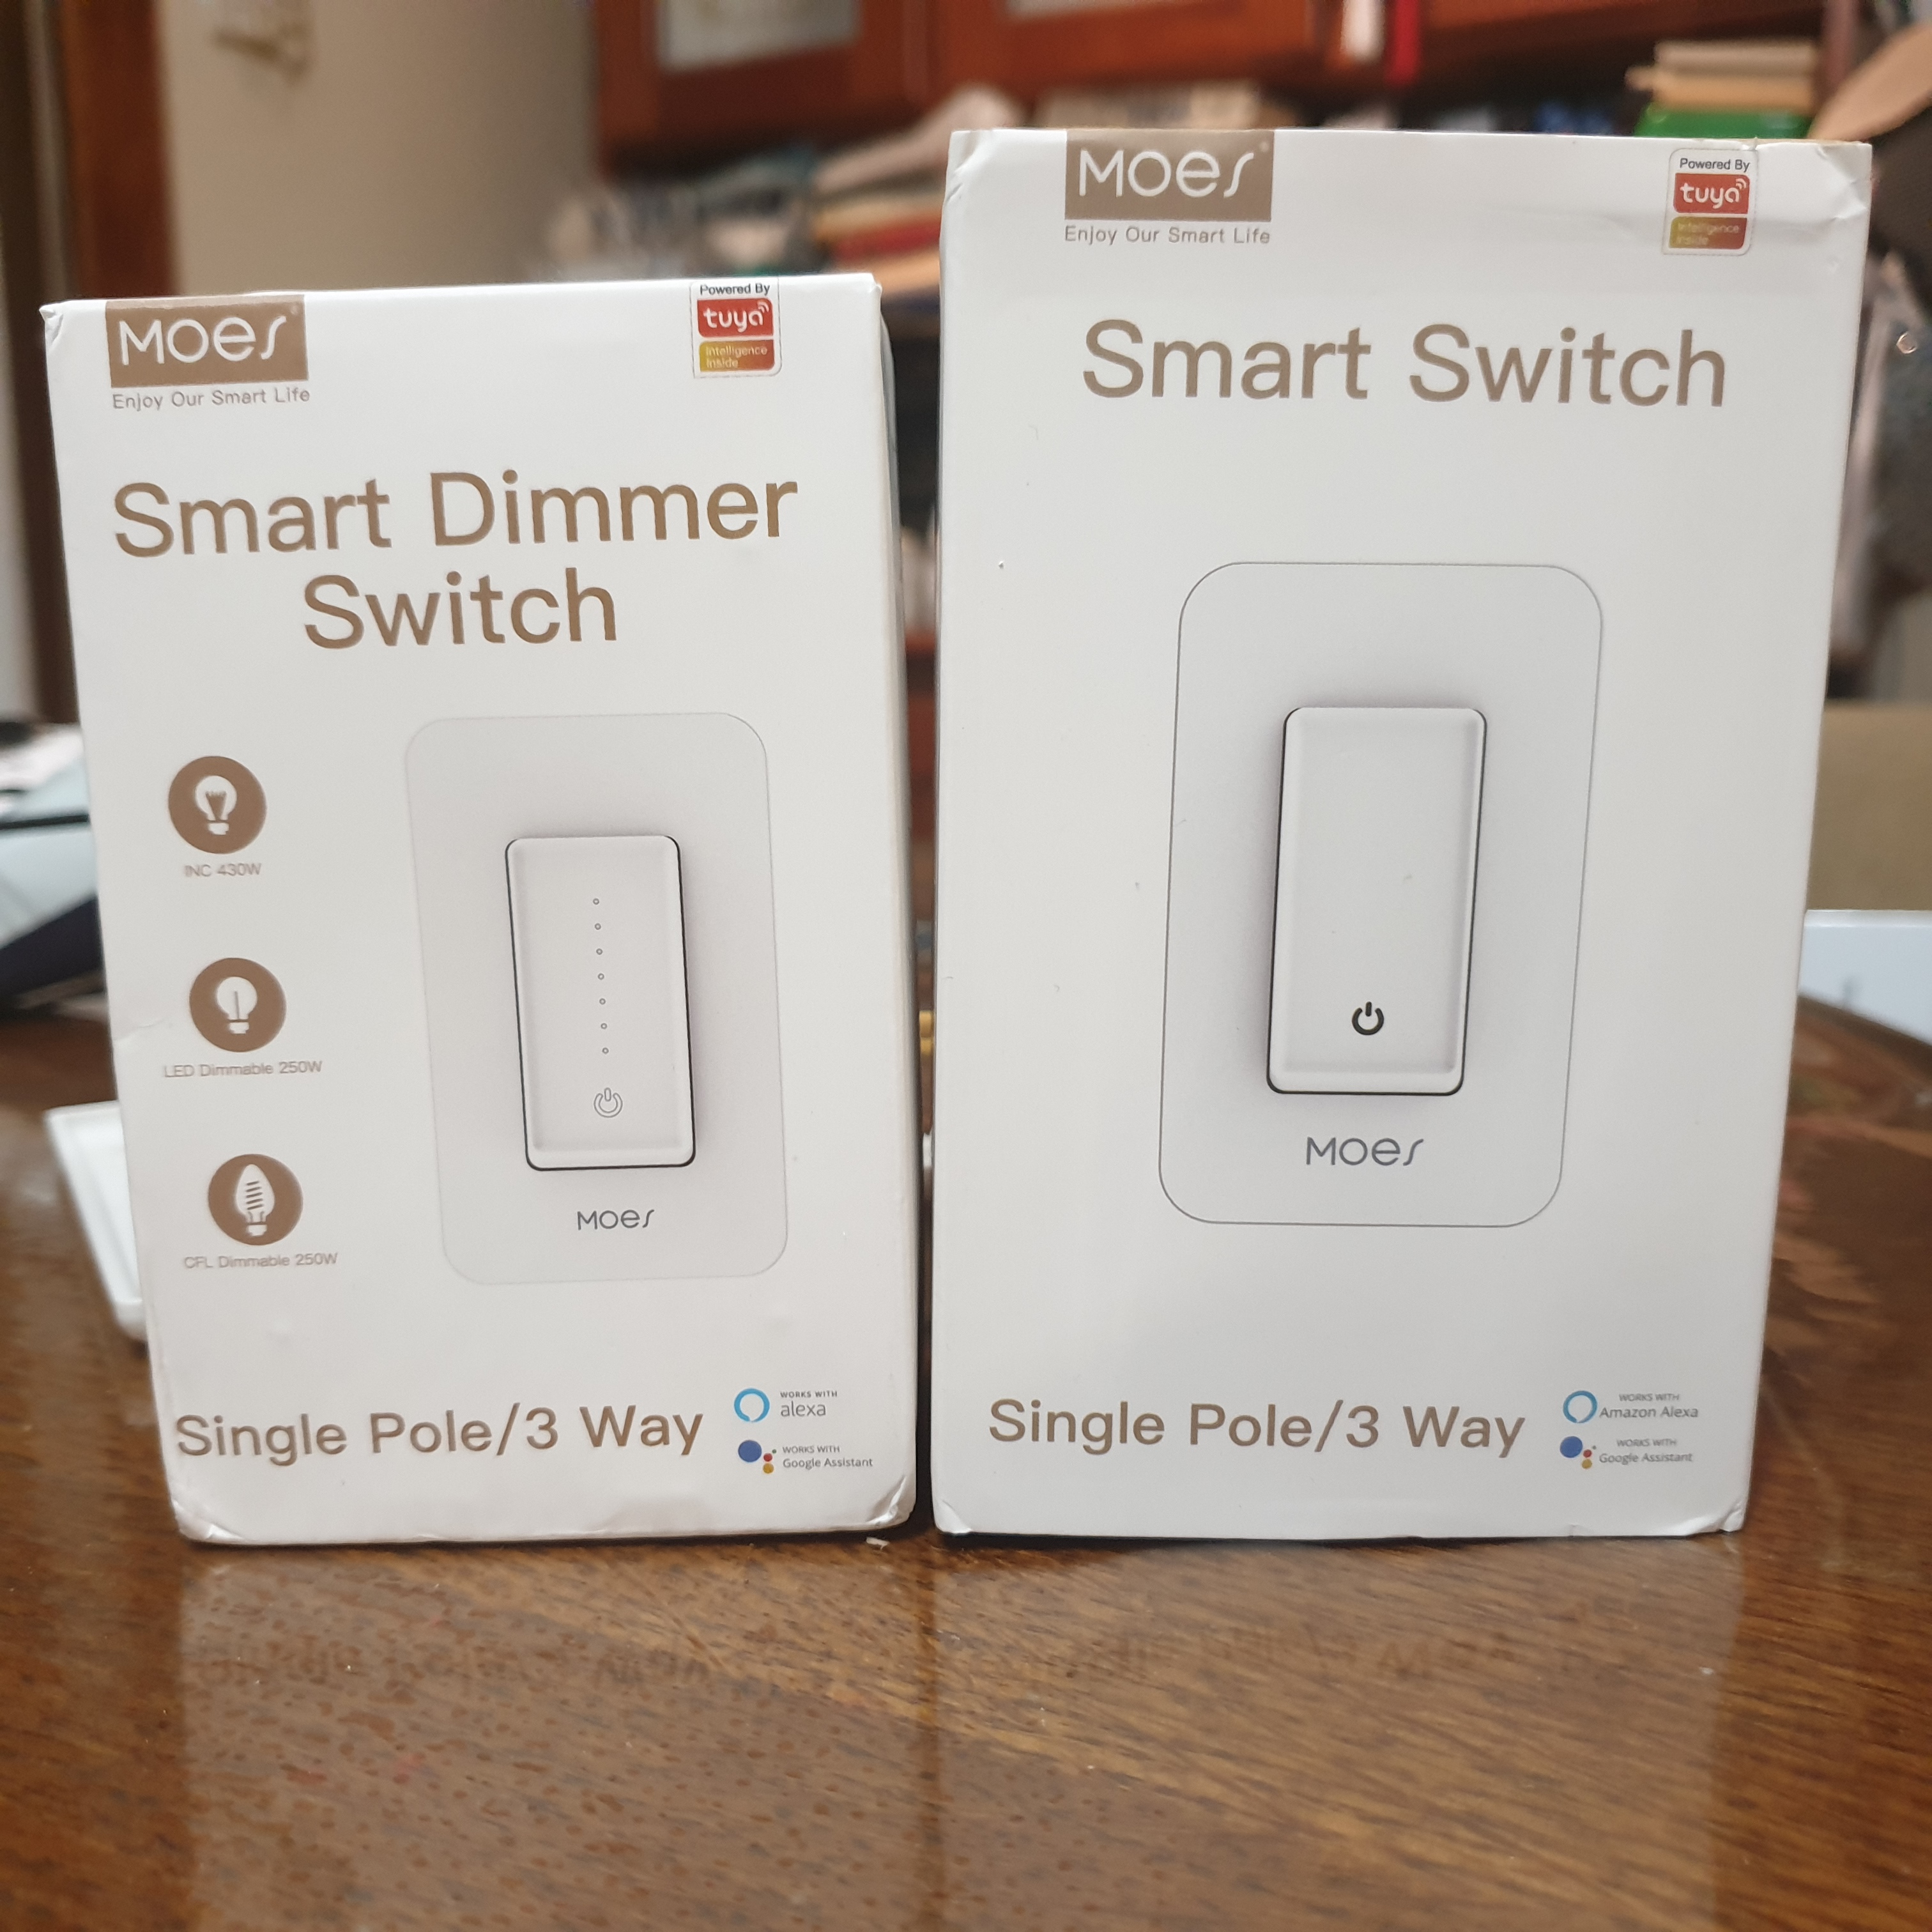
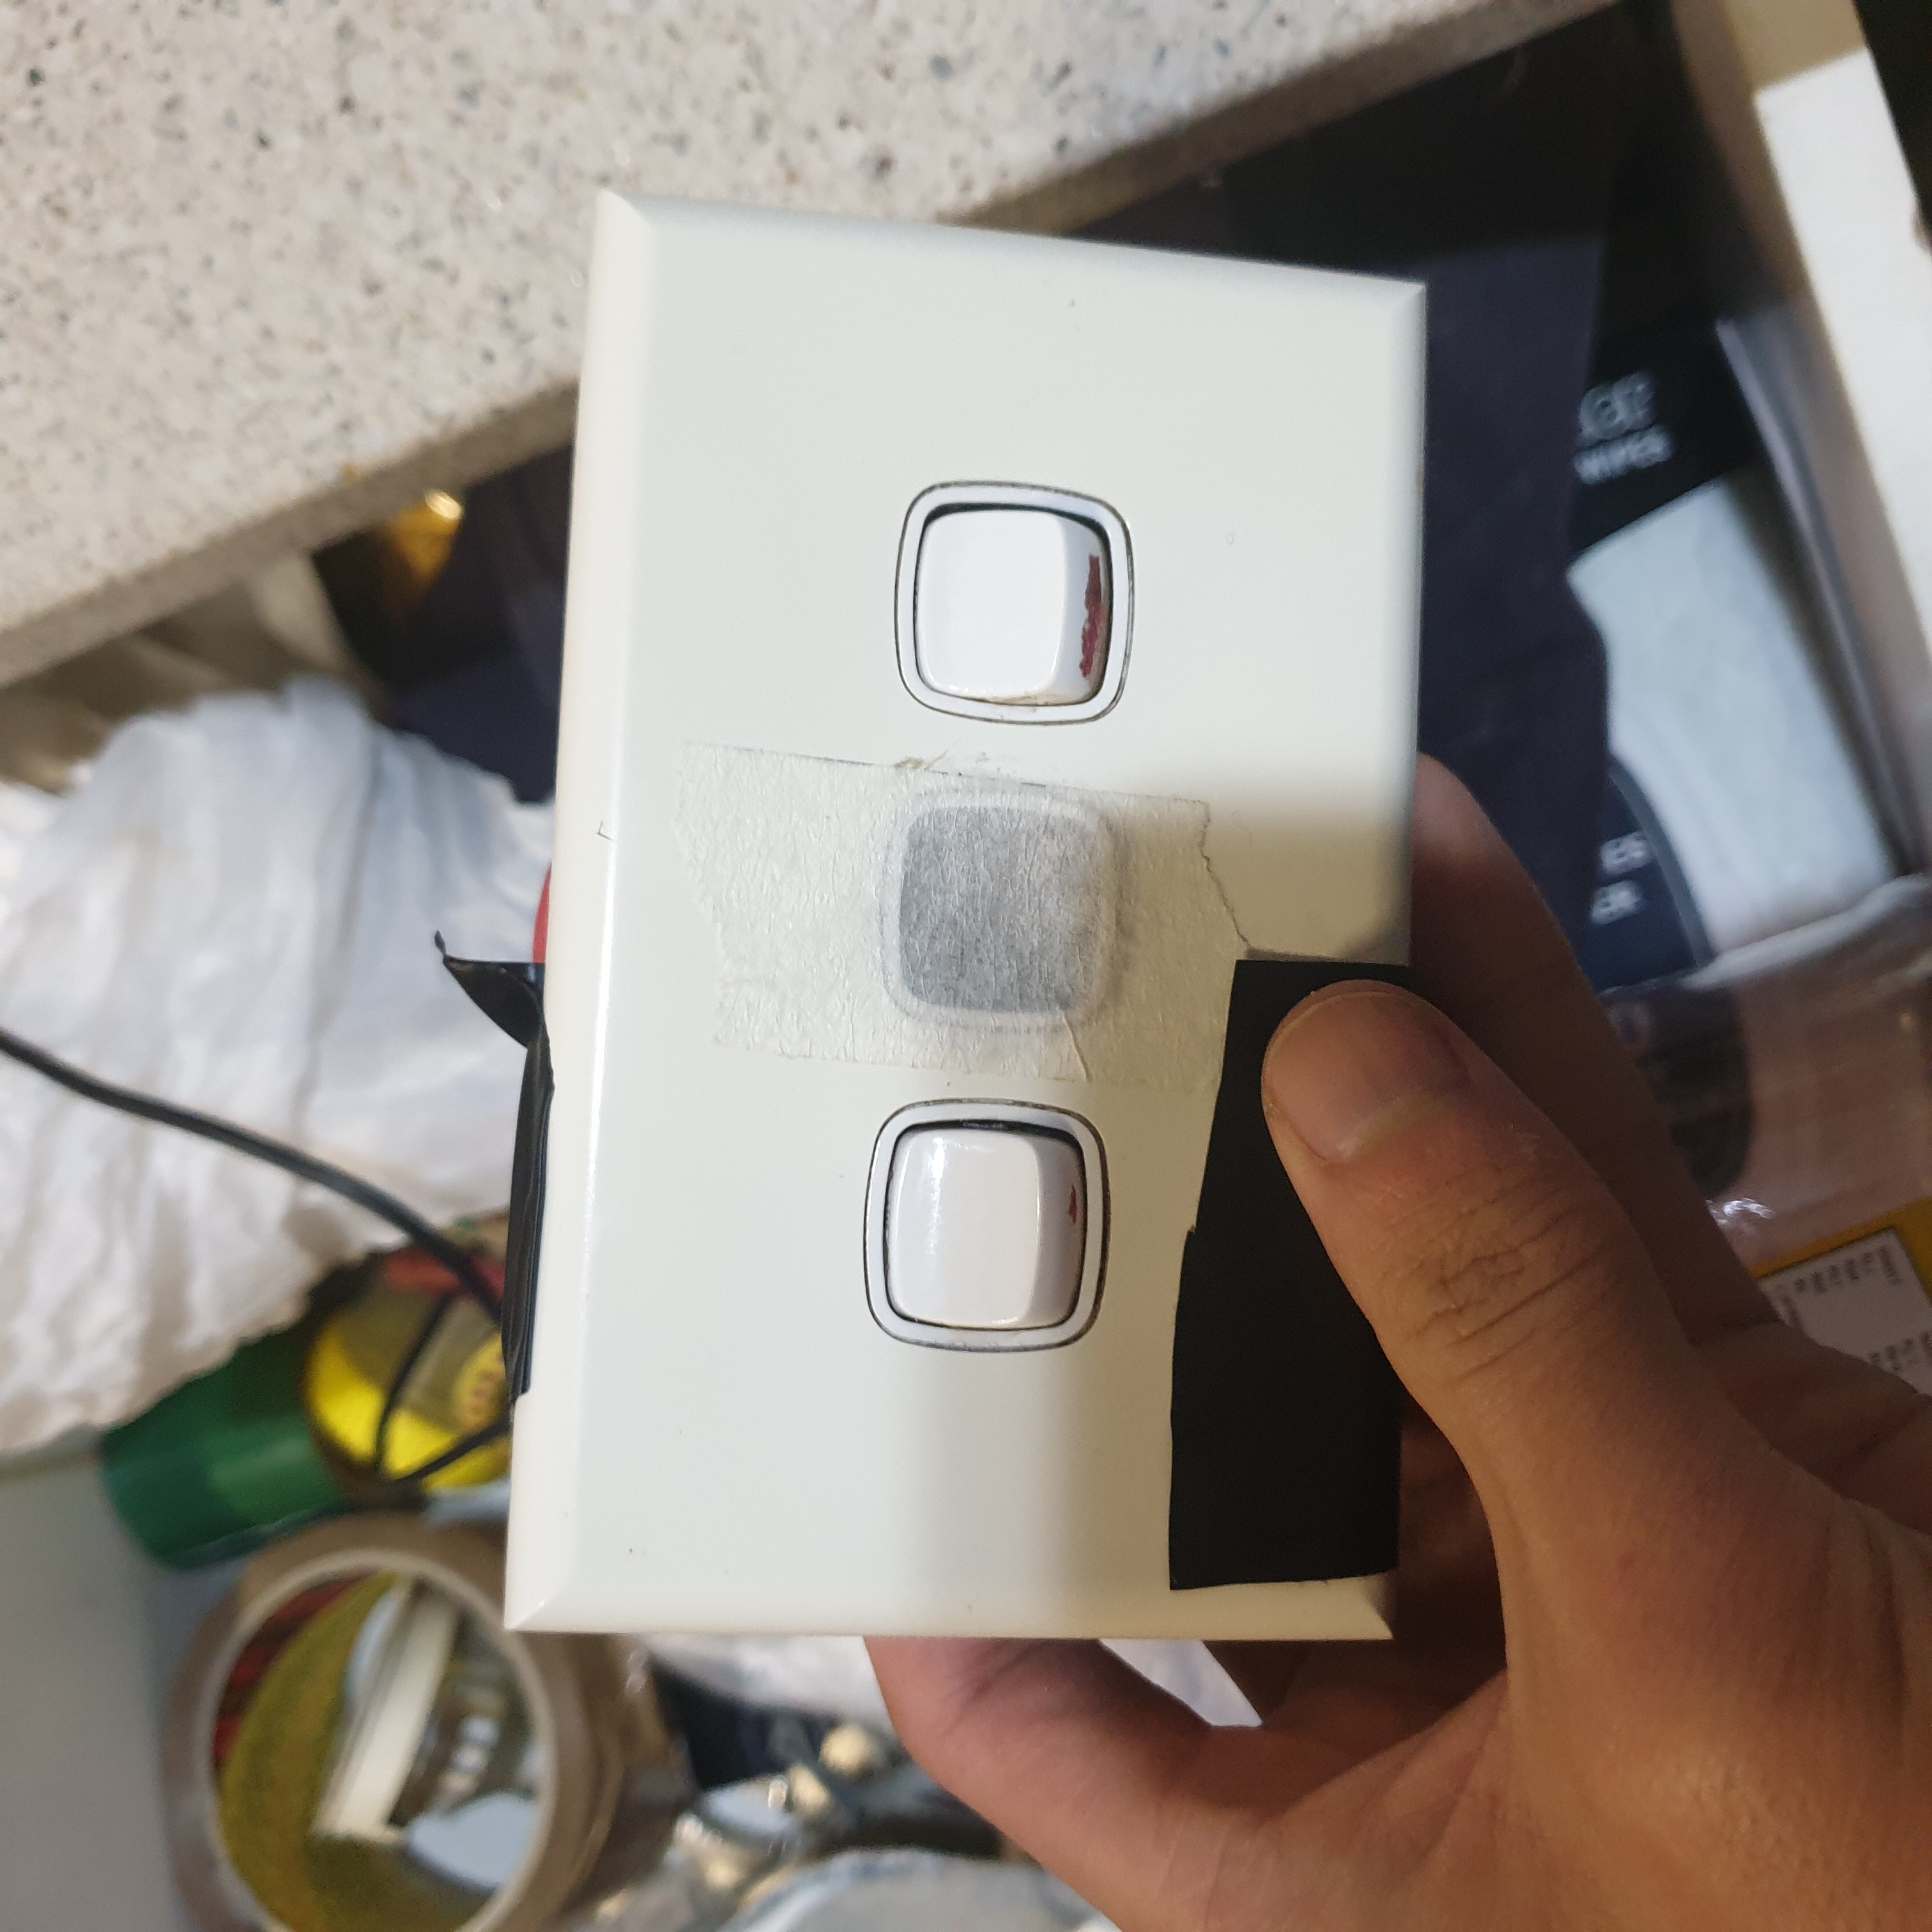
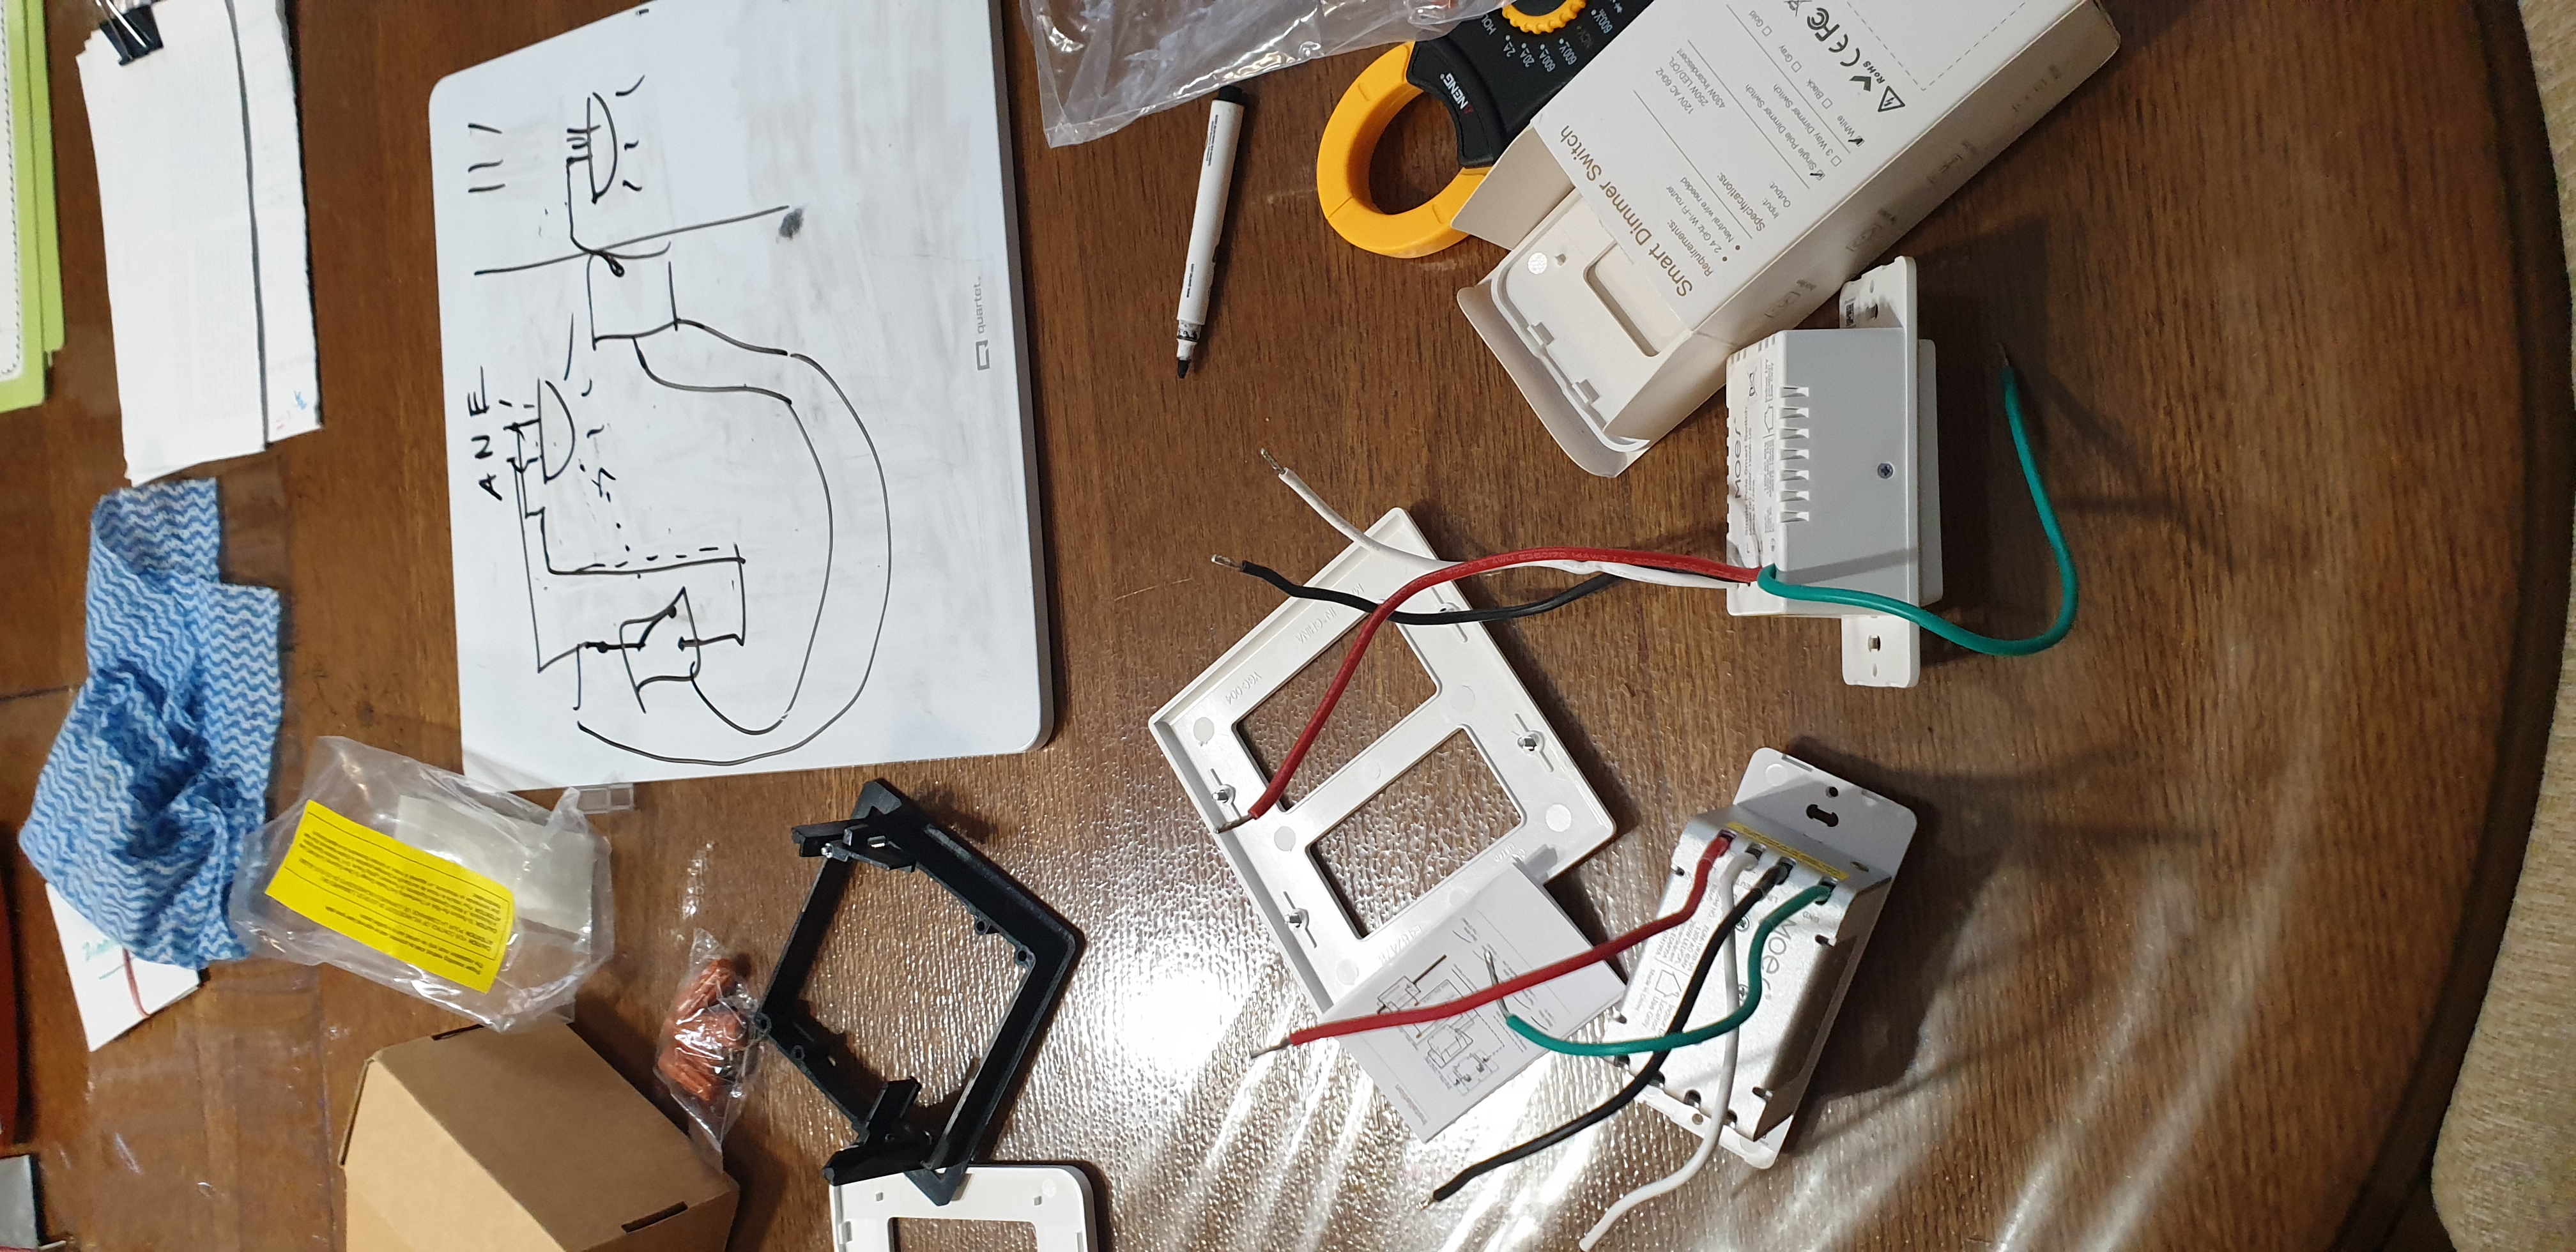
I ended up buying two different panels.
The Smart Dimmer Switch would be used for the smart bulbs my mum had bought (Some Laser branded Tuya bulb) - however the bulbs won’t actually be wired to the switch - rather the Tuya integration will manage the synchronisation of power states and brightness levels.
The other product labelled “Smart Switch” was for a fluorescent tube light in the Kitchen - and would actually be connected (aka physically) to the lights.
Inspection
Firstly, we’ll need to have a look at the existing wiring and see how we can work with it
The majority of older style homes don’t actually have a pair of live and neutral wires running along the wall; rather there is a terminal block above the ceiling light which extends the light circuit down to the walls where a wall switch can physically (dis)connect the circuit.
We often need a pair of live and neutral wires for smart switches - as the switches themselves require their own power to operate. (A simple mechanical switch only needs to complete a circuit, but a smart switch needs its own power to open and close the circuit)
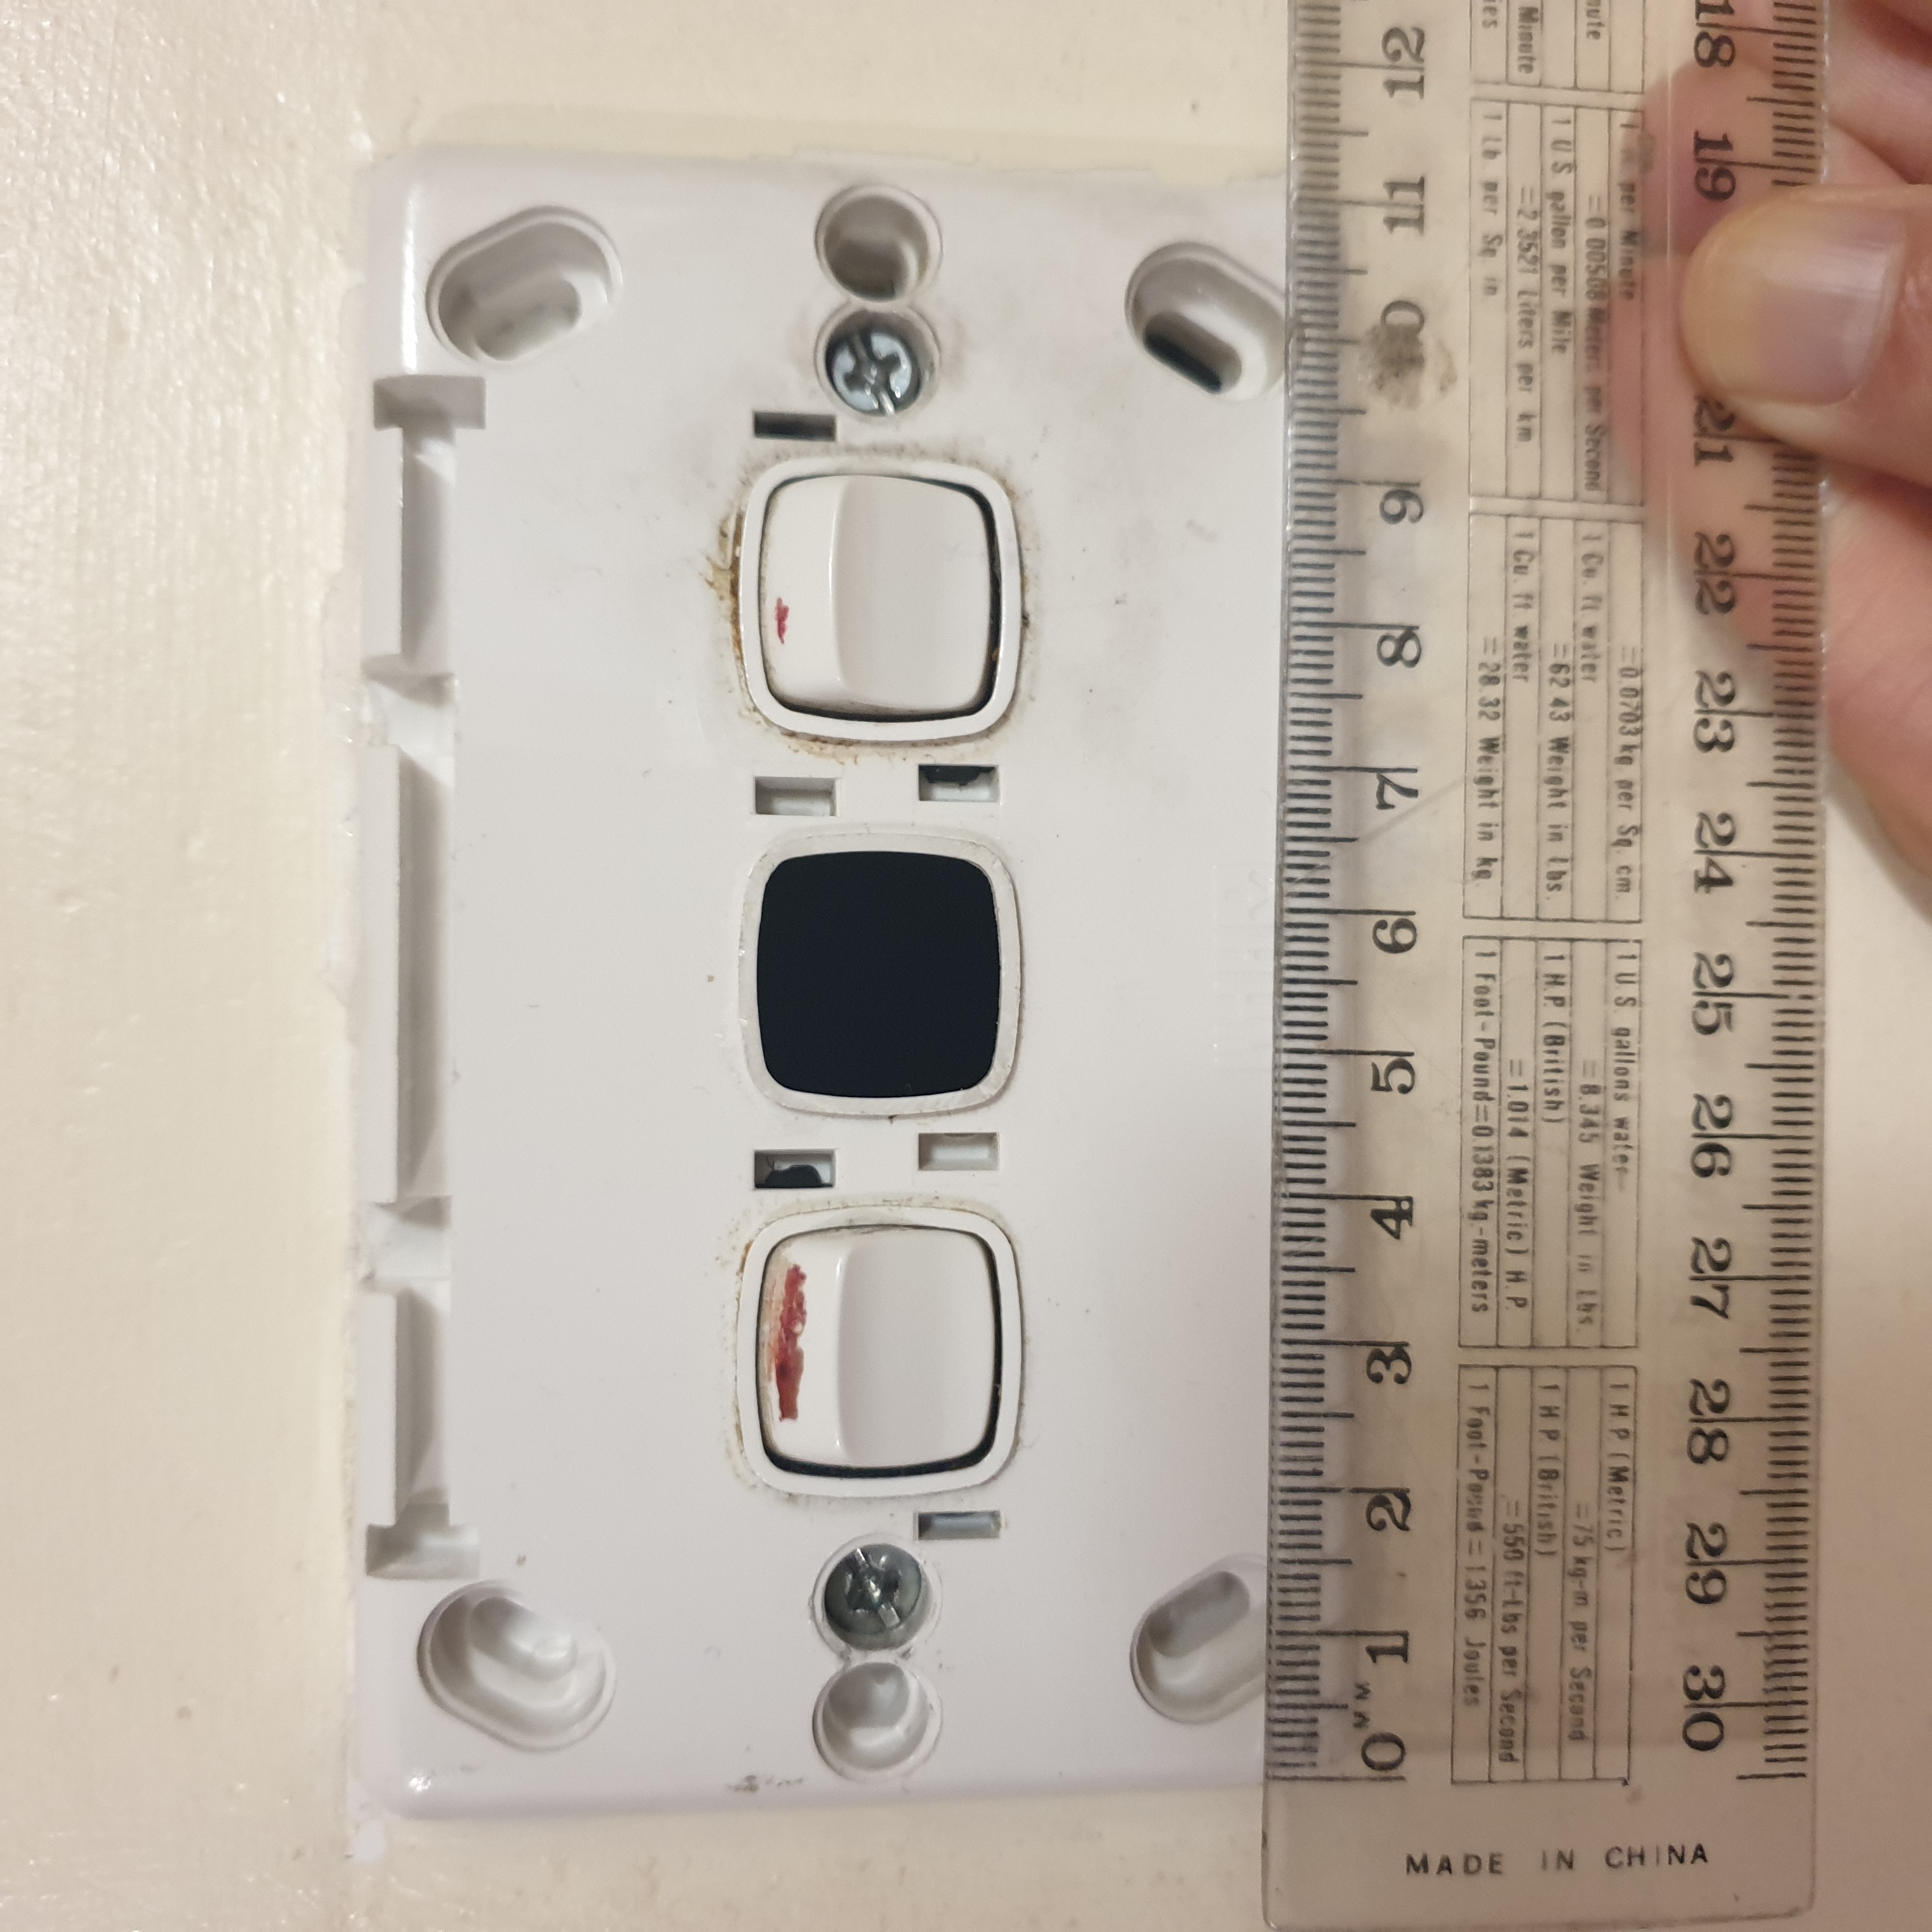
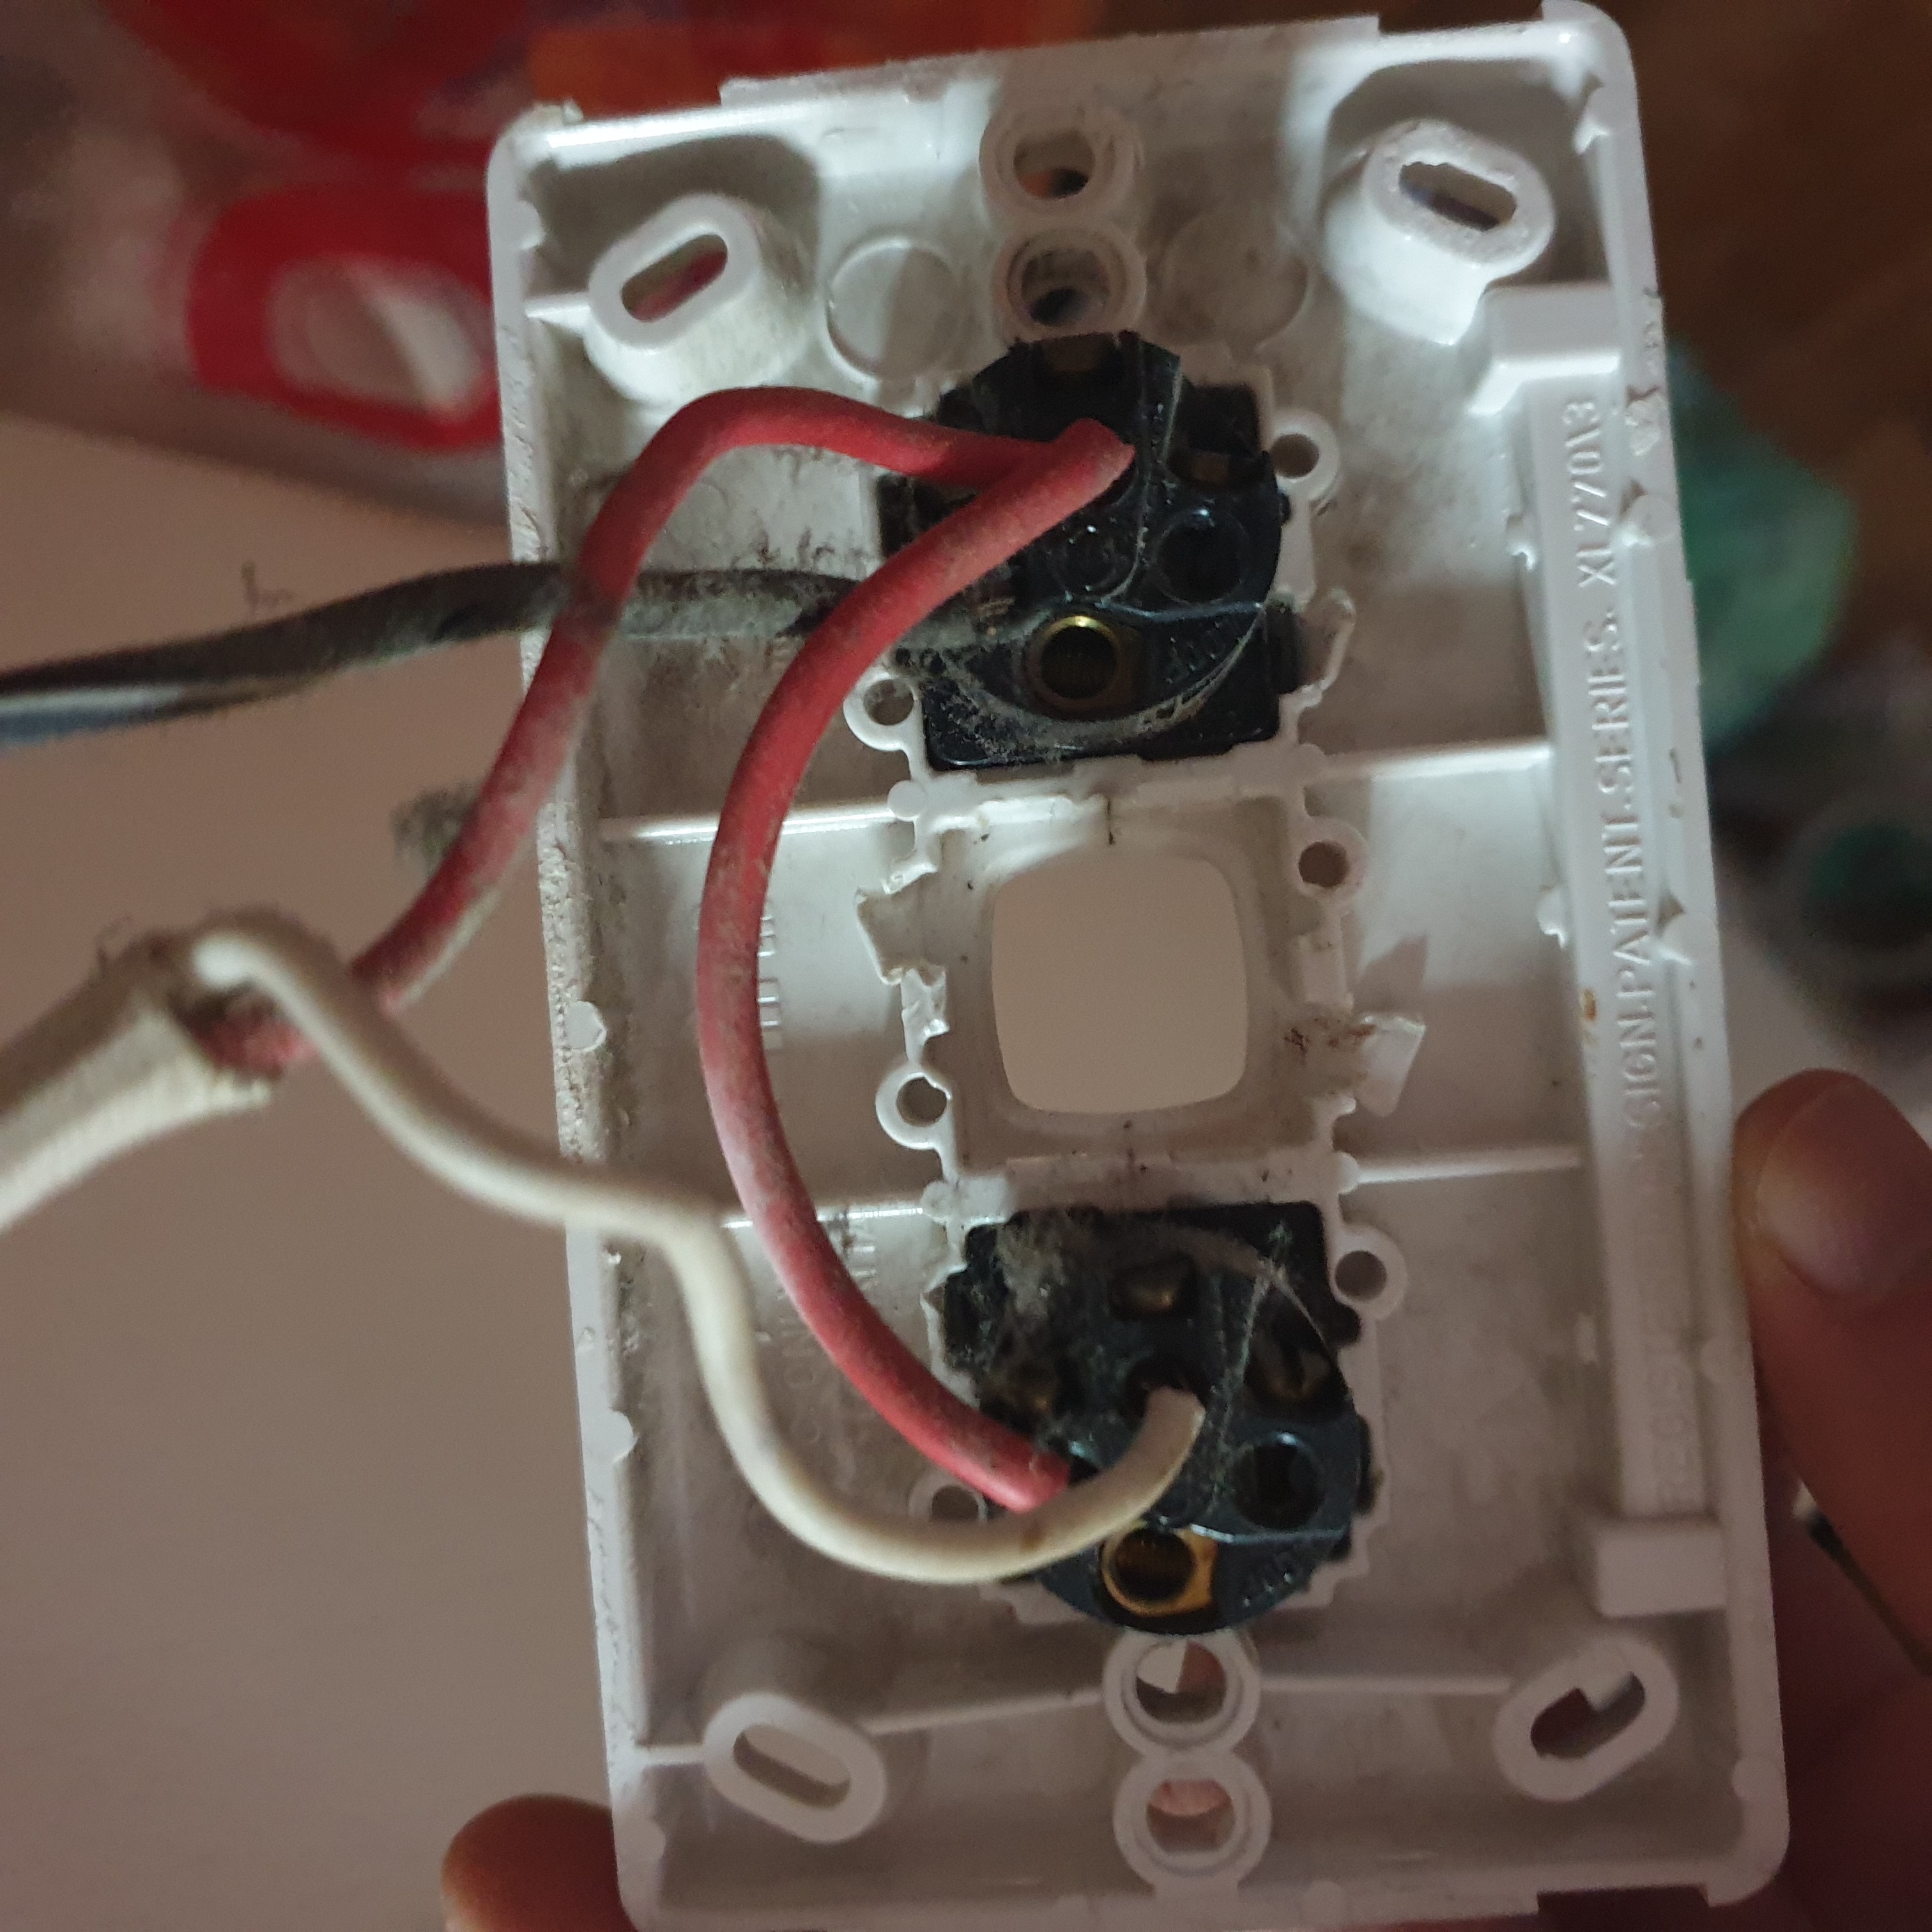
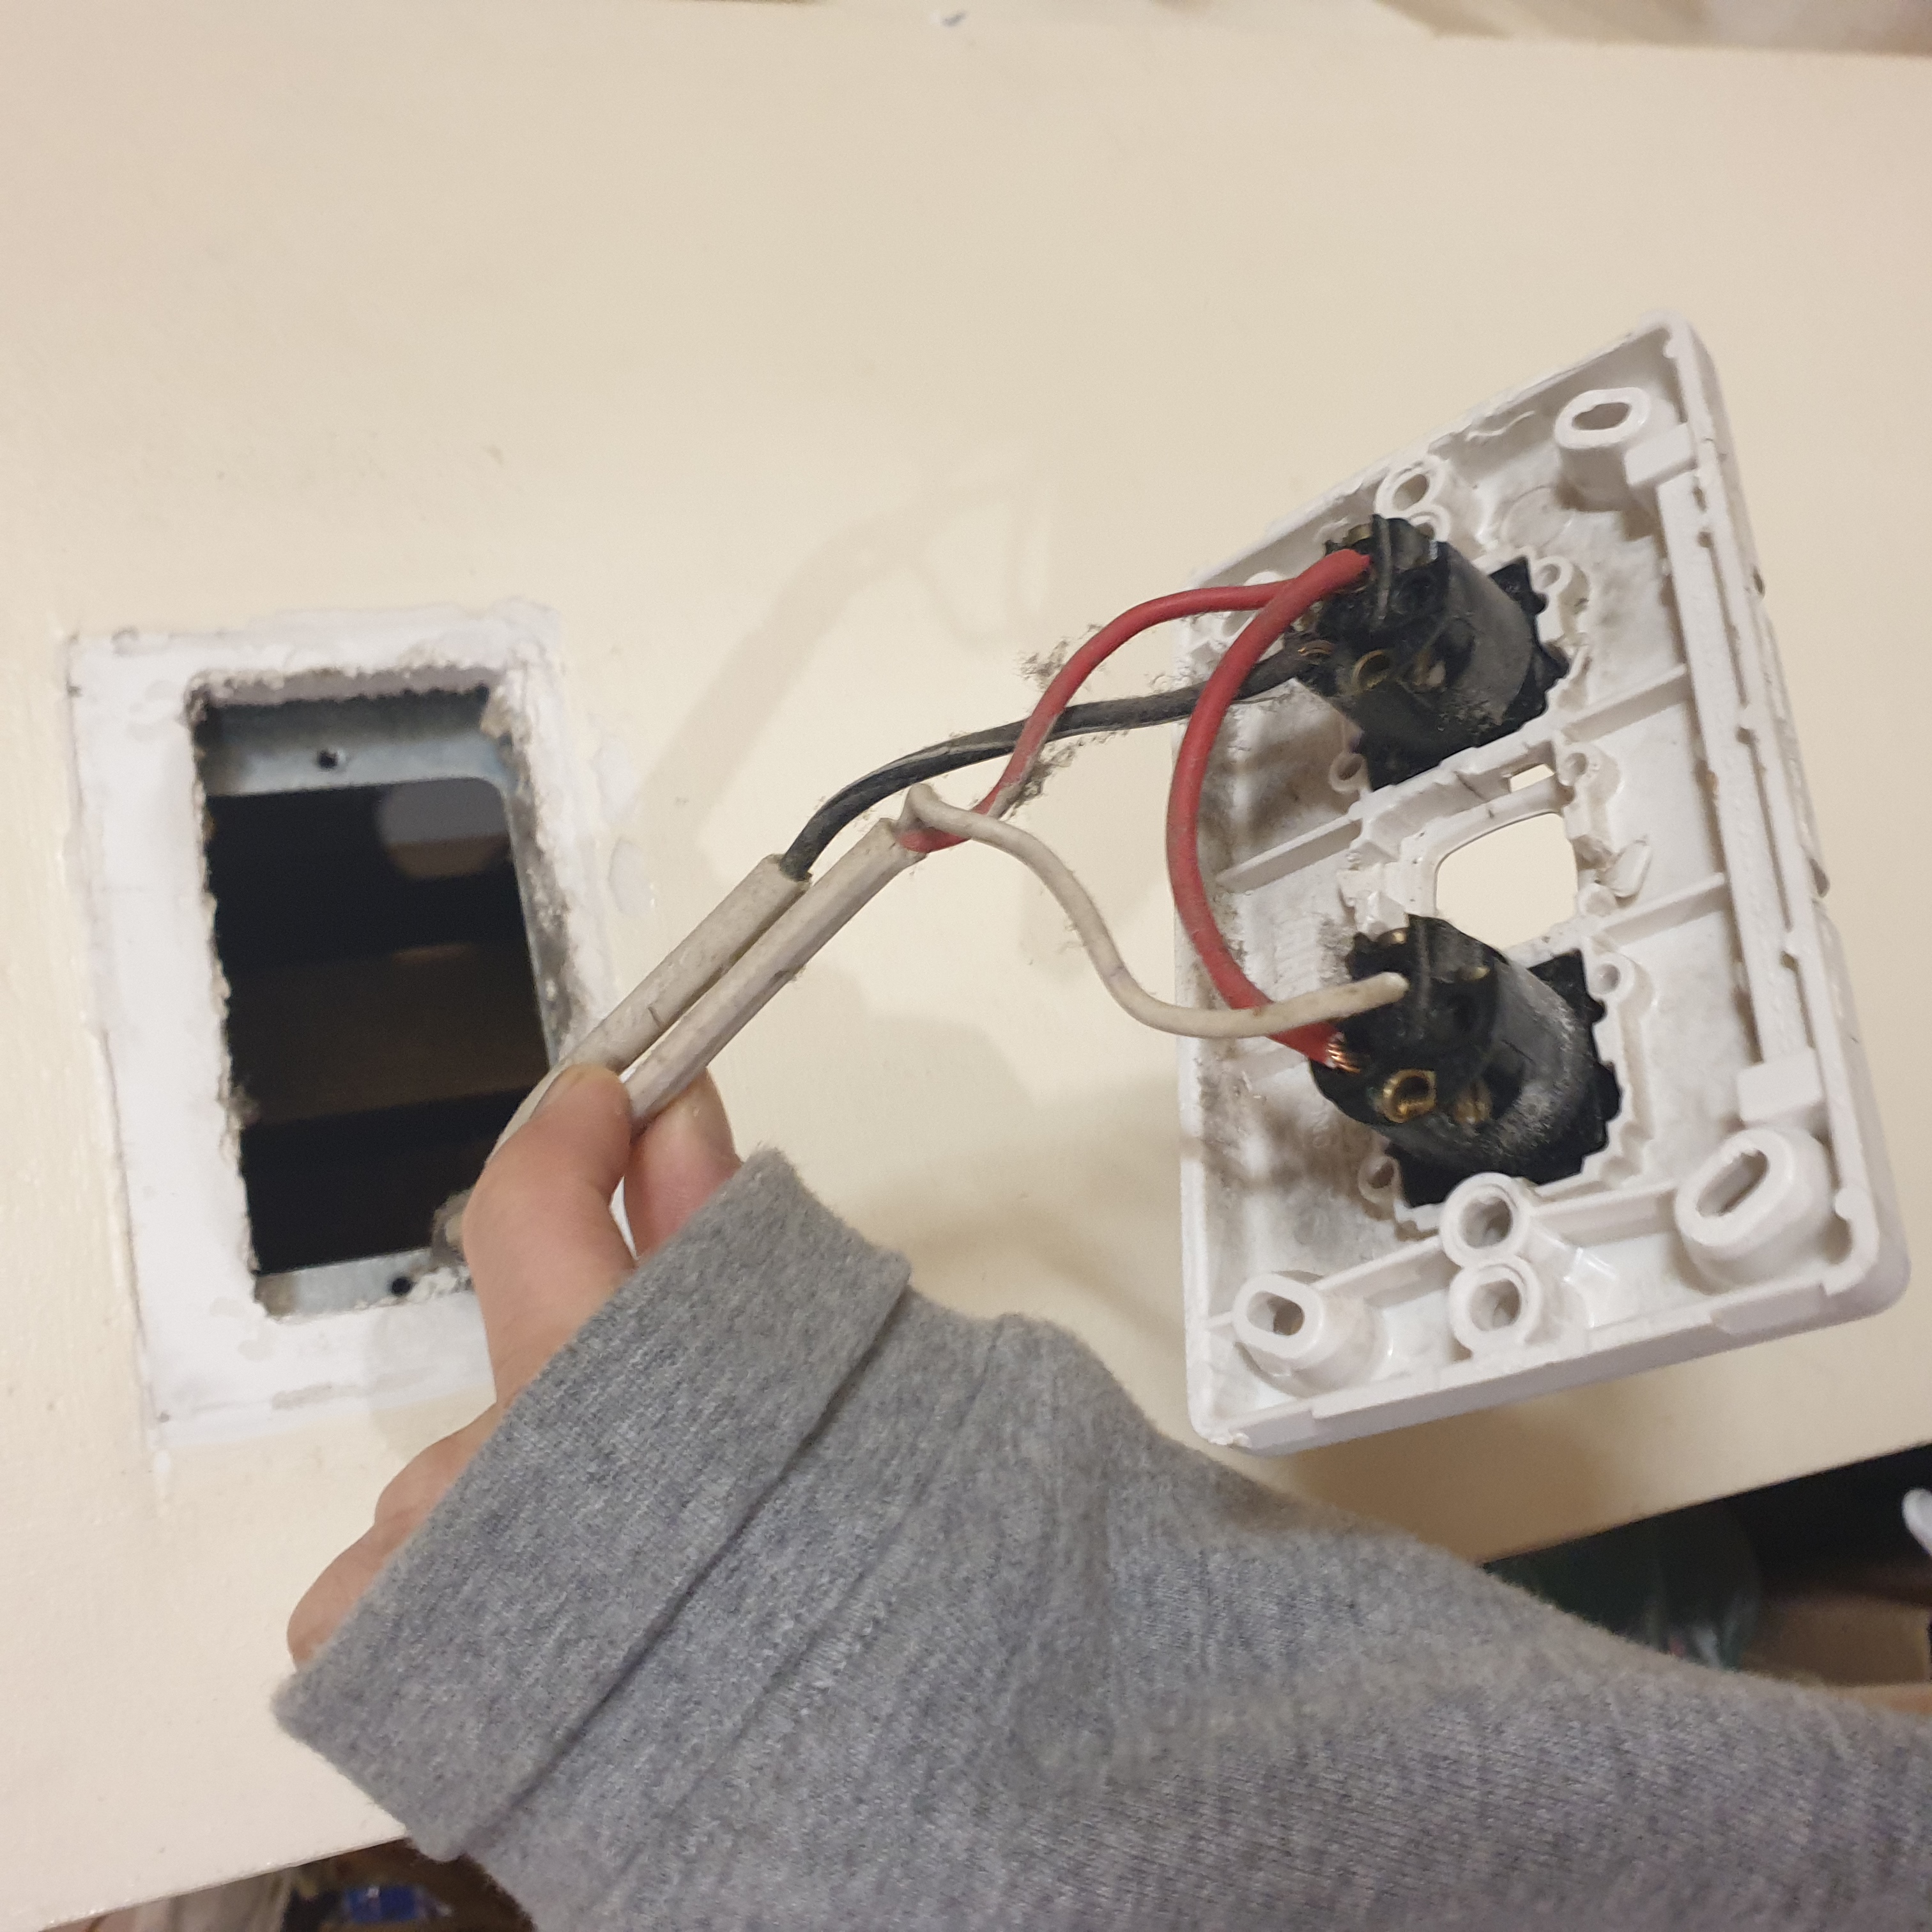
Looking at the existing wall switch we see that there are three wires (consider the two red wires [A] as bridged) connecting two SPDT switches (for two separate lighting circuits). Considering our red wire [A] to be some sort of active (as it is bridged between both switches), we can assume that the white [B] wire and black wire [C] complete the active path for the lights.
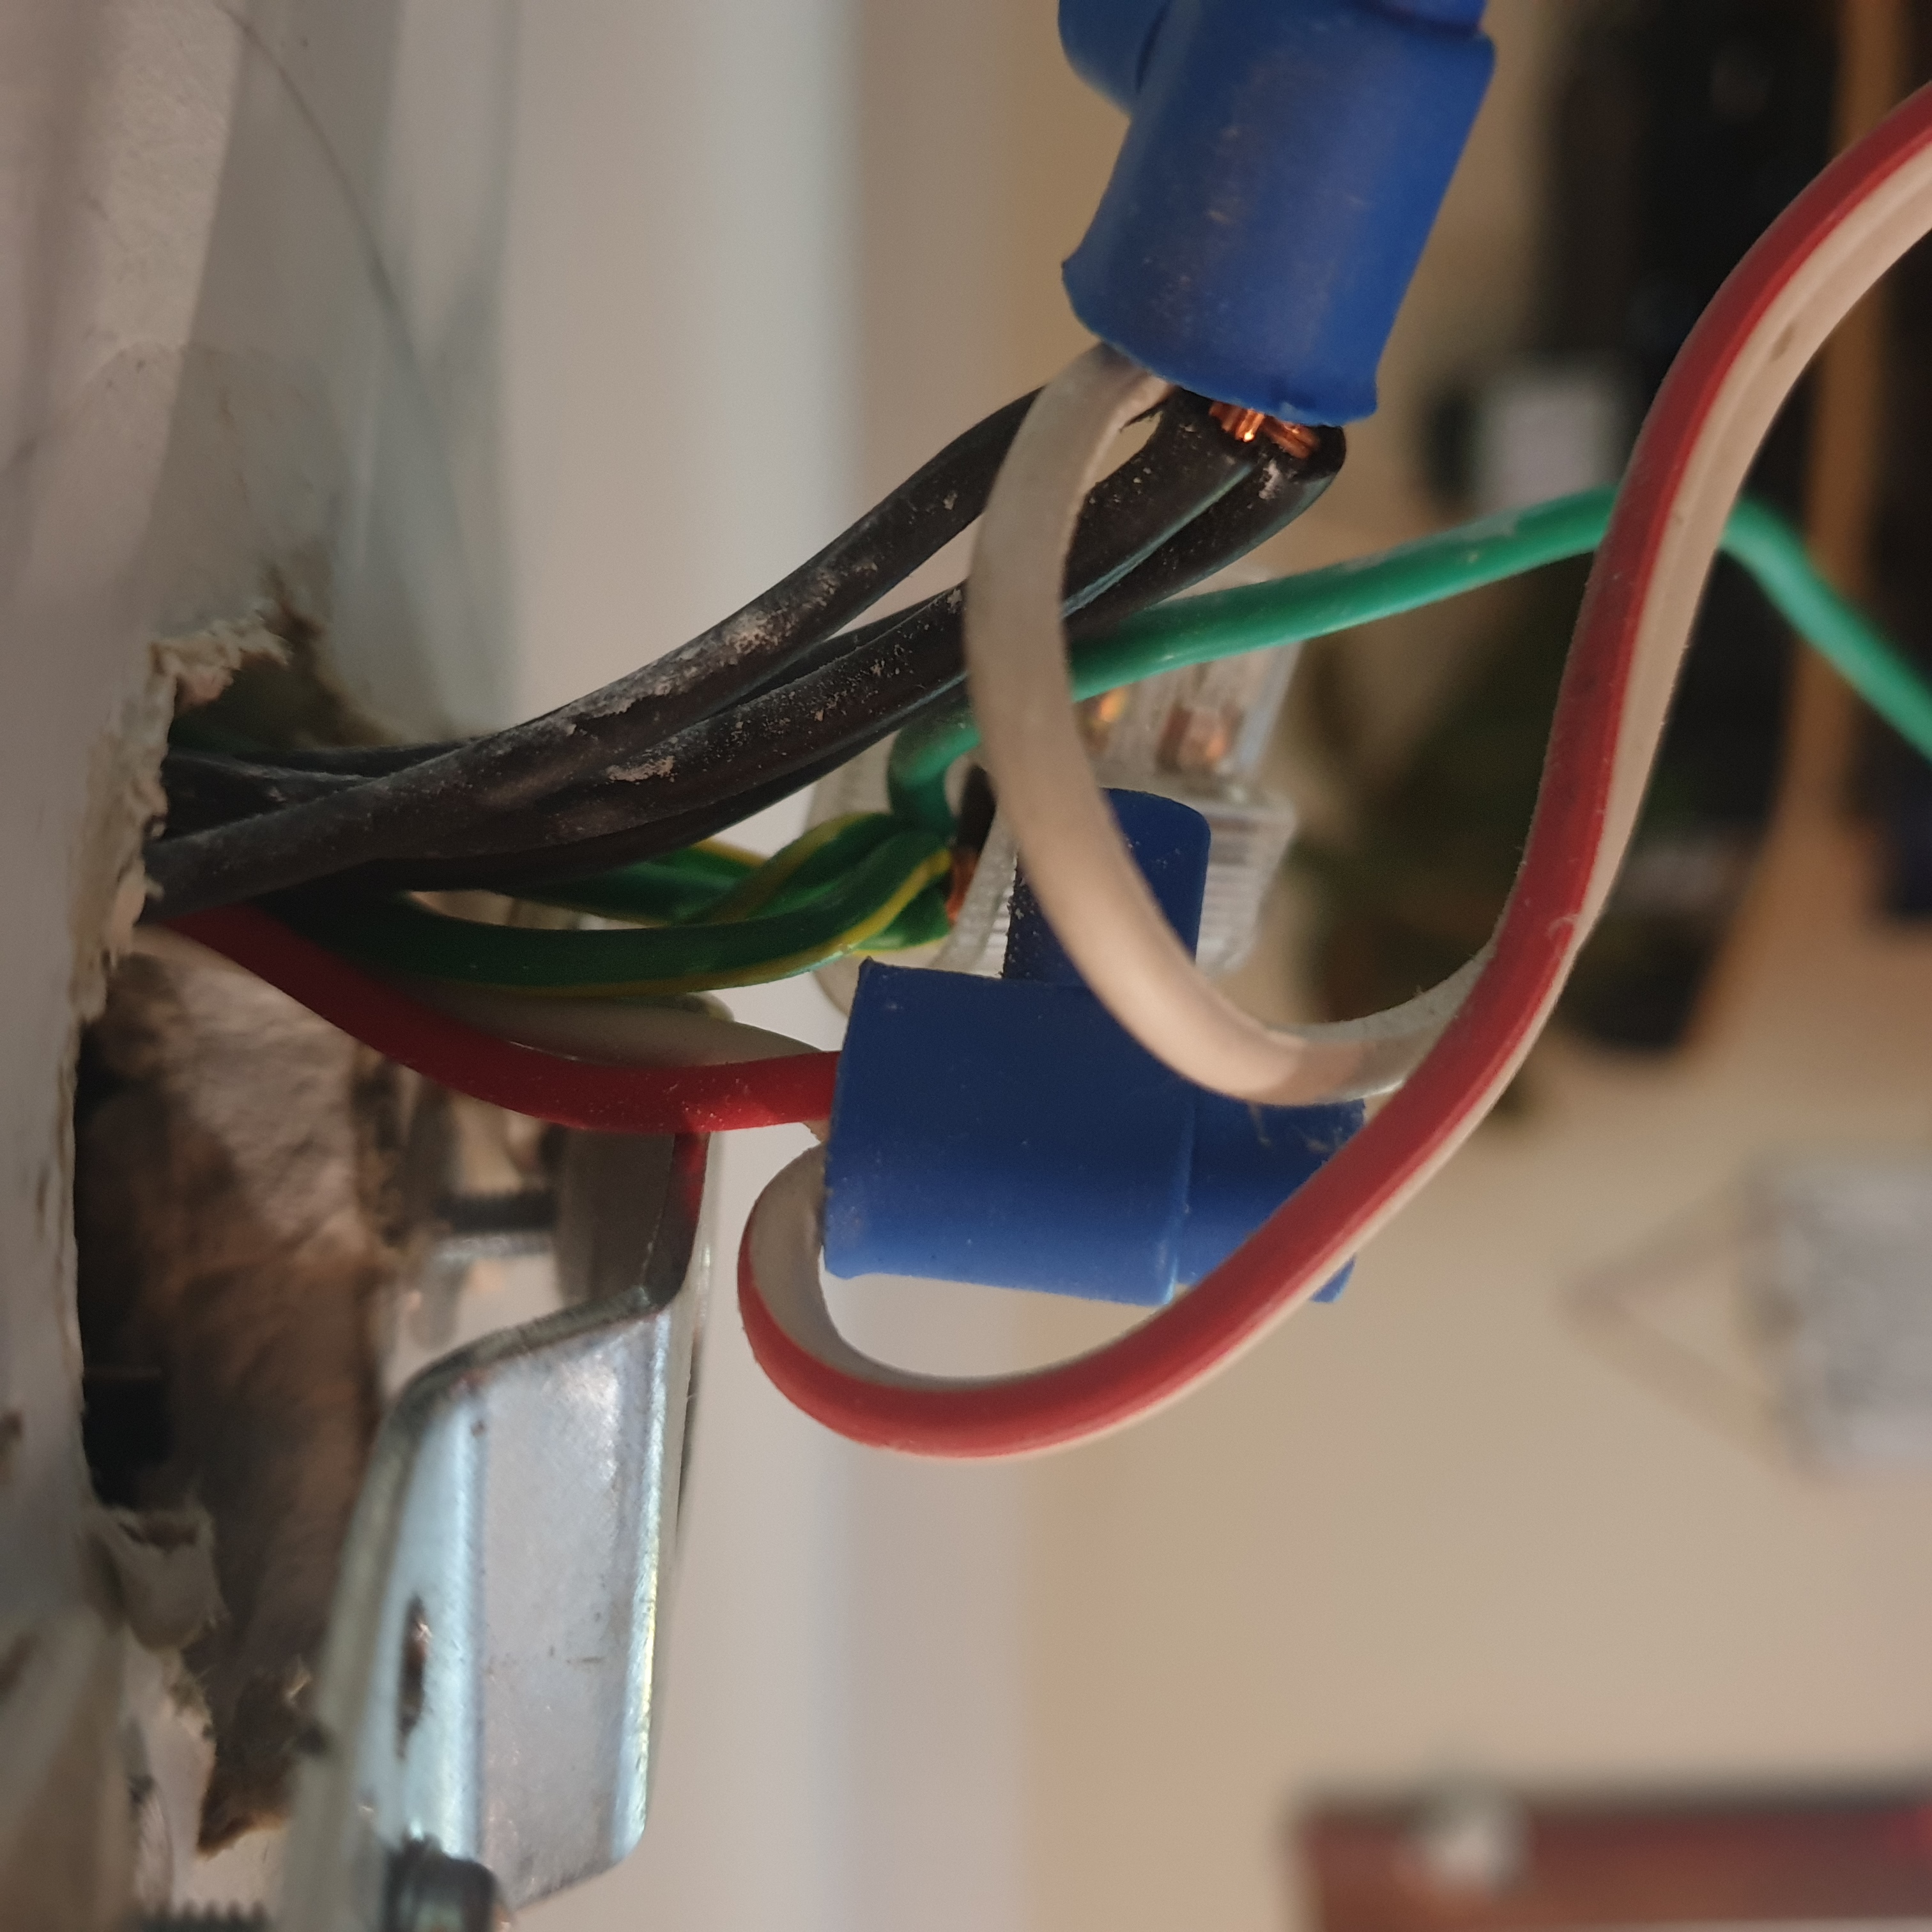
Looking at the ceiling connections (the red/white mixed cable [D] is the actual light), we can see the white cable [B] that came from the wall switch is connected with the wire [D] to the light. BTW - the other red cable [E] goes to a different set of lights.
Installation
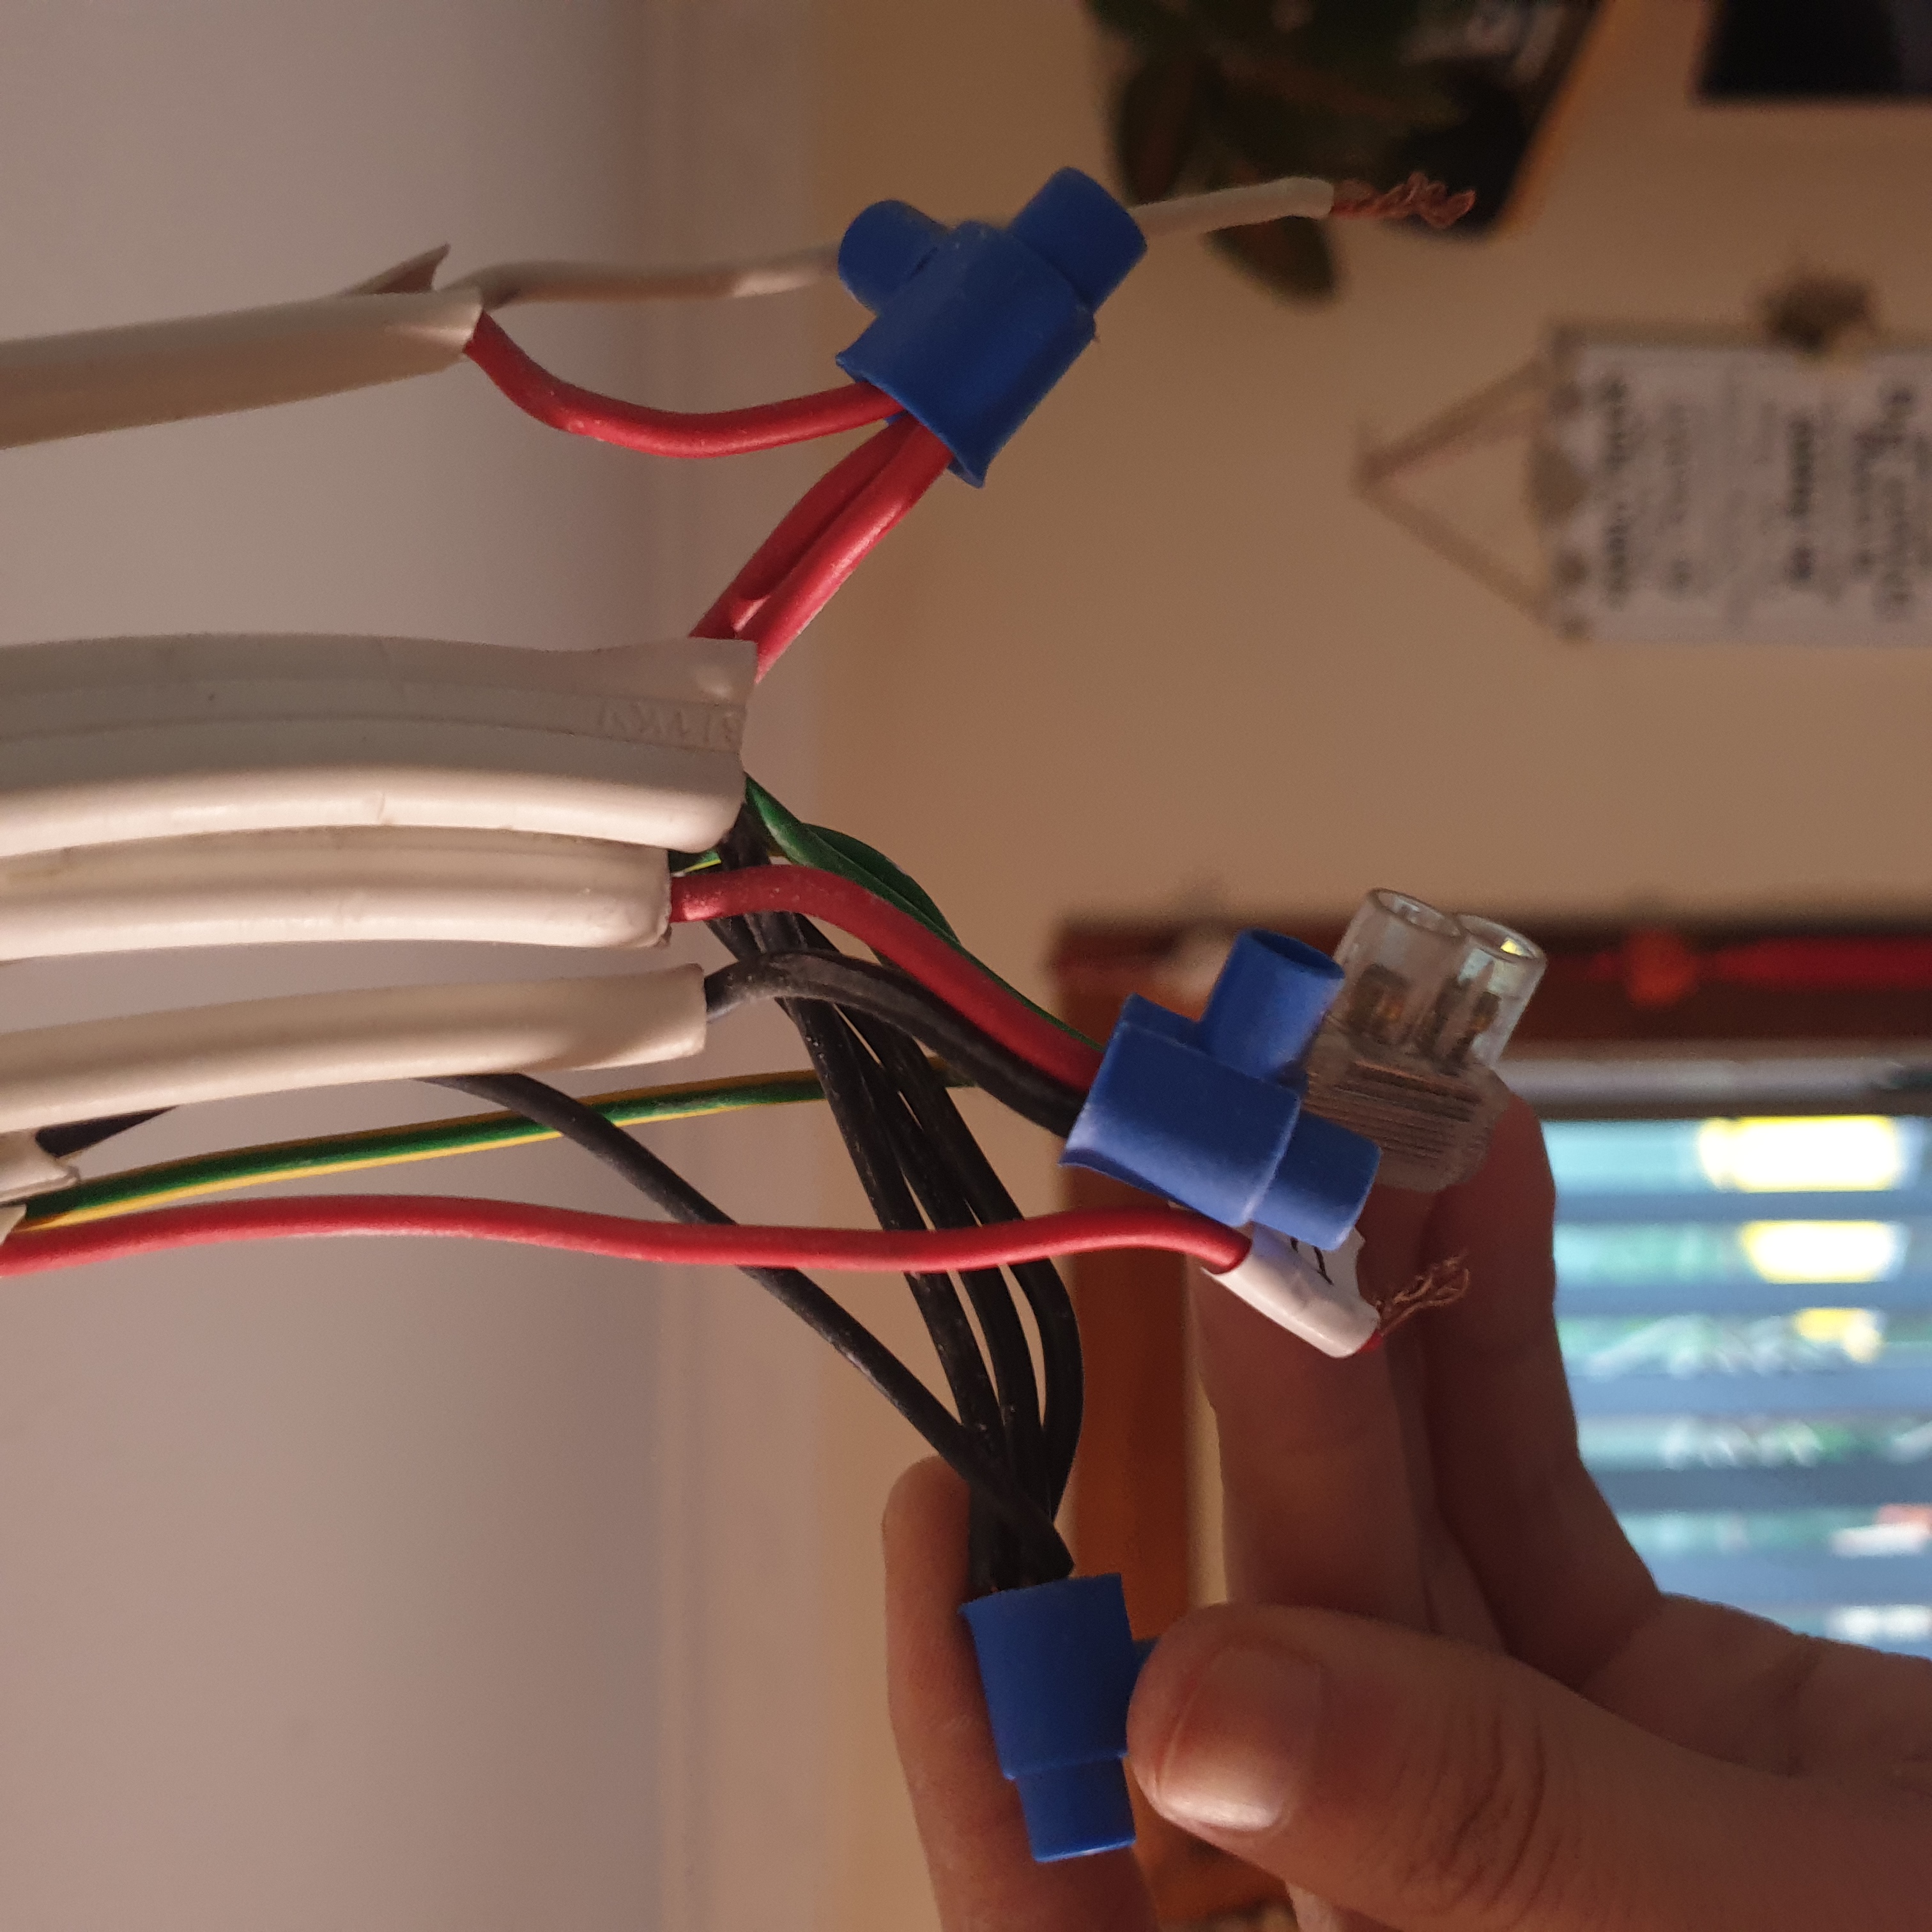
After ringing out the cables to verify that I had the right cables, I disconnected the white wire [B] that was previously attached to the light’s active, and connected it to the neutral/return line. This change meant that the wire pair AB going into the wall contains both live and neutral - what we need to power our smart switches!
Ignore the tape for now ;)
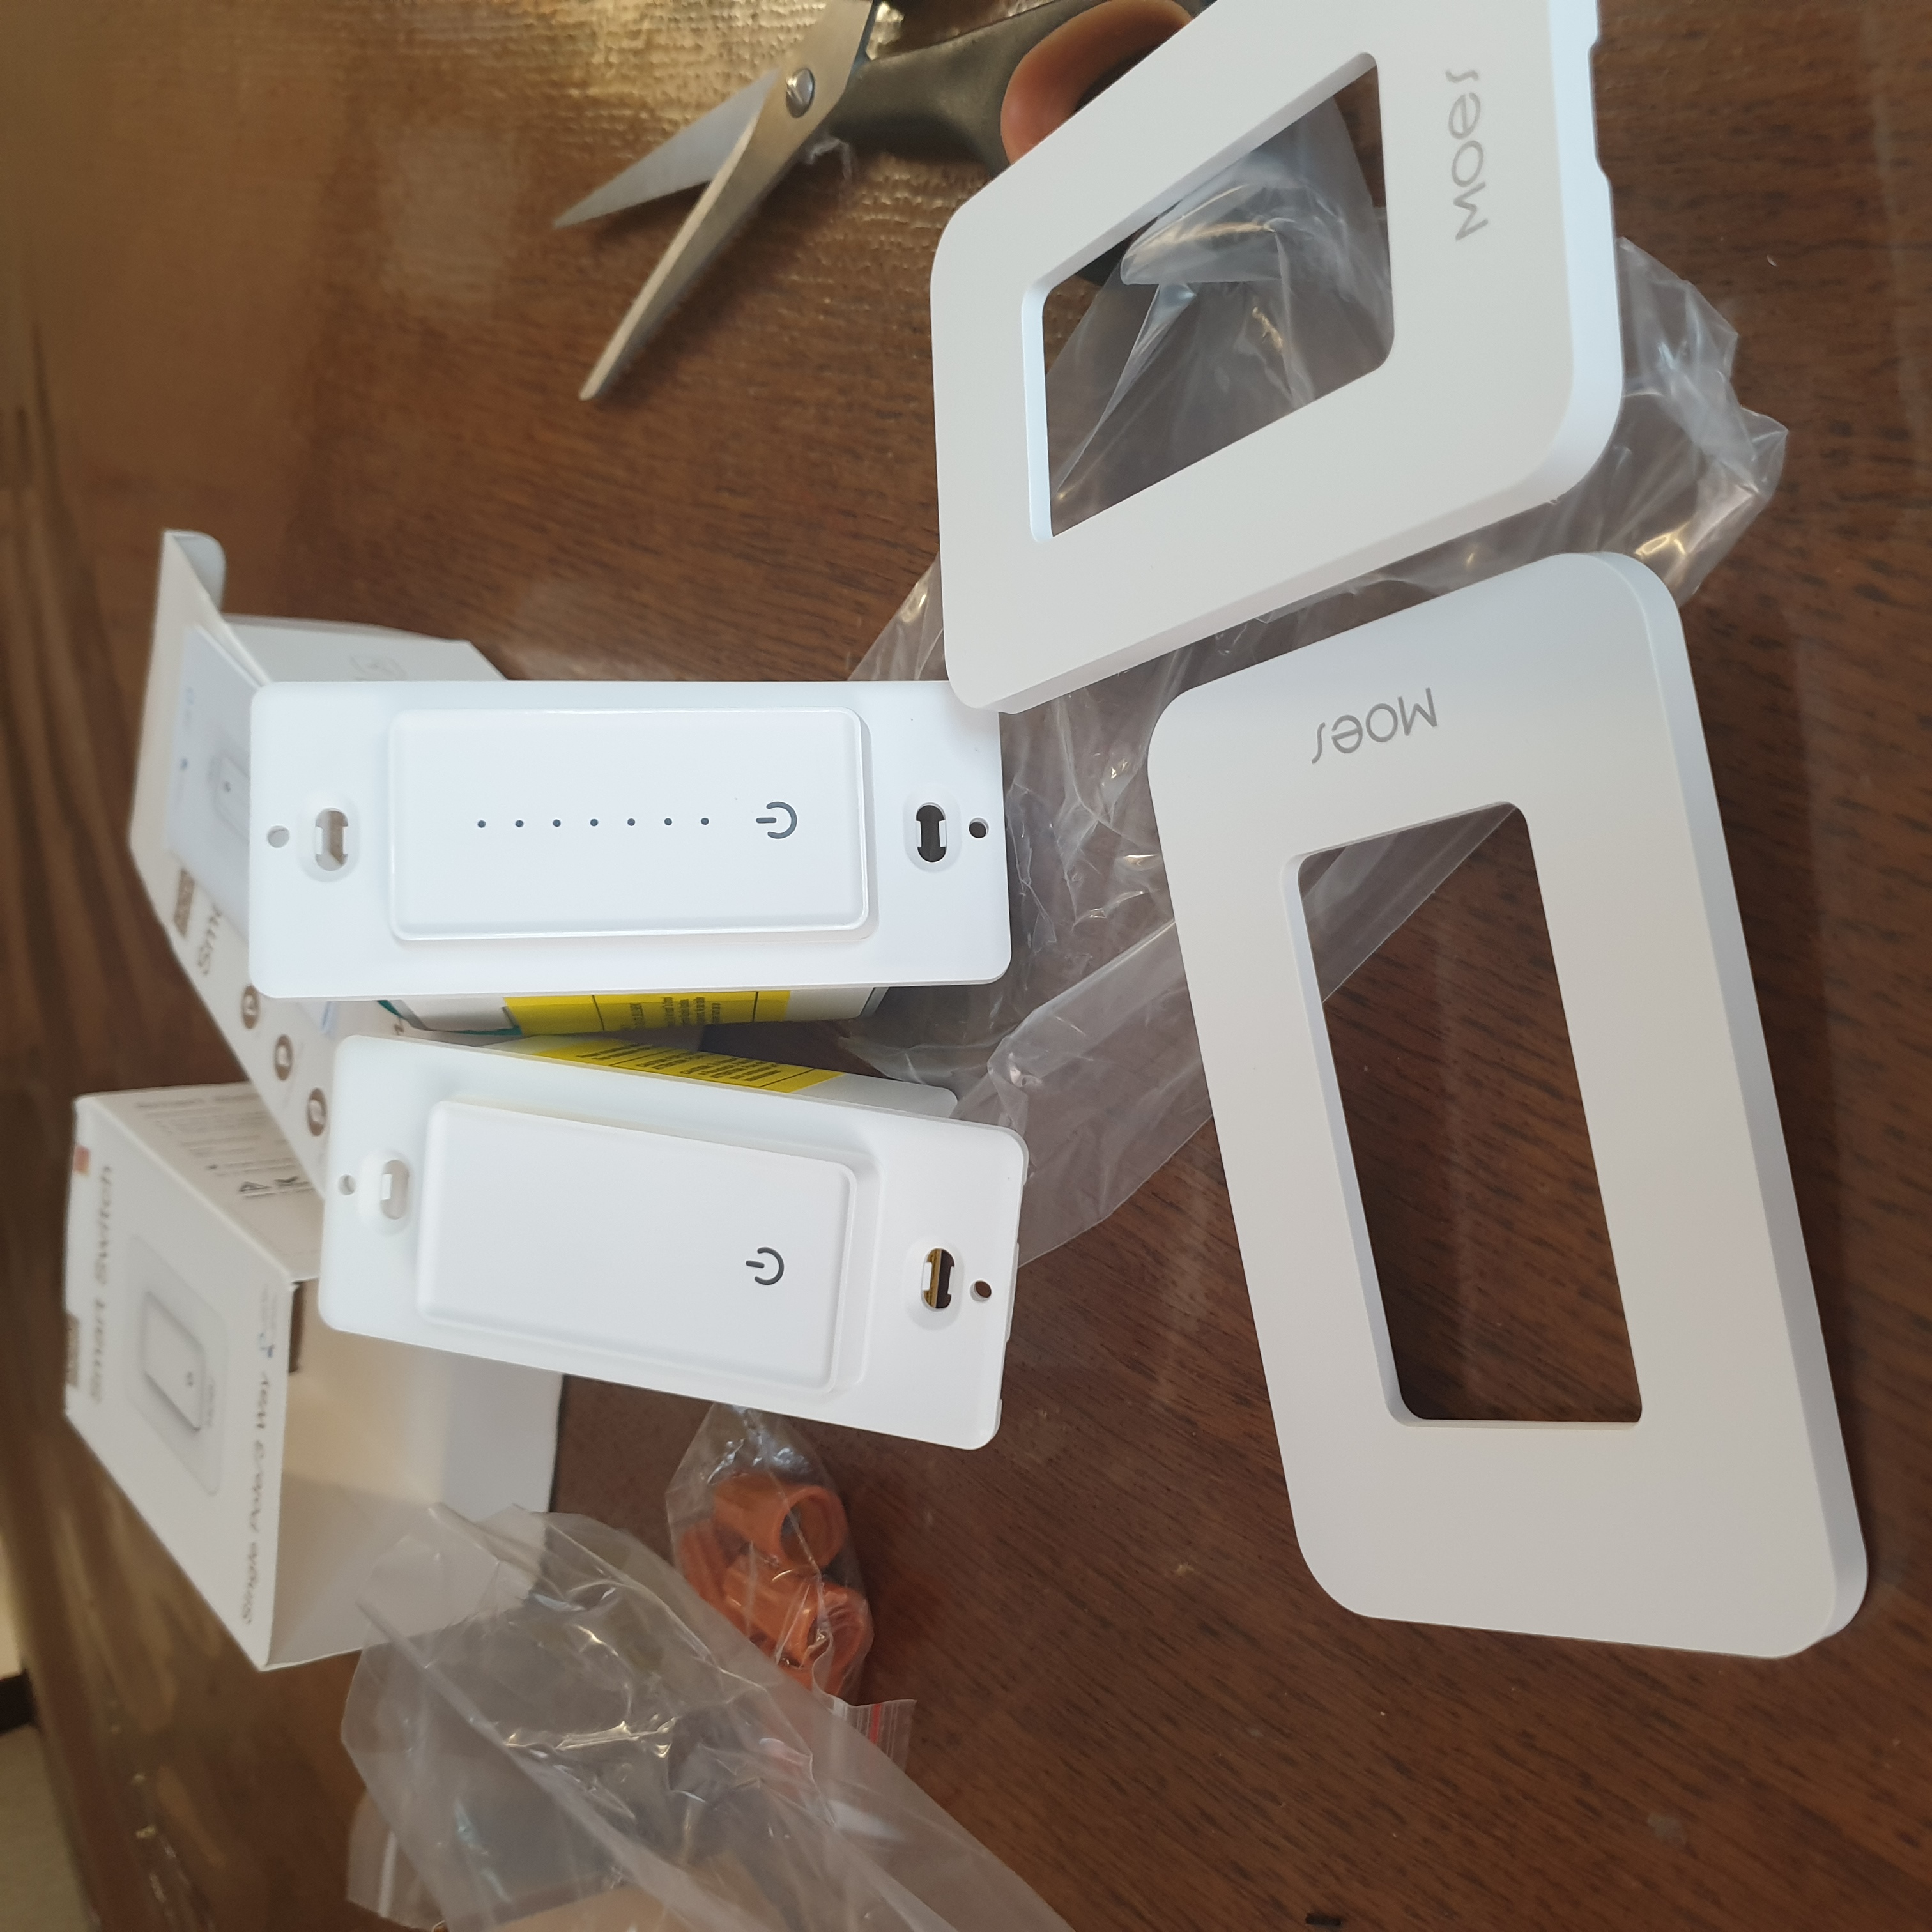
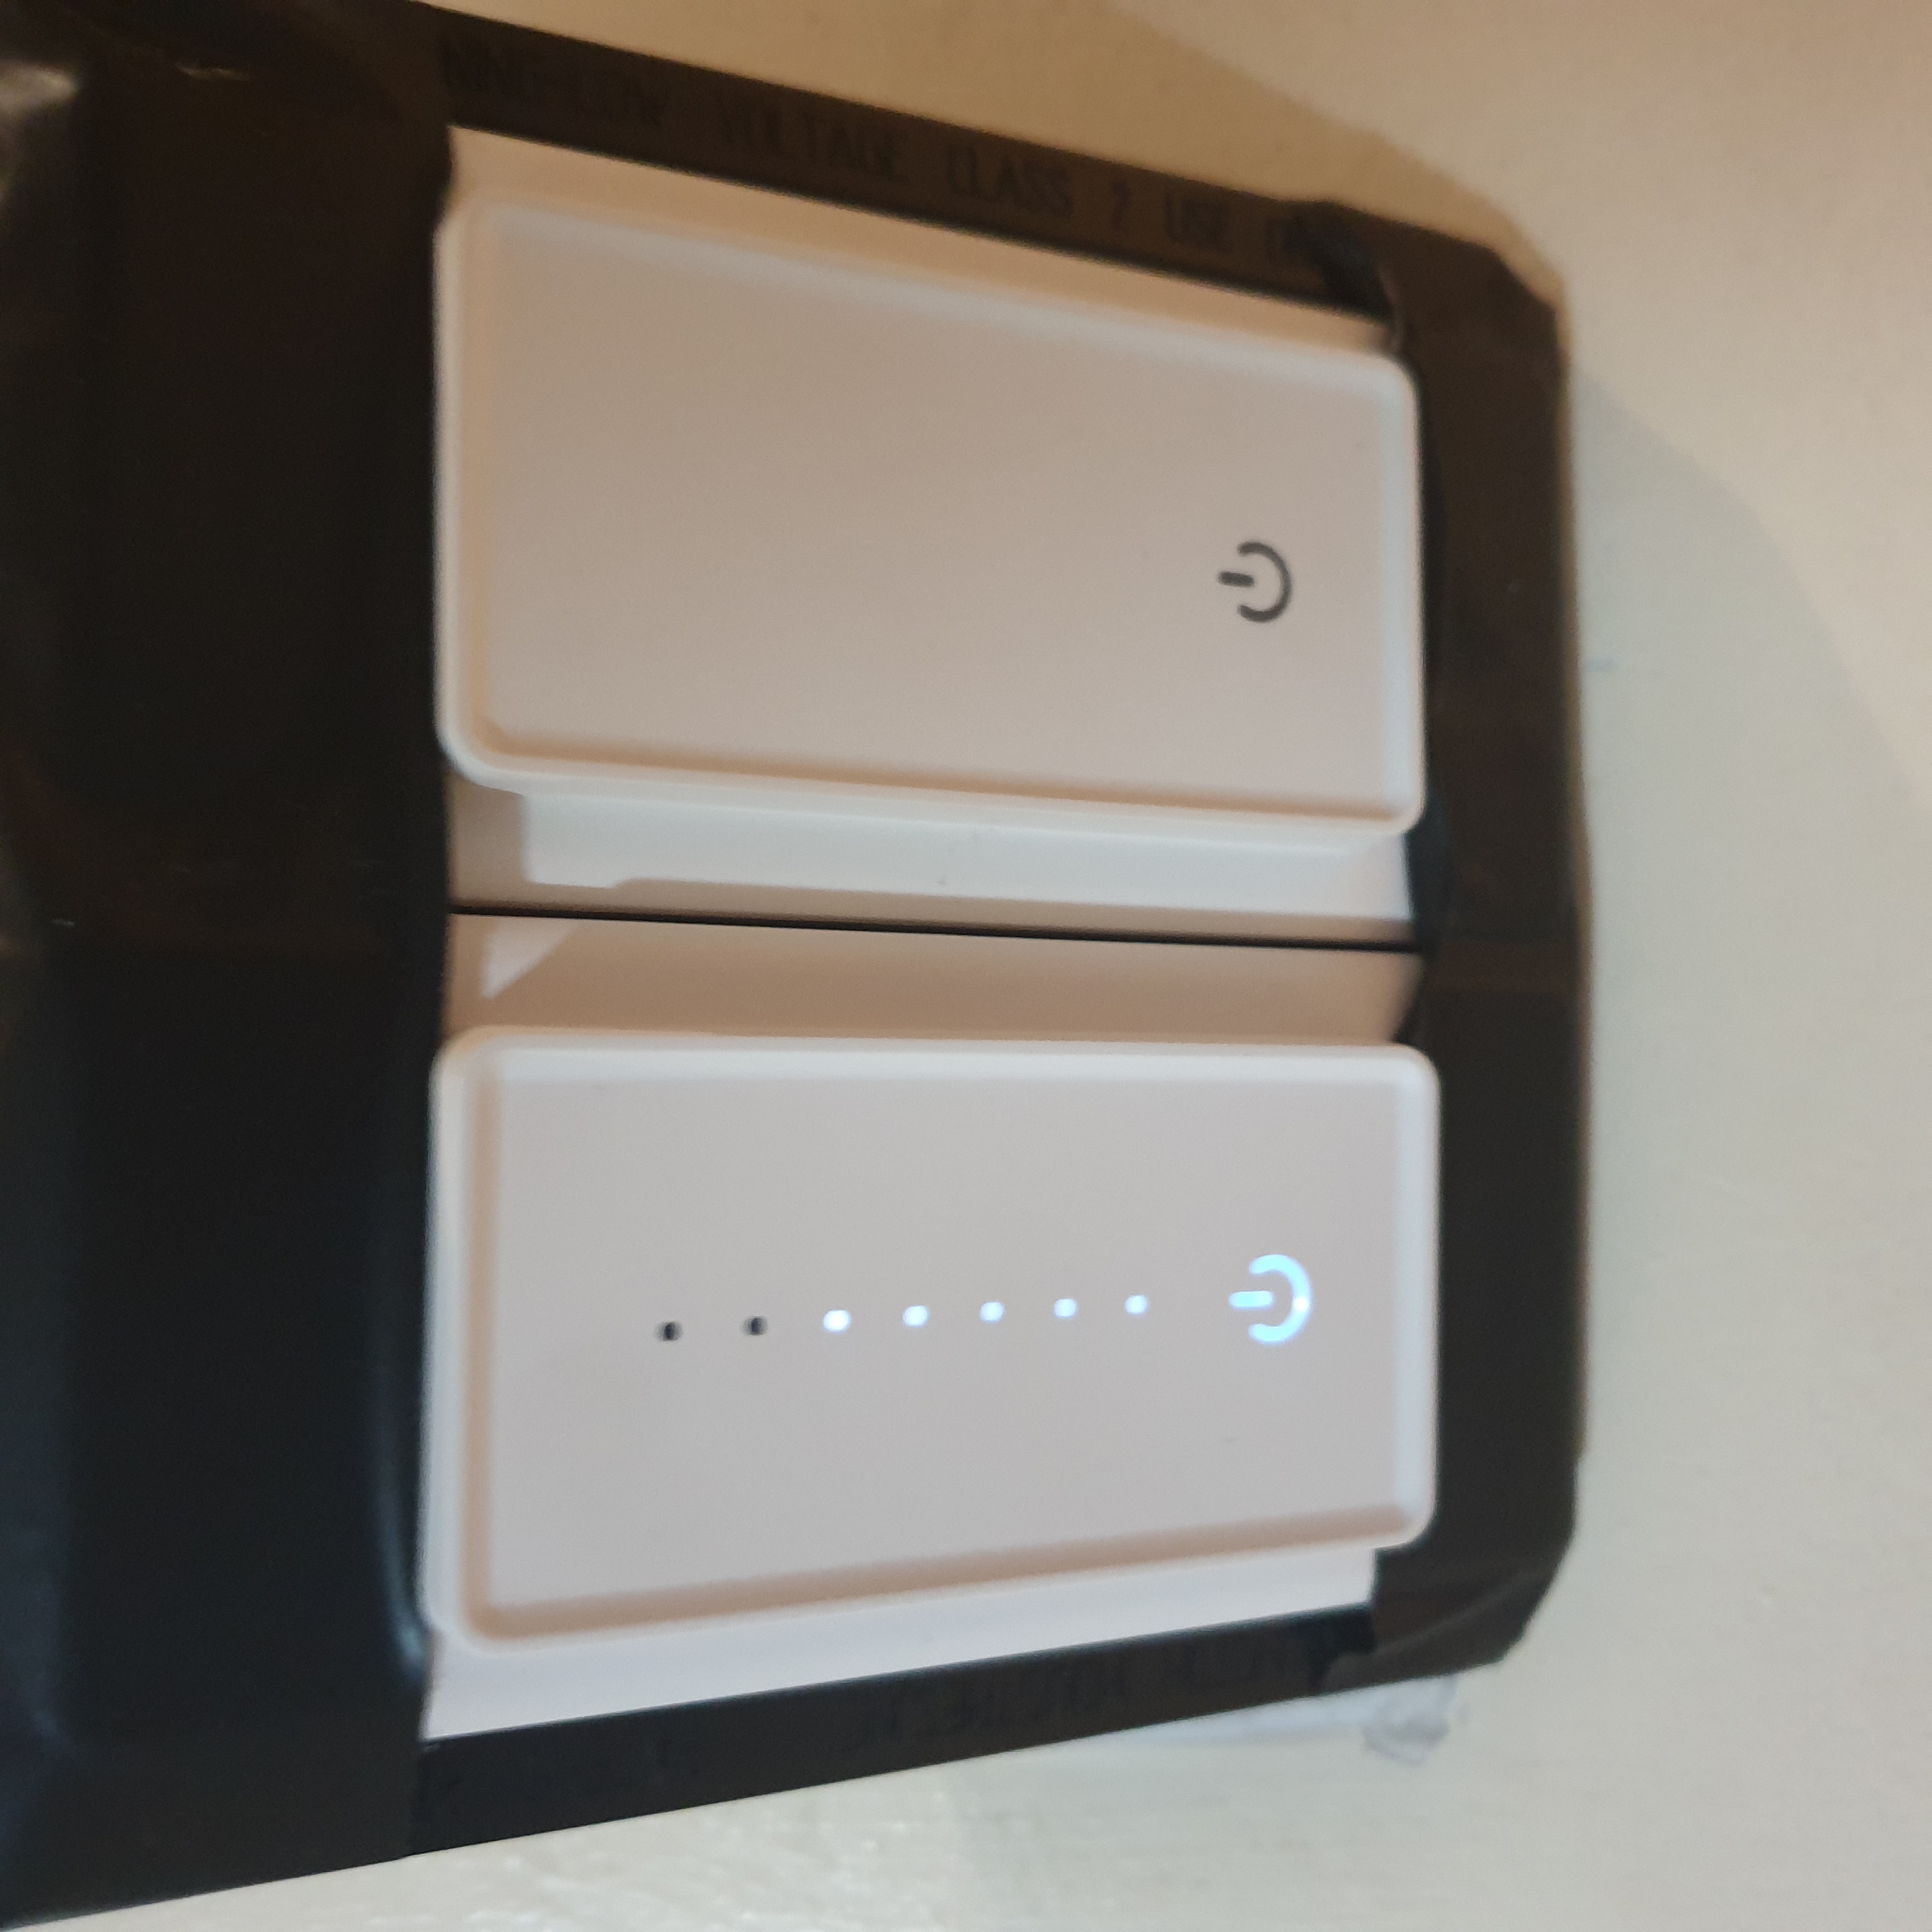
Fast forwards ten or so minutes, and all the wiring is completed!
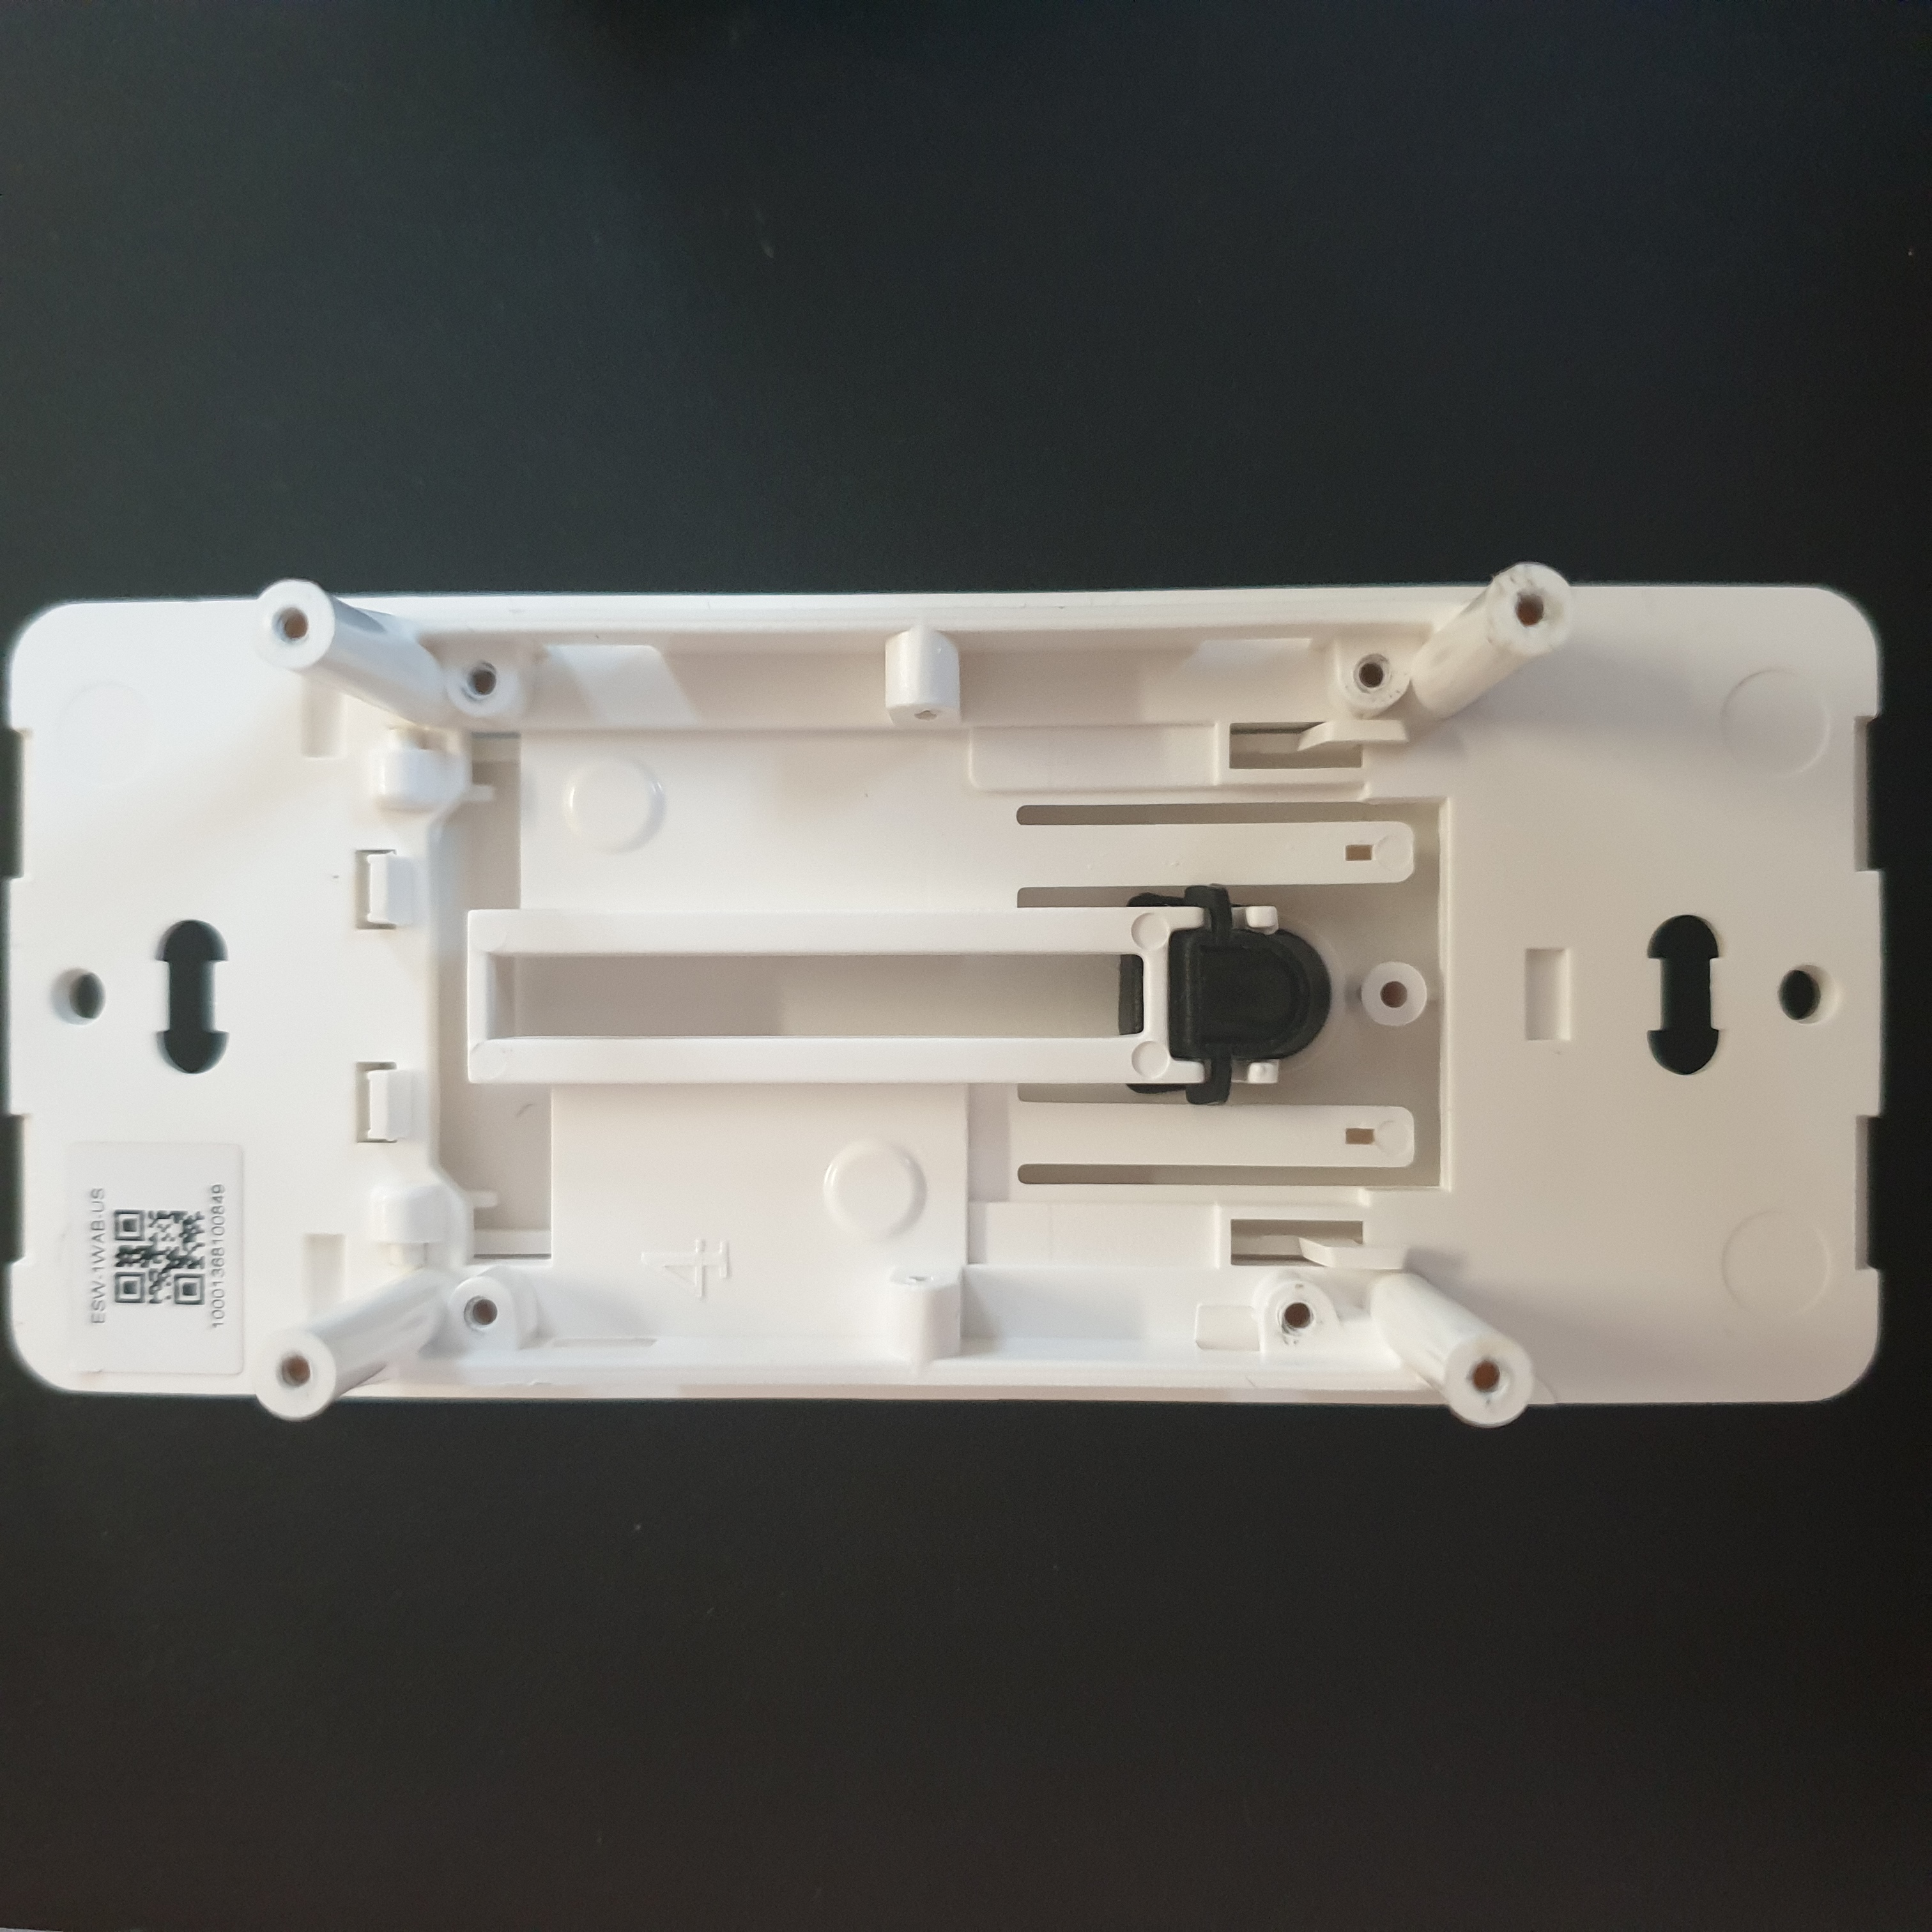
I live in Australia, where we follow the European style wall mount - however the smart switches have a US-style wall mount (primarily denoted by the rectangular shape). Finding a decently priced (aka cheap) US-style 2-gang wallbox in Australia proved to be difficult - and finding a local seller proved impossible.
Eventually I paid AU$0.97 (and AU$10.41 shipping) for a 2-gang mounting bracket which I had stumbled upon on AliExpress. I also purchased a US-style 2-gang wallplate - which was much easier to find than the plate/box.
Setup

After everything was wired up and installed, I opened up the Tuya app on my phone to pair the devices. As I have a HomeAssistant integration with Tuya devices, the switches (and bulbs) appeared on both the Tuya app and HomeAssistant with ease.
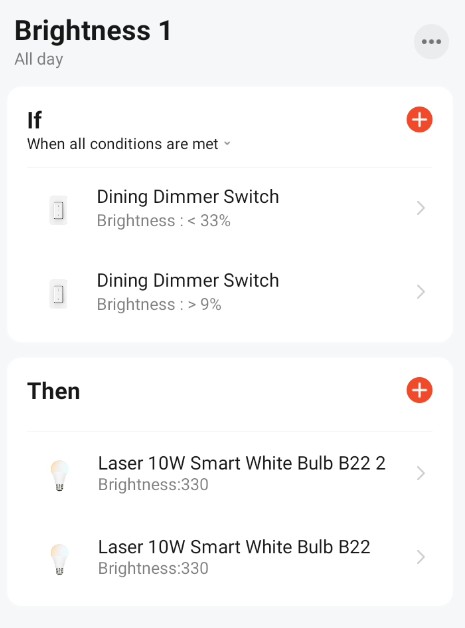
Since the output of the smart dimmer switch isn’t directly connected to the smart bulb, I needed to create some automations in the Tuya app to synchronise the brightness states of the dimmer with the bulbs.
Supposedly at the end of this year (2021), Tuya will release an official integration for HomeAssistant which should provide stable offline control - but for now I’ve allowed the smart switches and bulbs (along with other Tuya-enabled devices) to contact the internet.
Conclusion
My mum is no longer complaining, so I guess we can call it a success!
I set up four brightness states (as I couldn’t be bothered creating a new automation for each possible brightness level) - Really we only need an overcast daytime, afternoon and night time brightness setting.
I’m pretty happy with how this turned out; as it also allows for my PIR sensors to automatically turn the lights on at night.
Overglorified nightlight anyone?
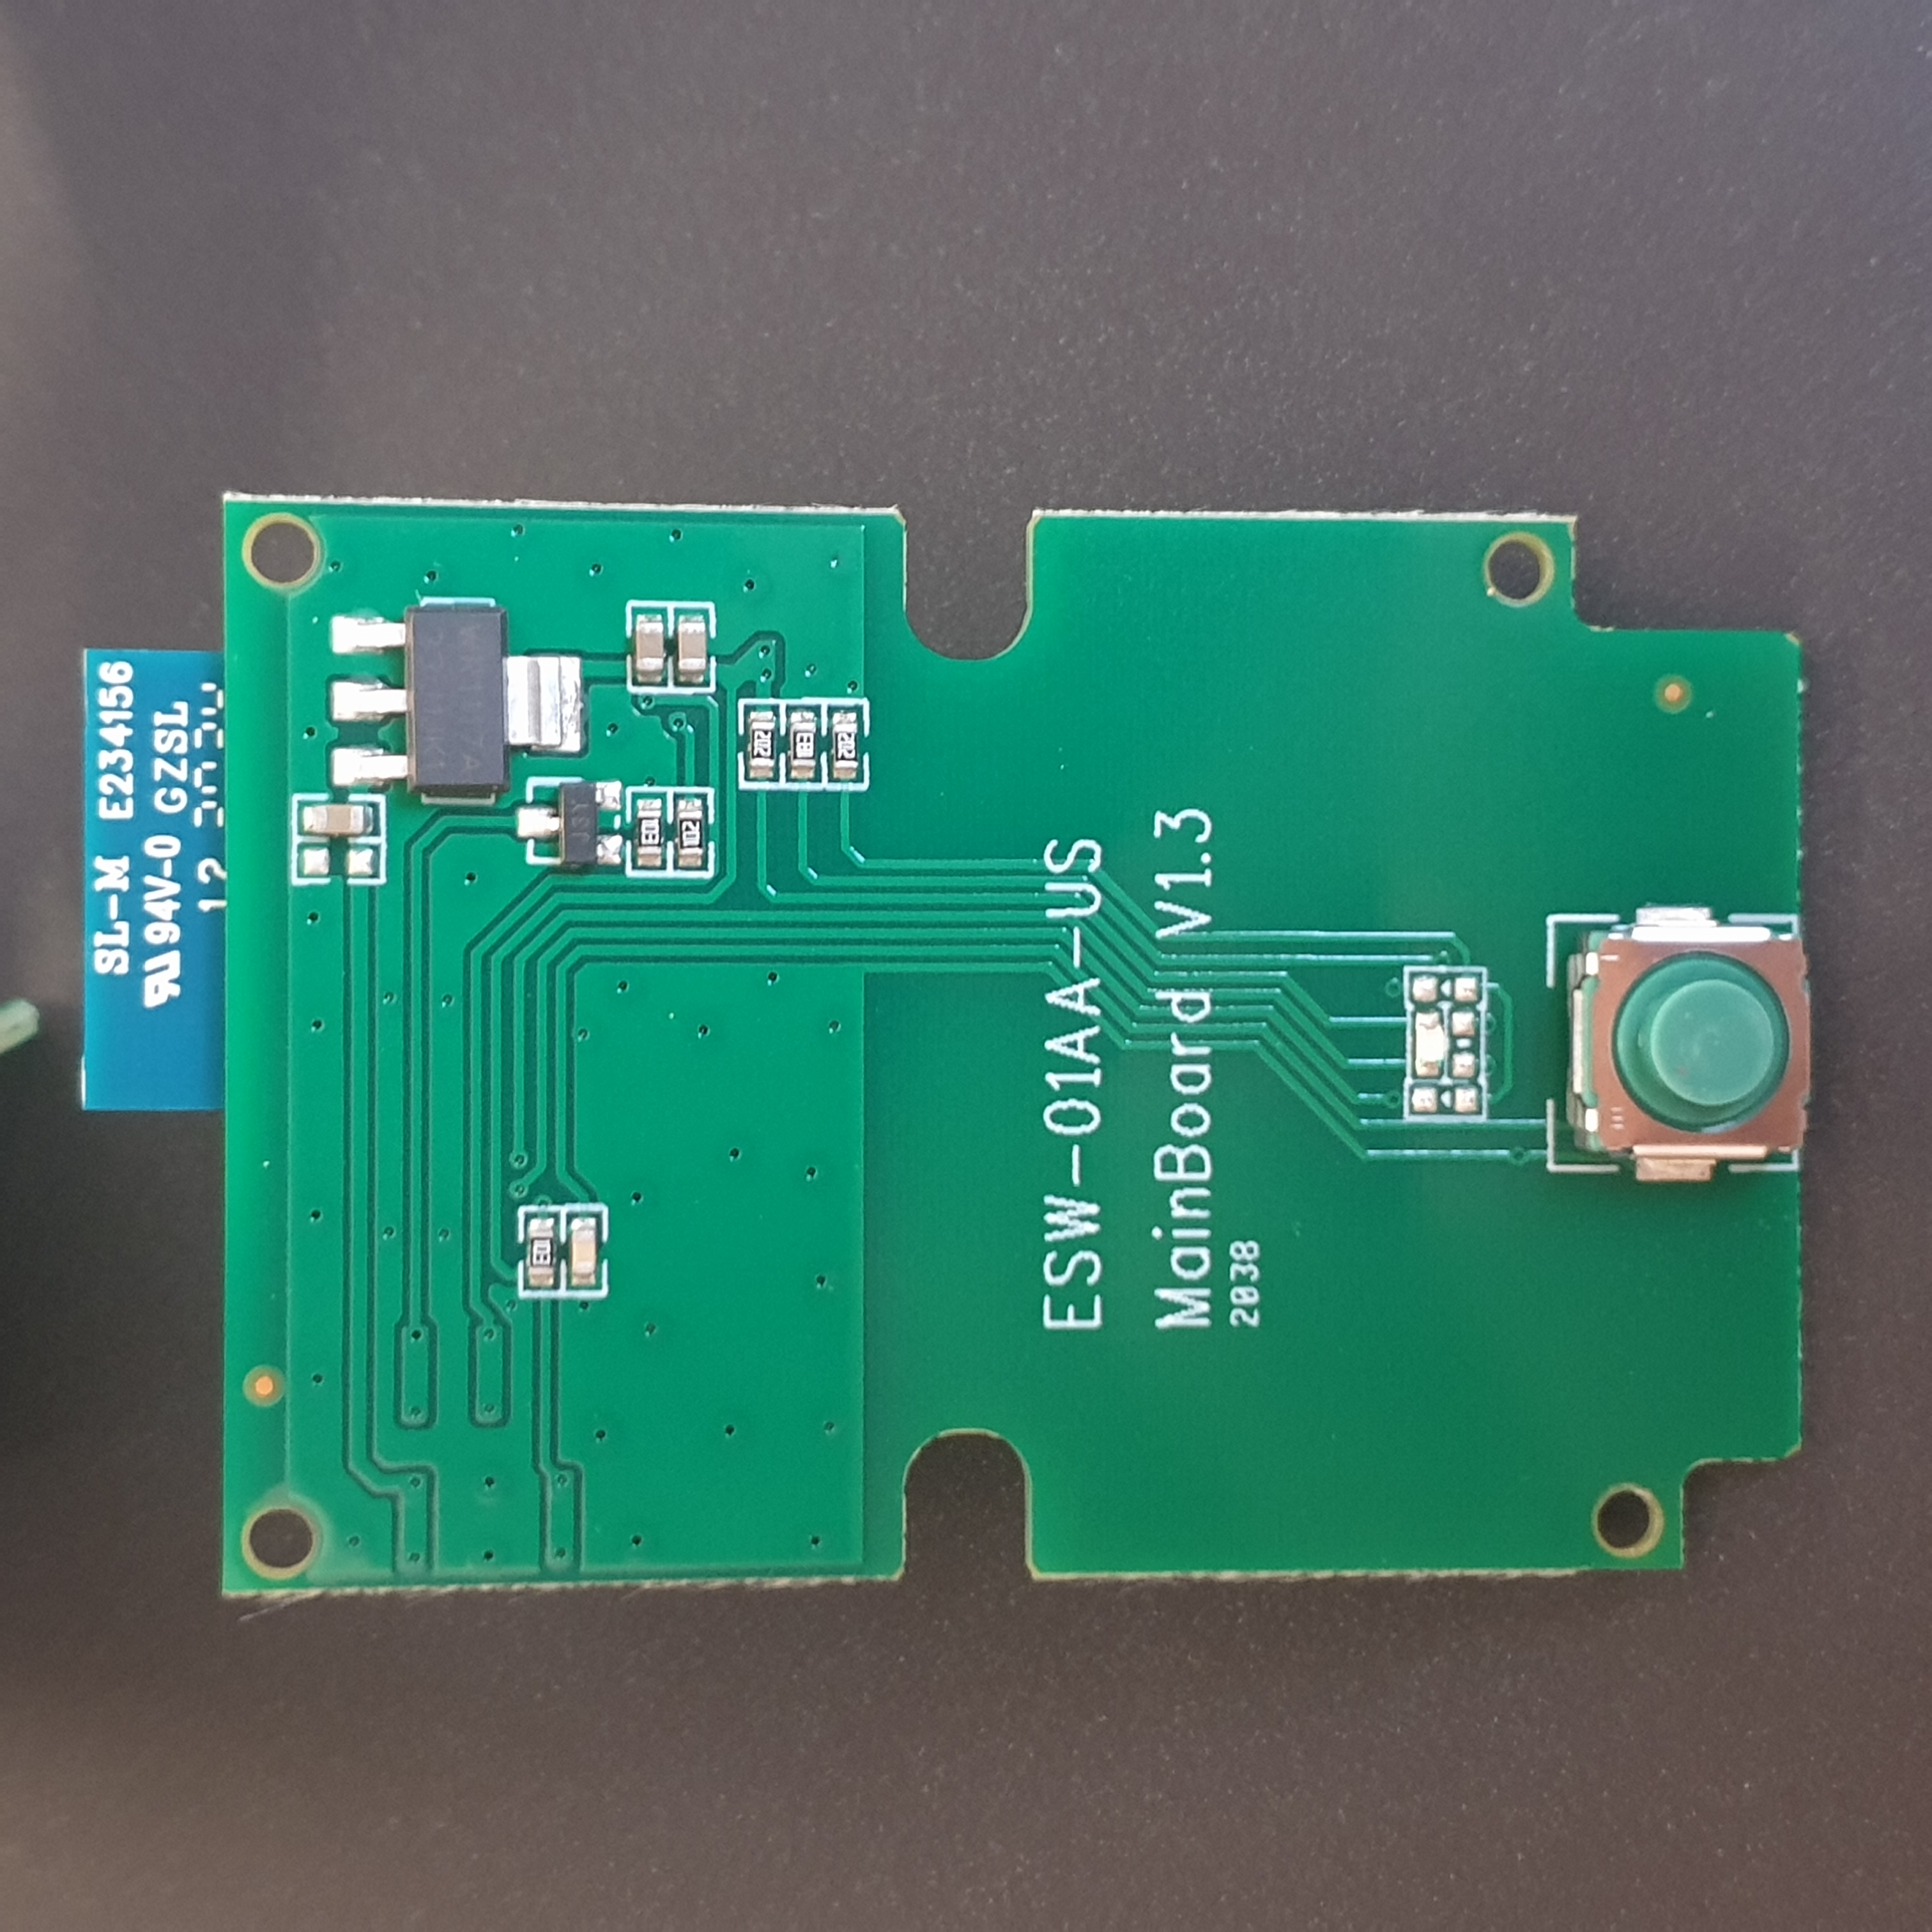
What’s Inside?
What’s really in the box?
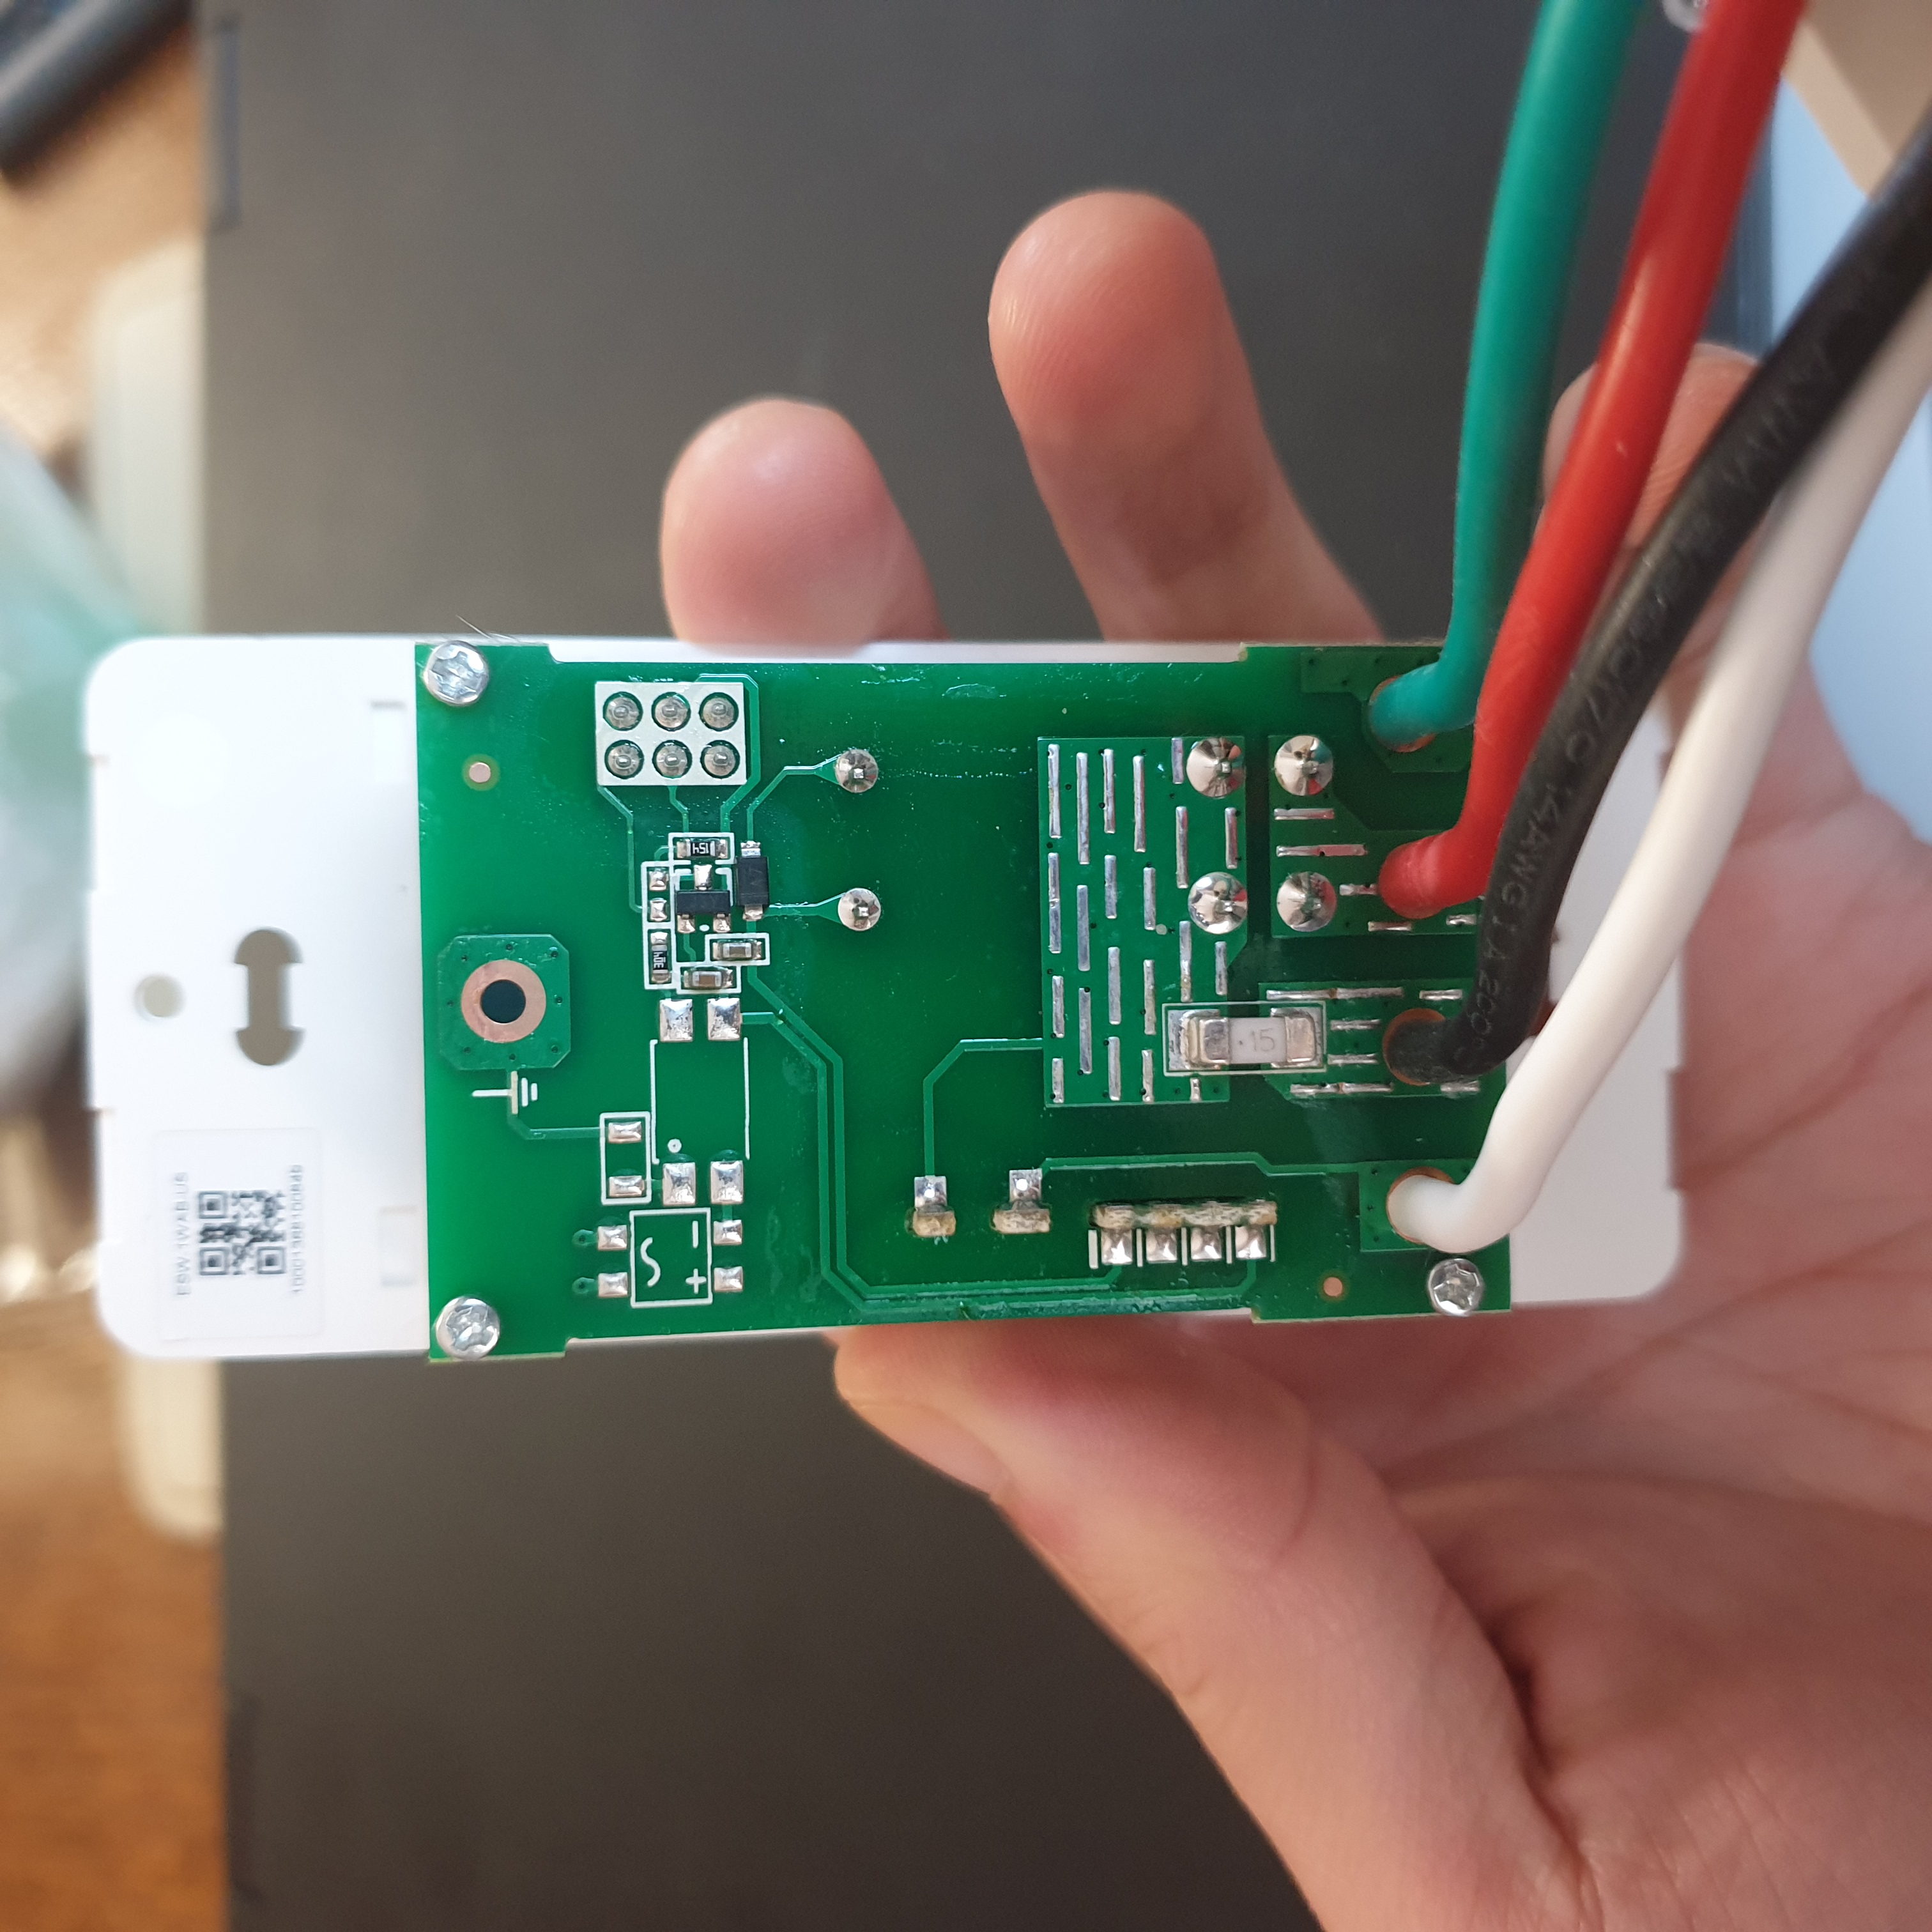
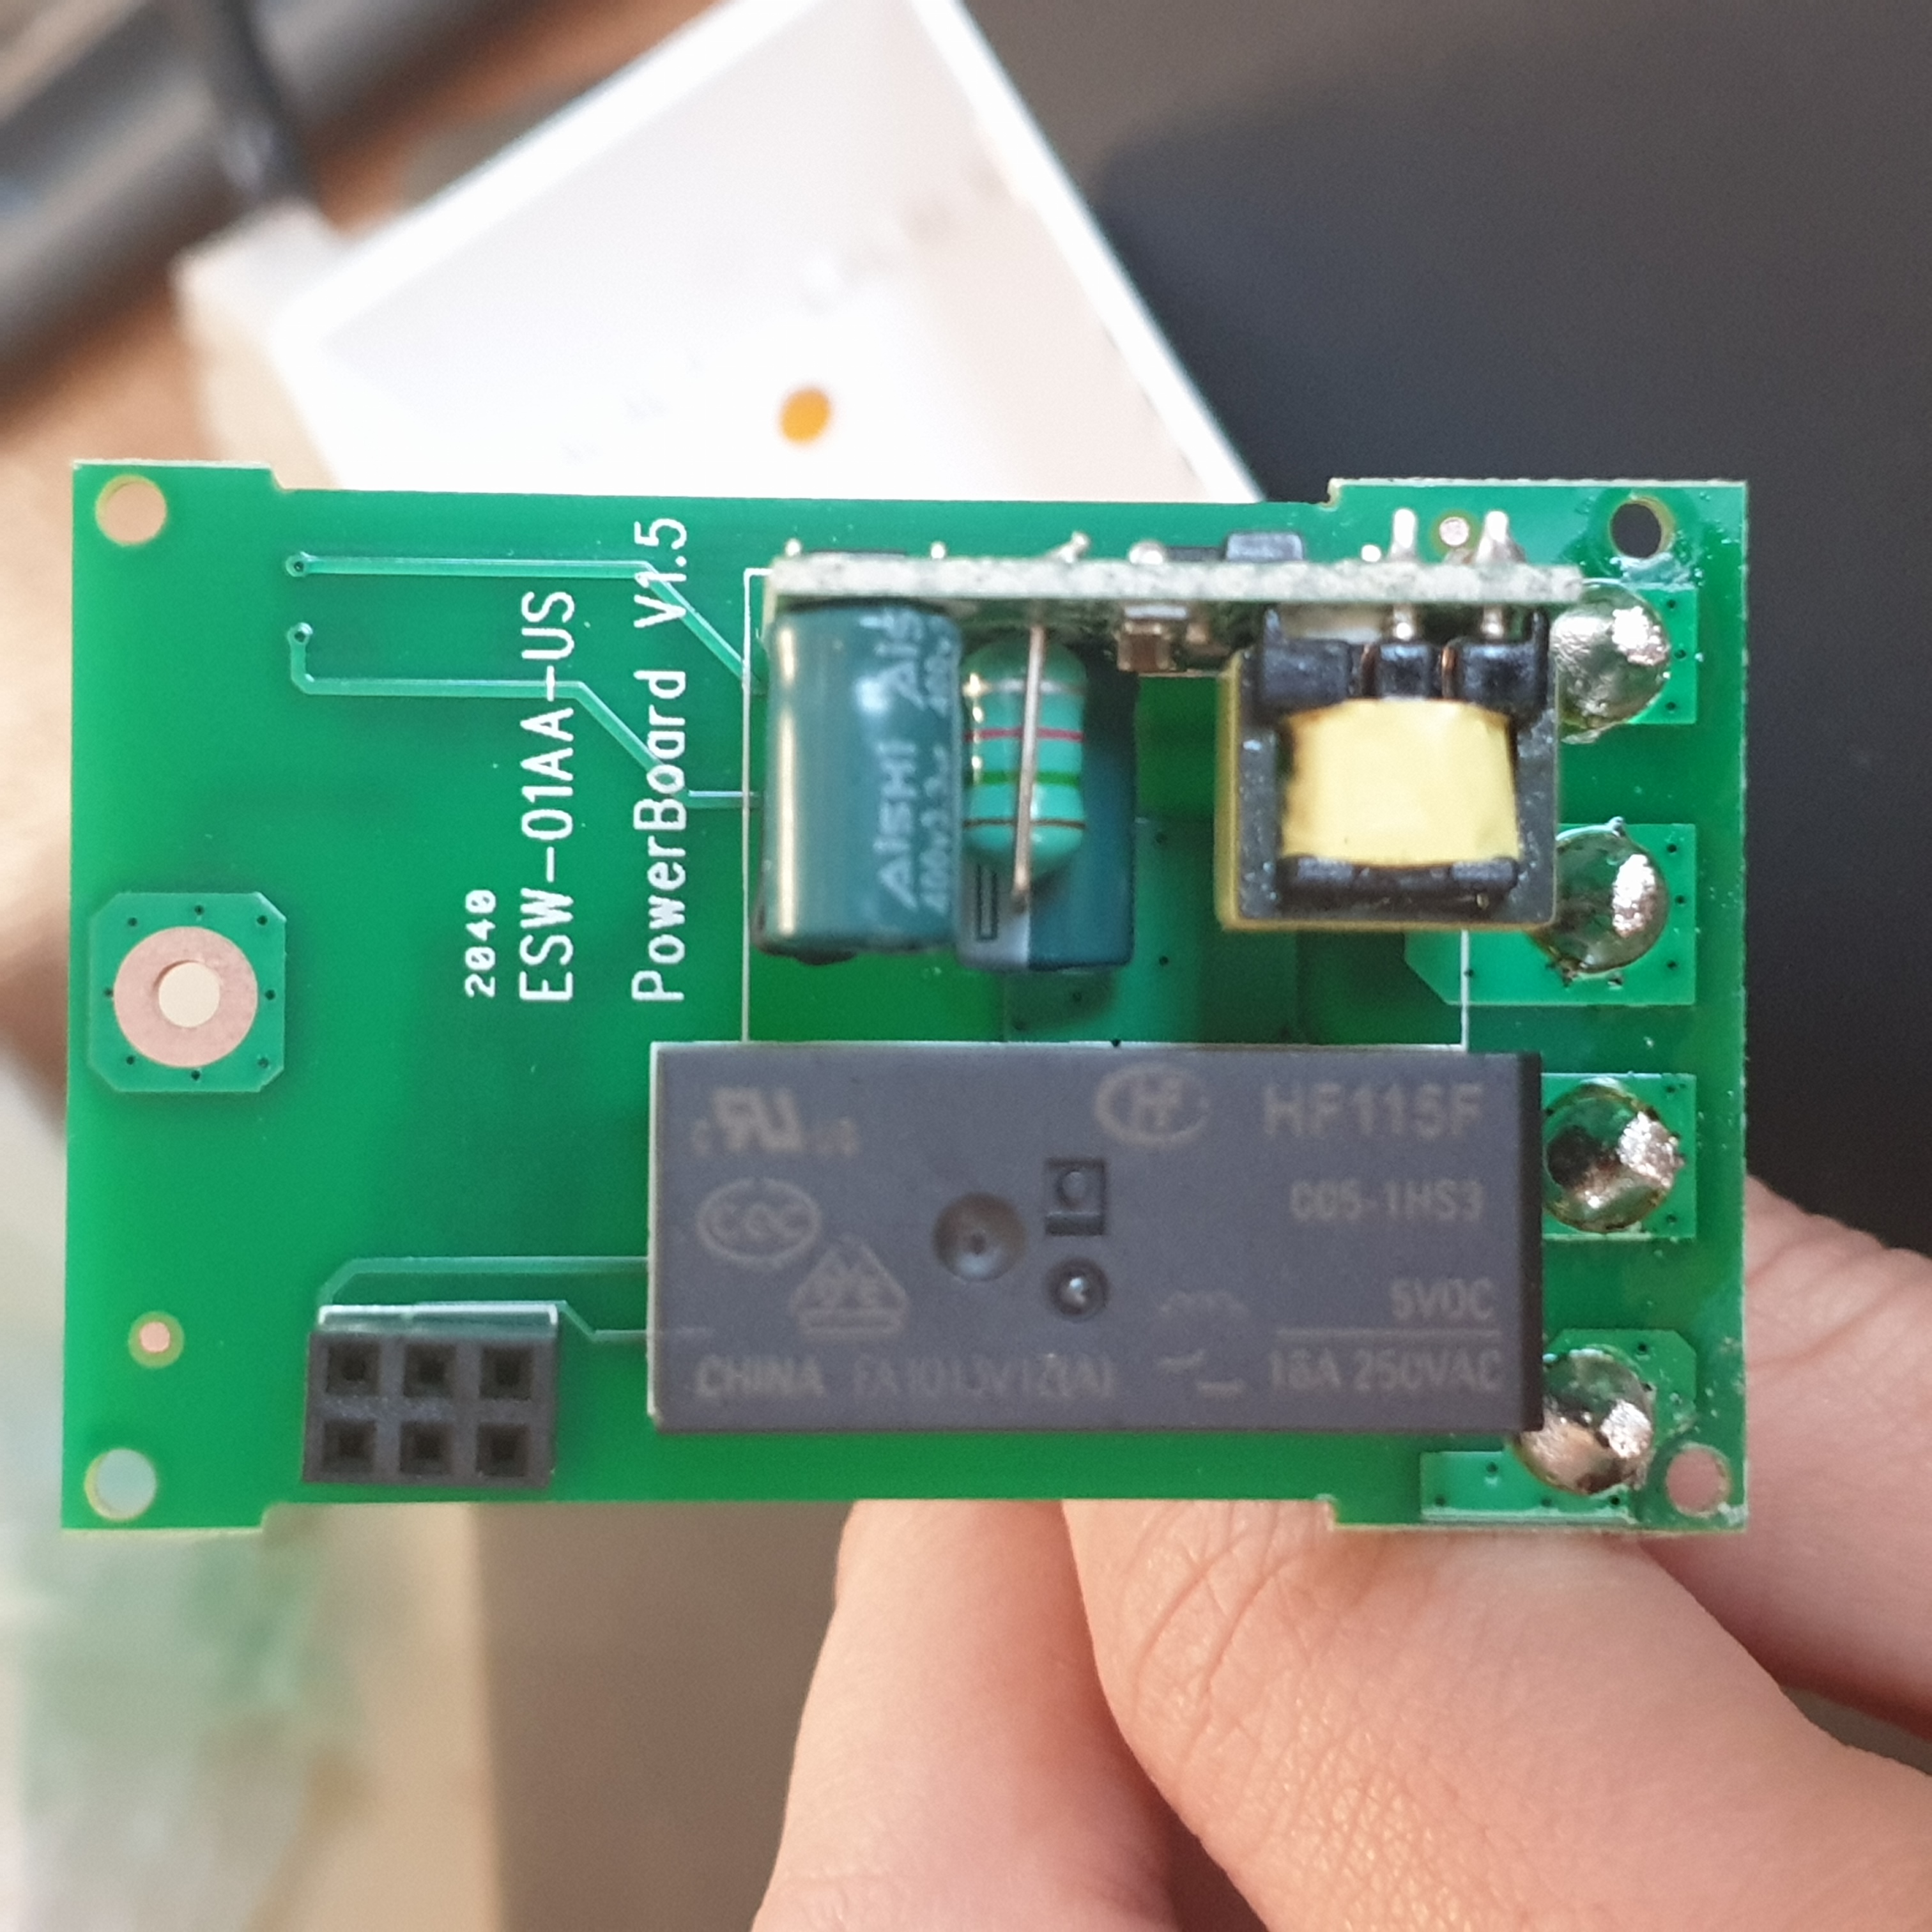
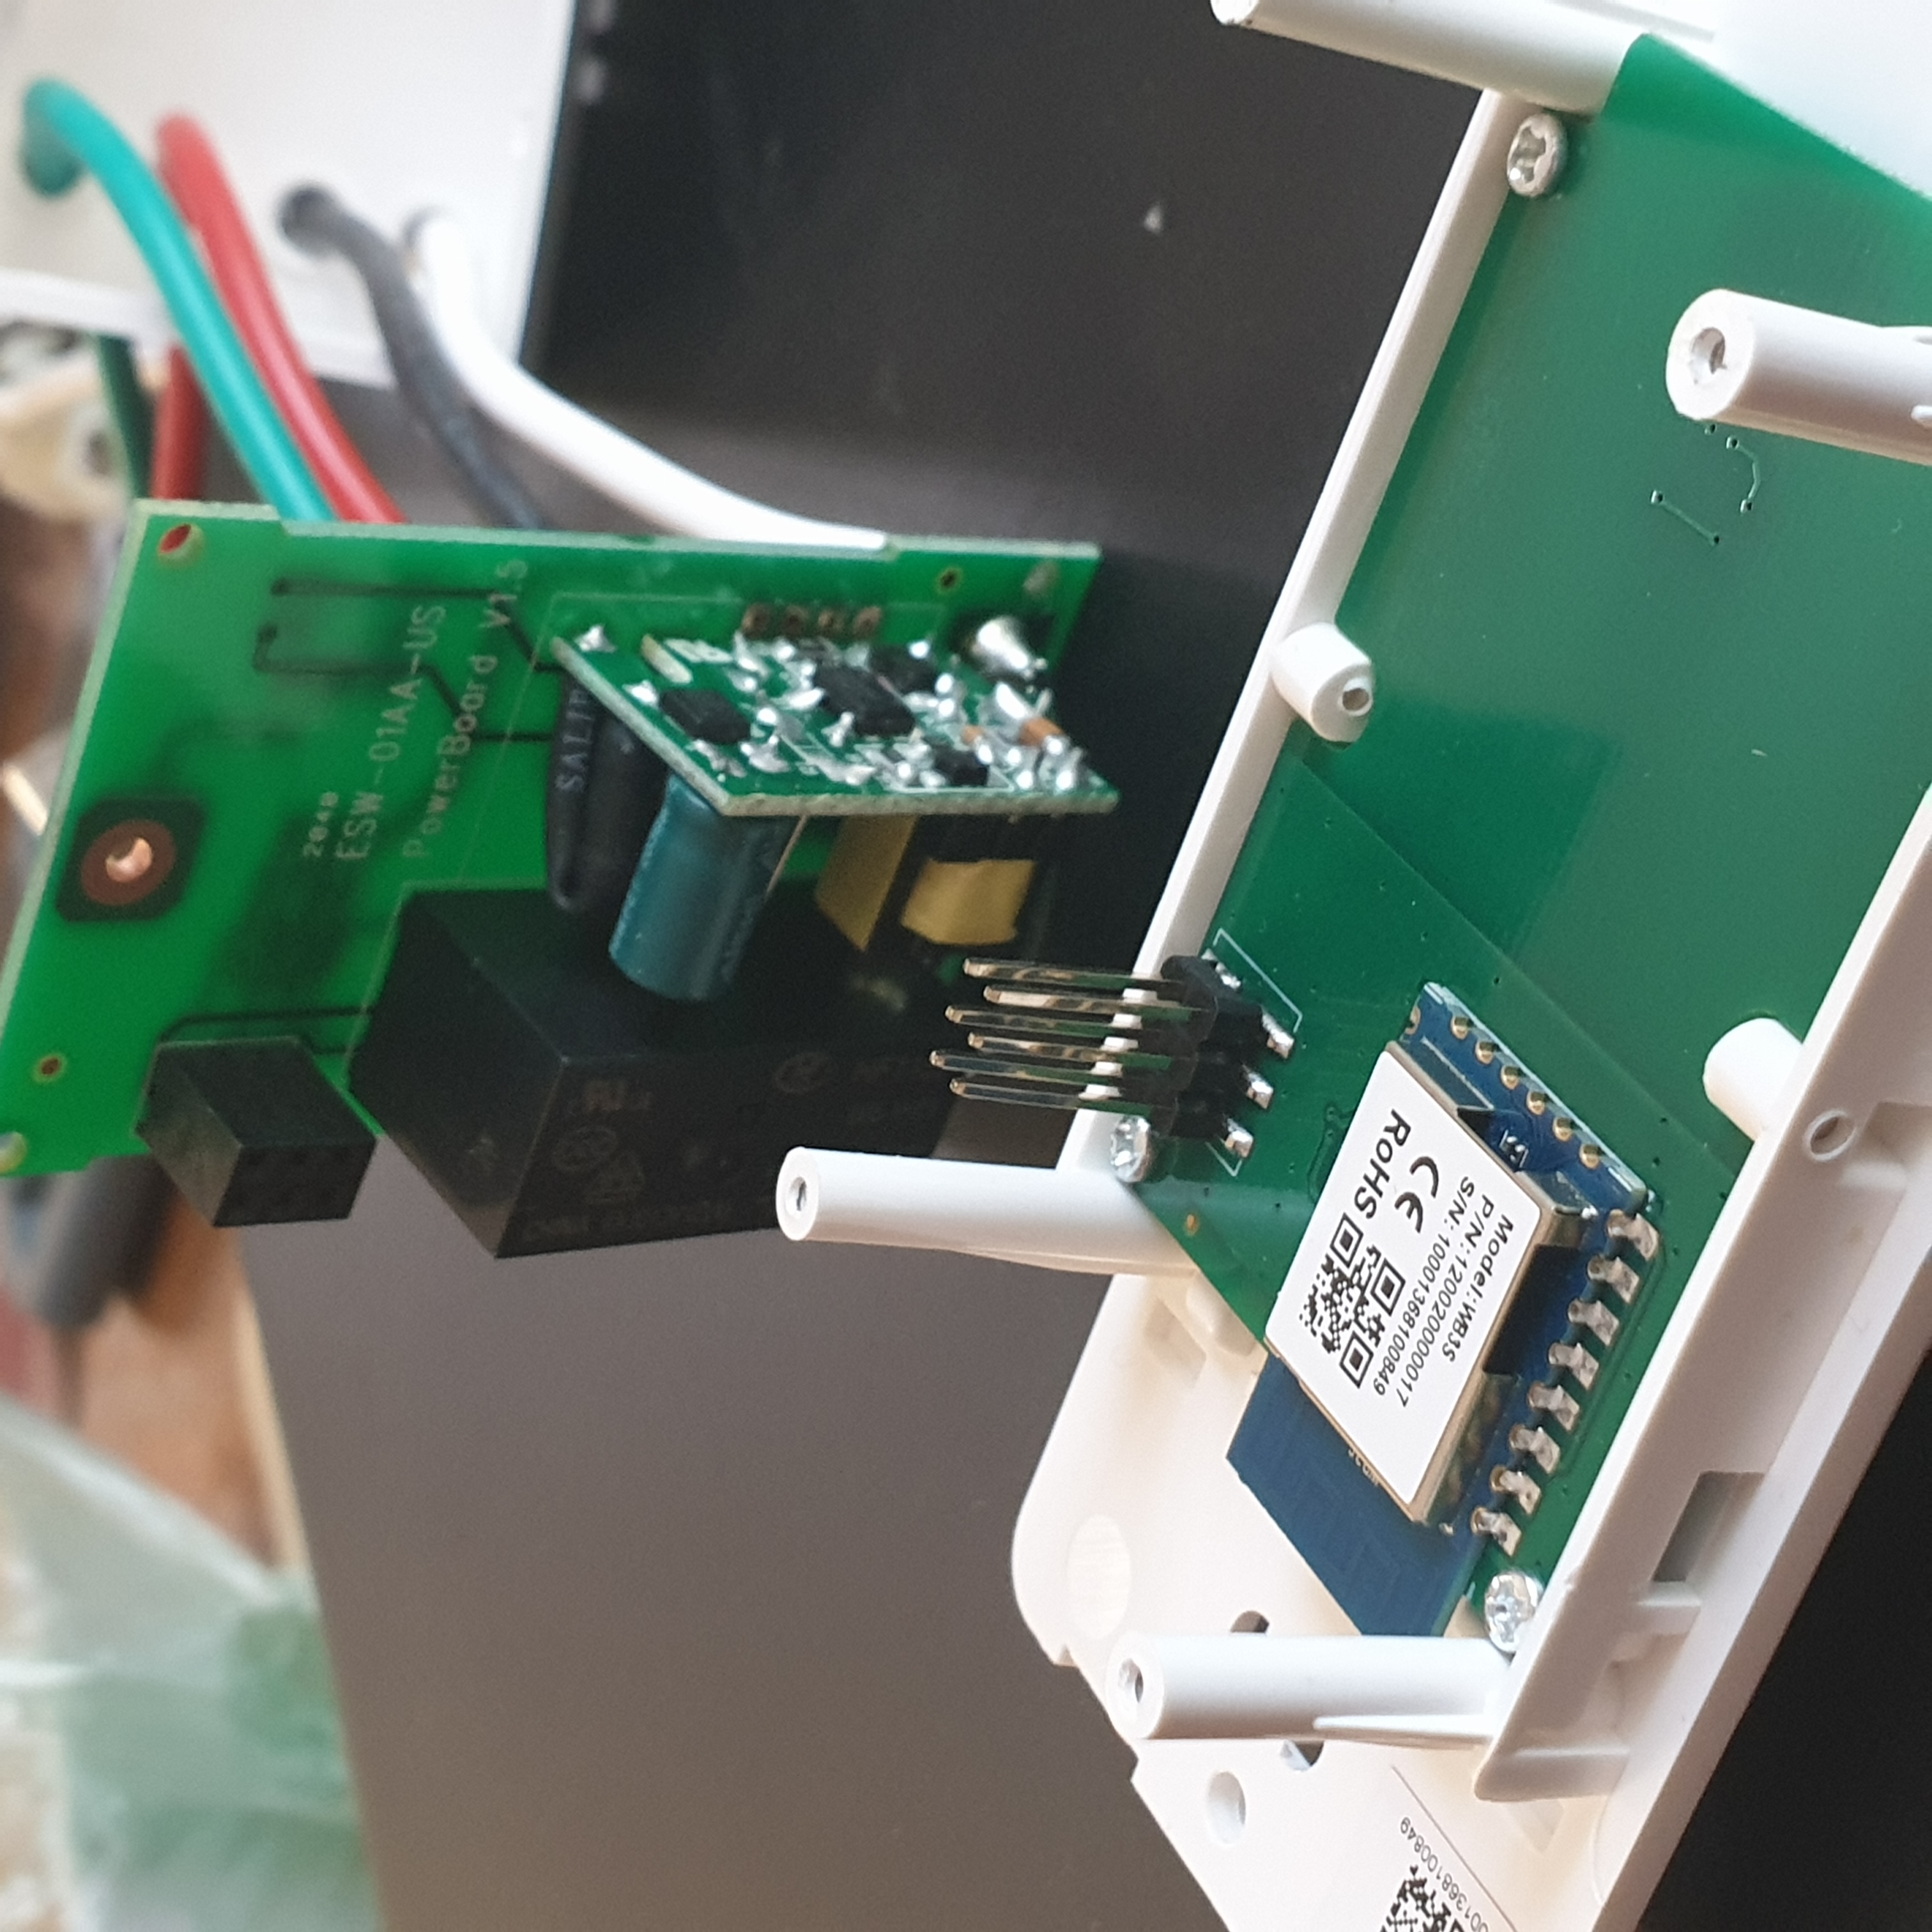
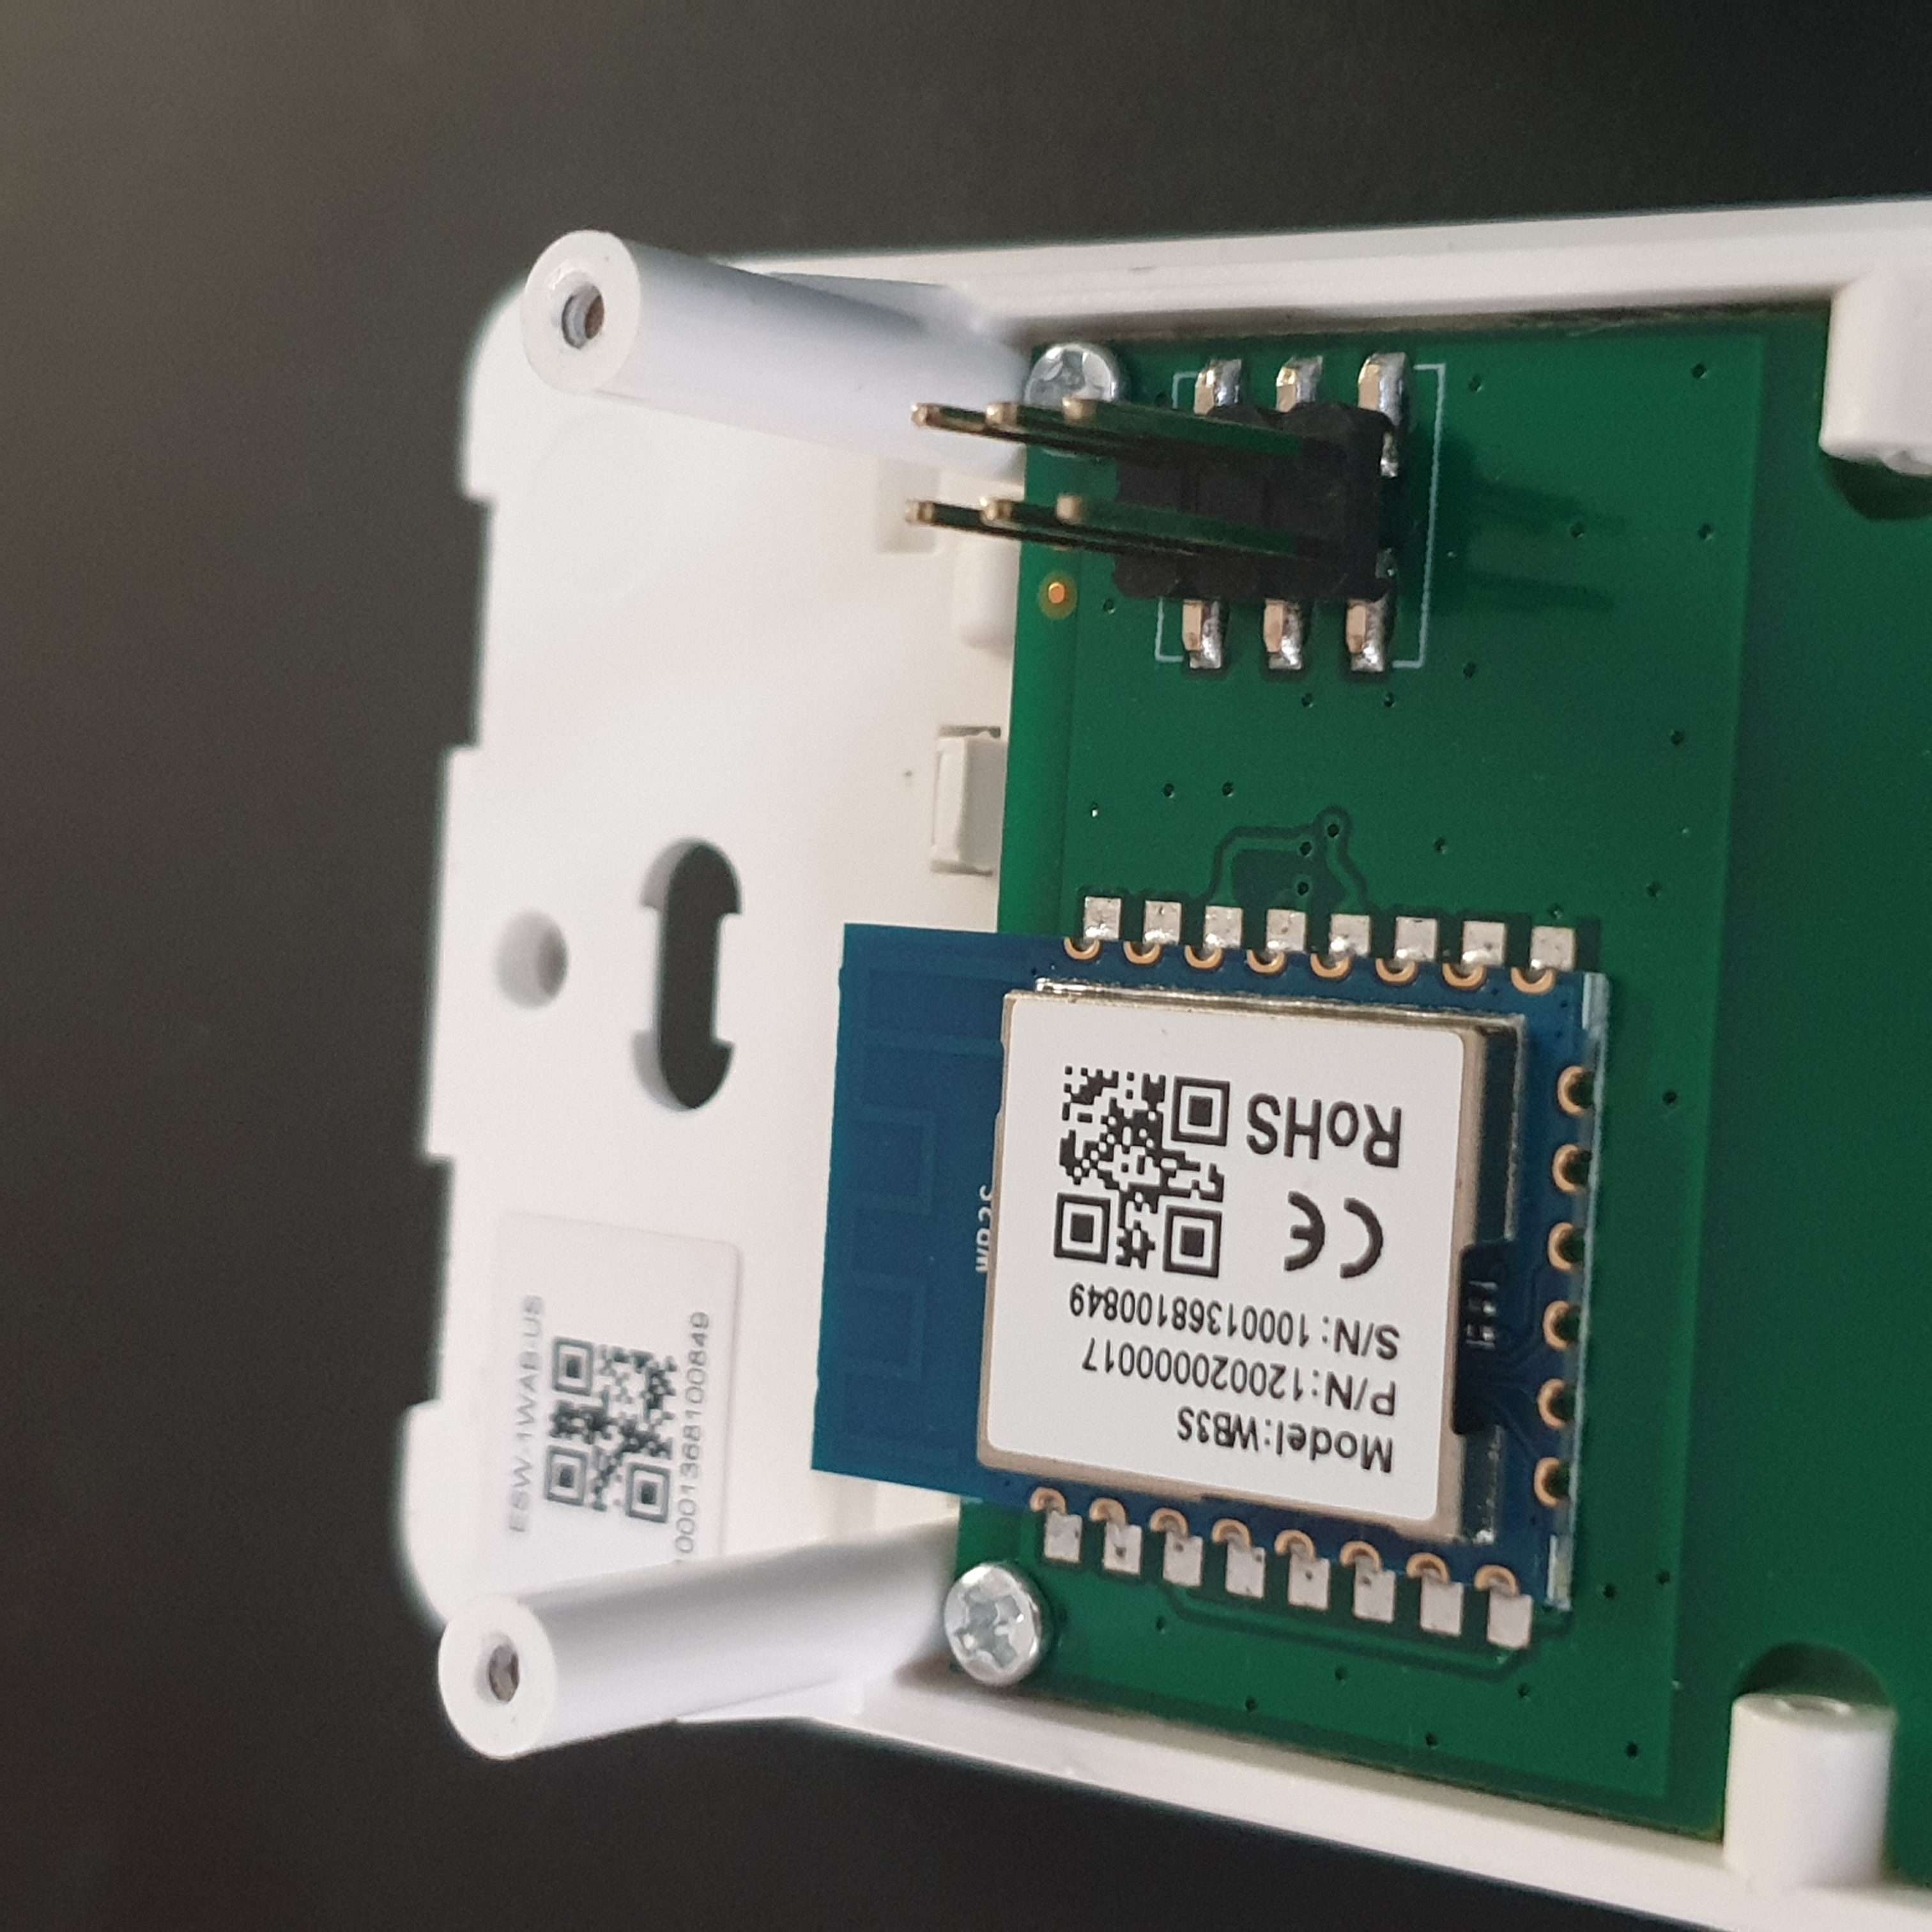
Originally Tuya (IoT framework) used ESP-based chips, however they have since (late 2019) developed their own MCU (Tuya WB3S) - which we unfortunately cannot flash ESPHome / Tasmota over.
However, the pin layout is almost identical to a D1 Mini board (albeit one of the pins needing to be rewired) - so if I really wanted to use an ESP-based firmware then I could go that route.
Again though, there’s an official integration coming out - so hopefully that will be promising.