A teleprompter is a ‘screen’ placed in front of a camera that lets you read content off from it, whilst you appear to be looking at the camera!
Often teleprompter screens can be quite expensive as the special glass they use (beamsplitter mirrors) are specifically created to have good optical refractivity and performance. But budget solutions exist, from ~AU$100 solutions, to ~AU$5 DIY solutions!
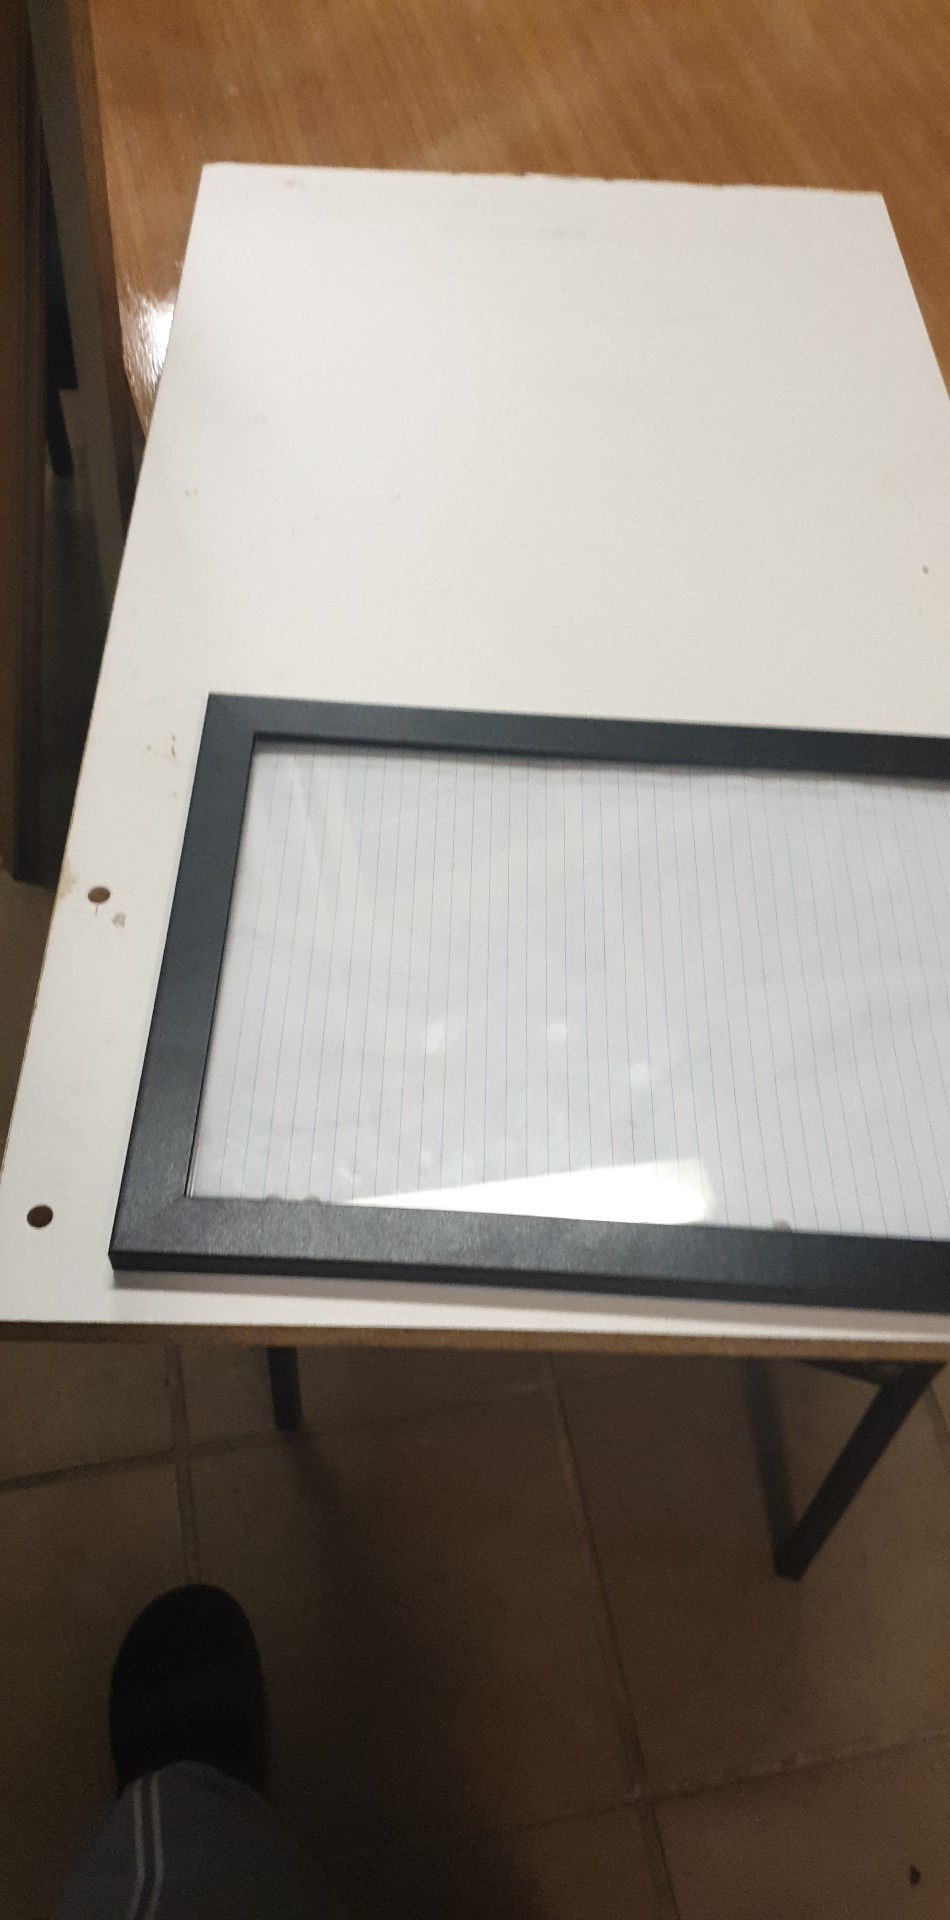
In the real of DIY solutions, often this is done with a photo frame - which is cheap and easily acquirable.
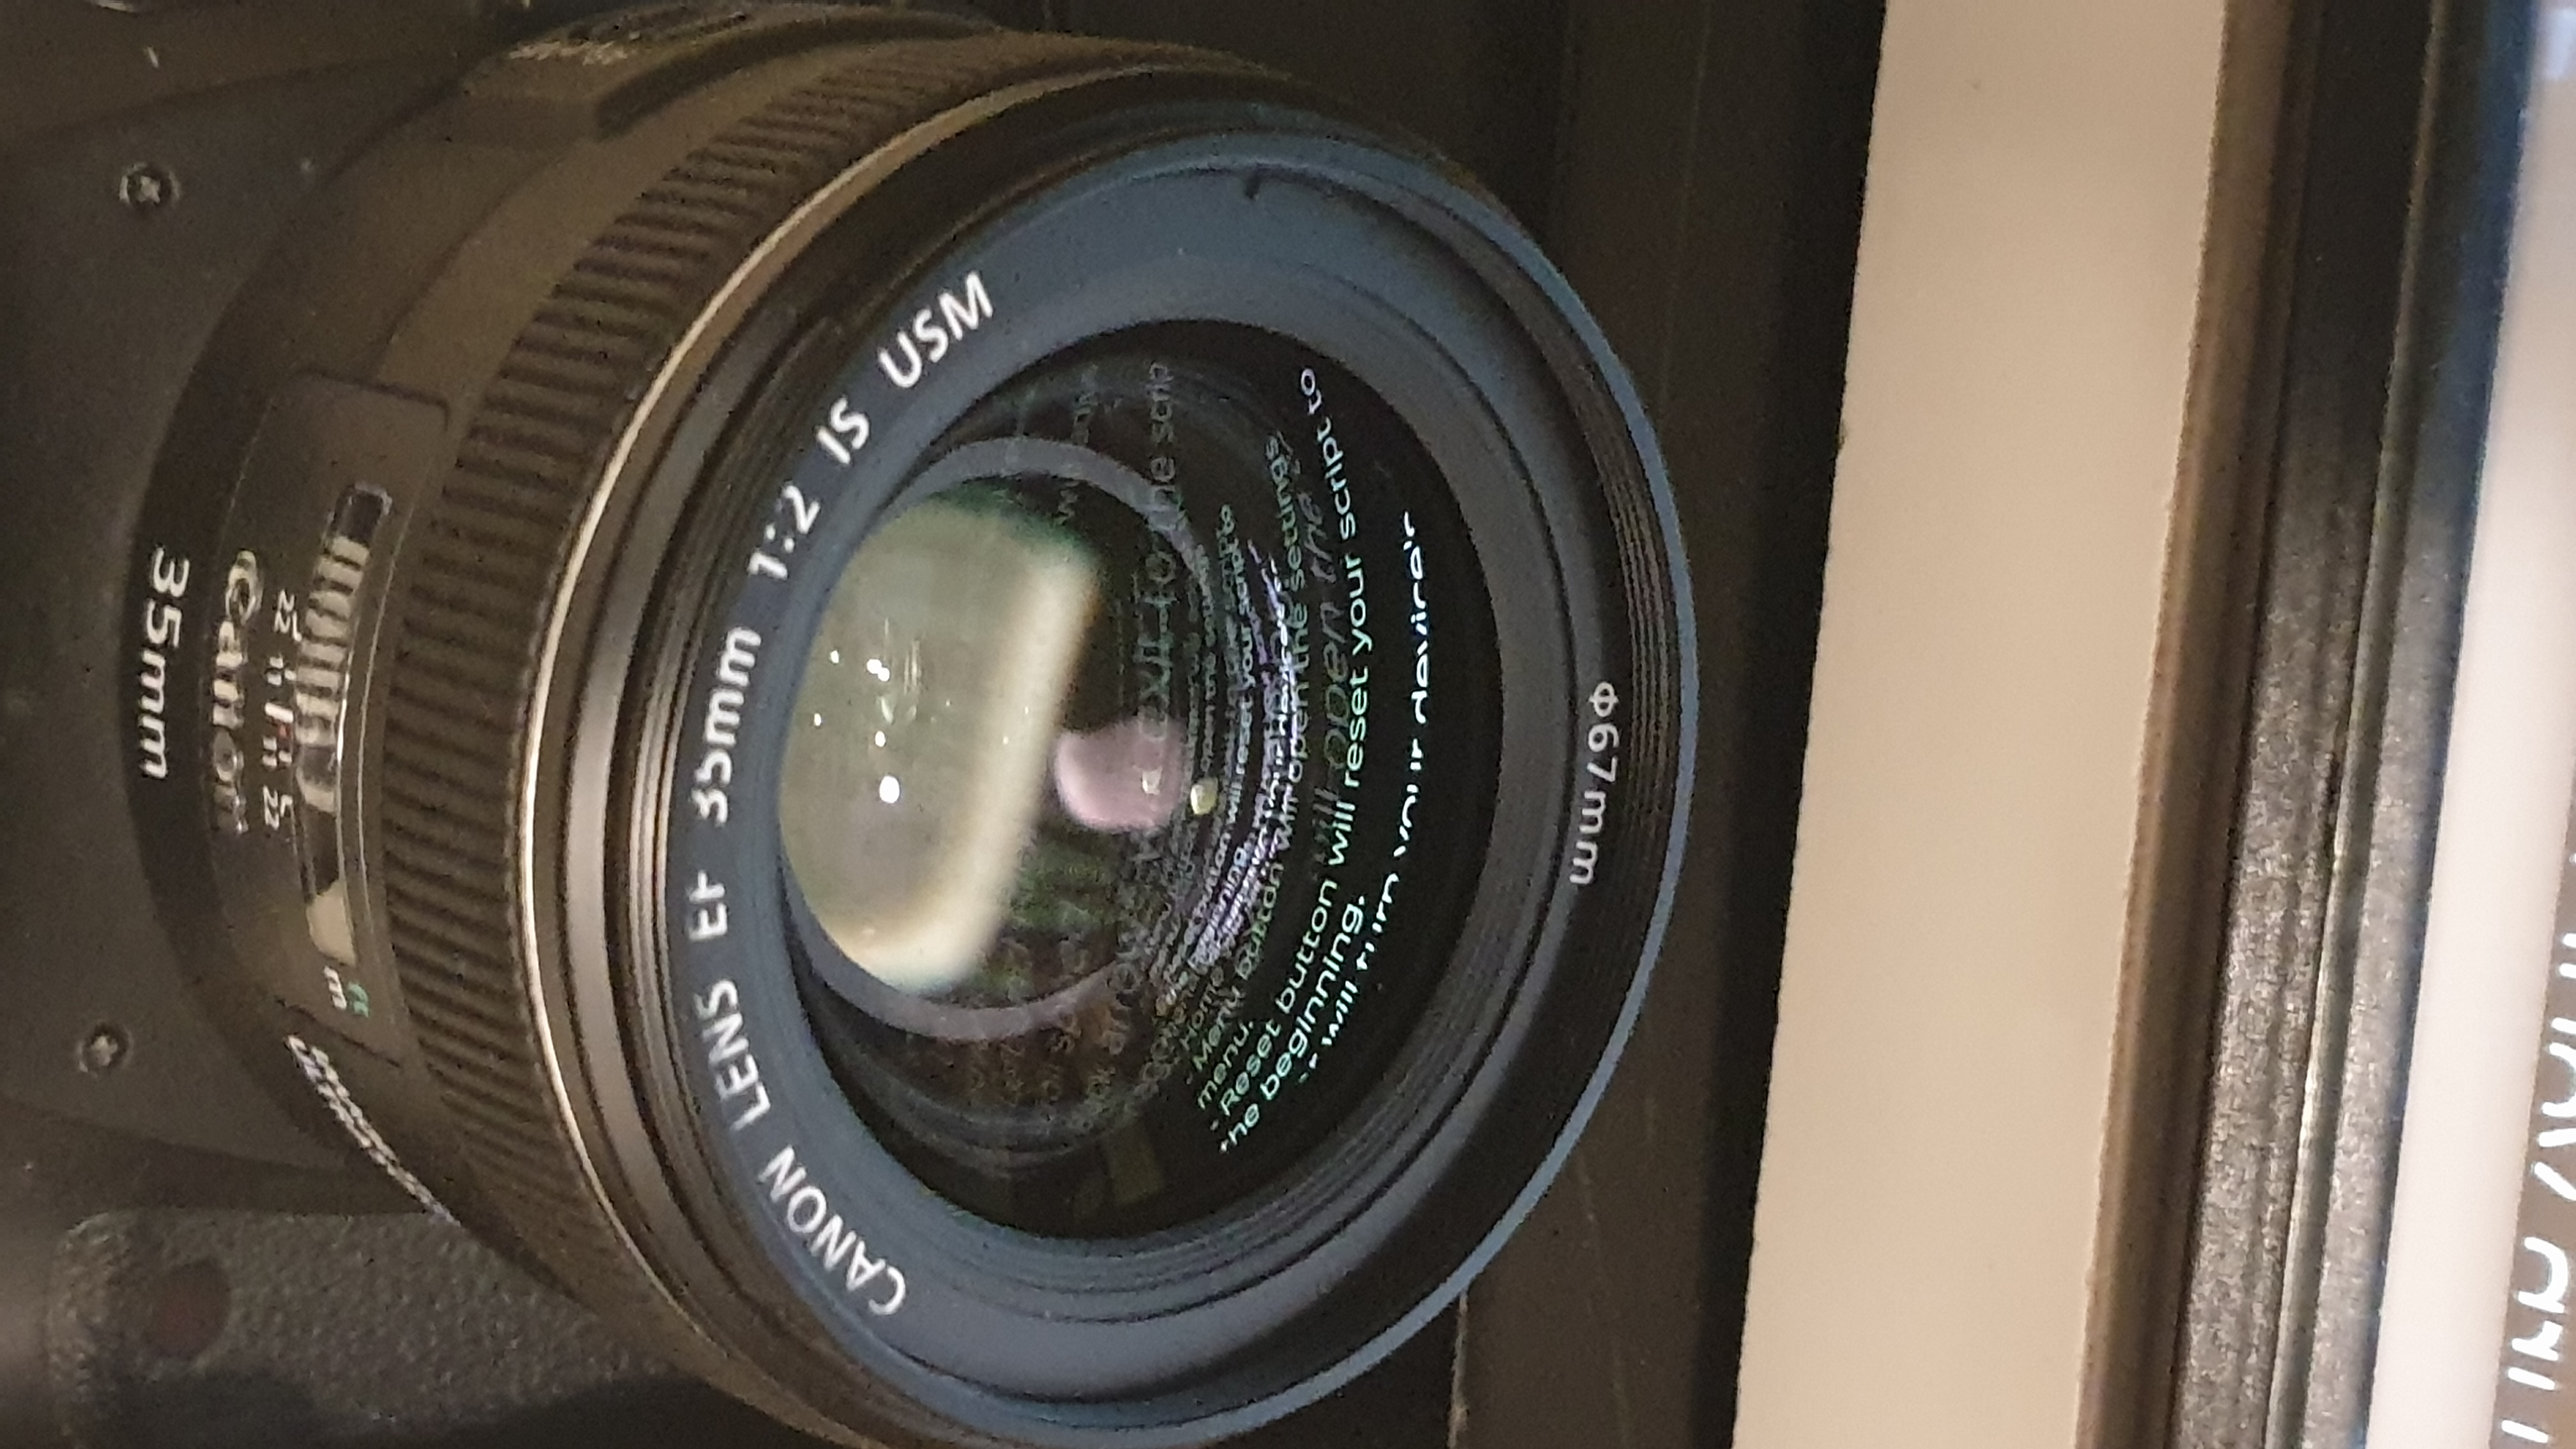
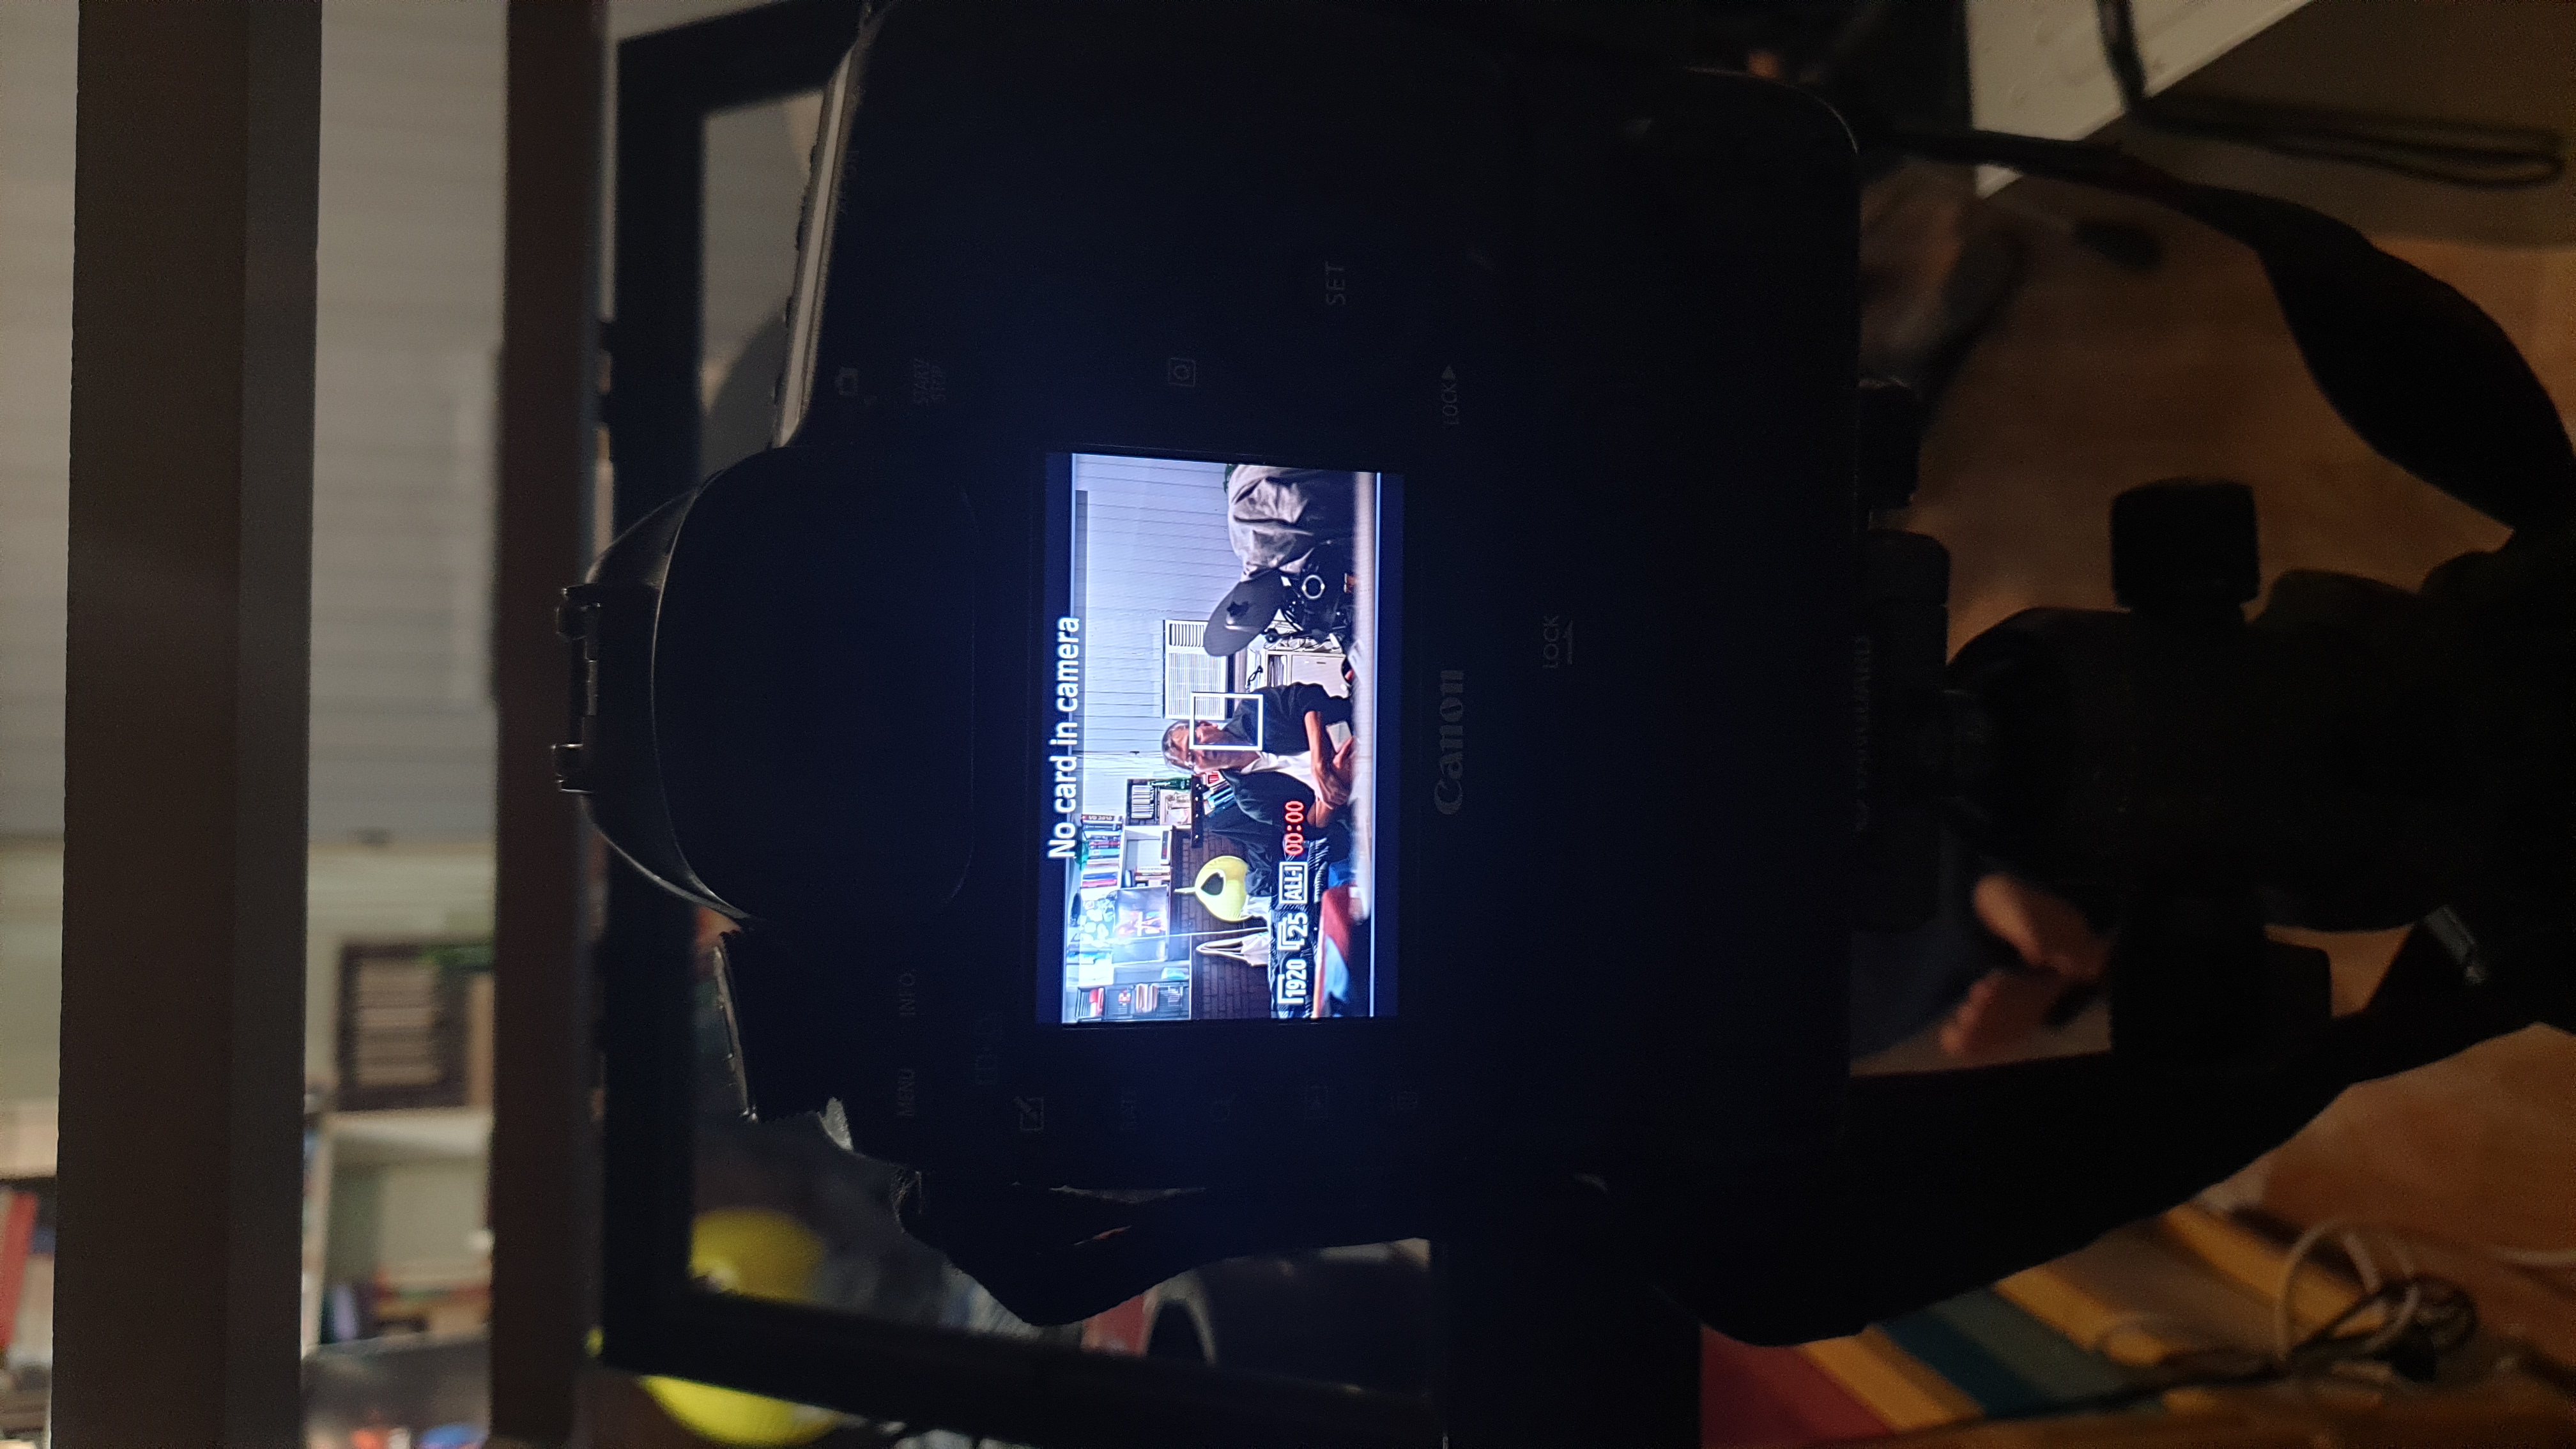
Essentially it mitigates situations like this.
And makes it slightly less janky.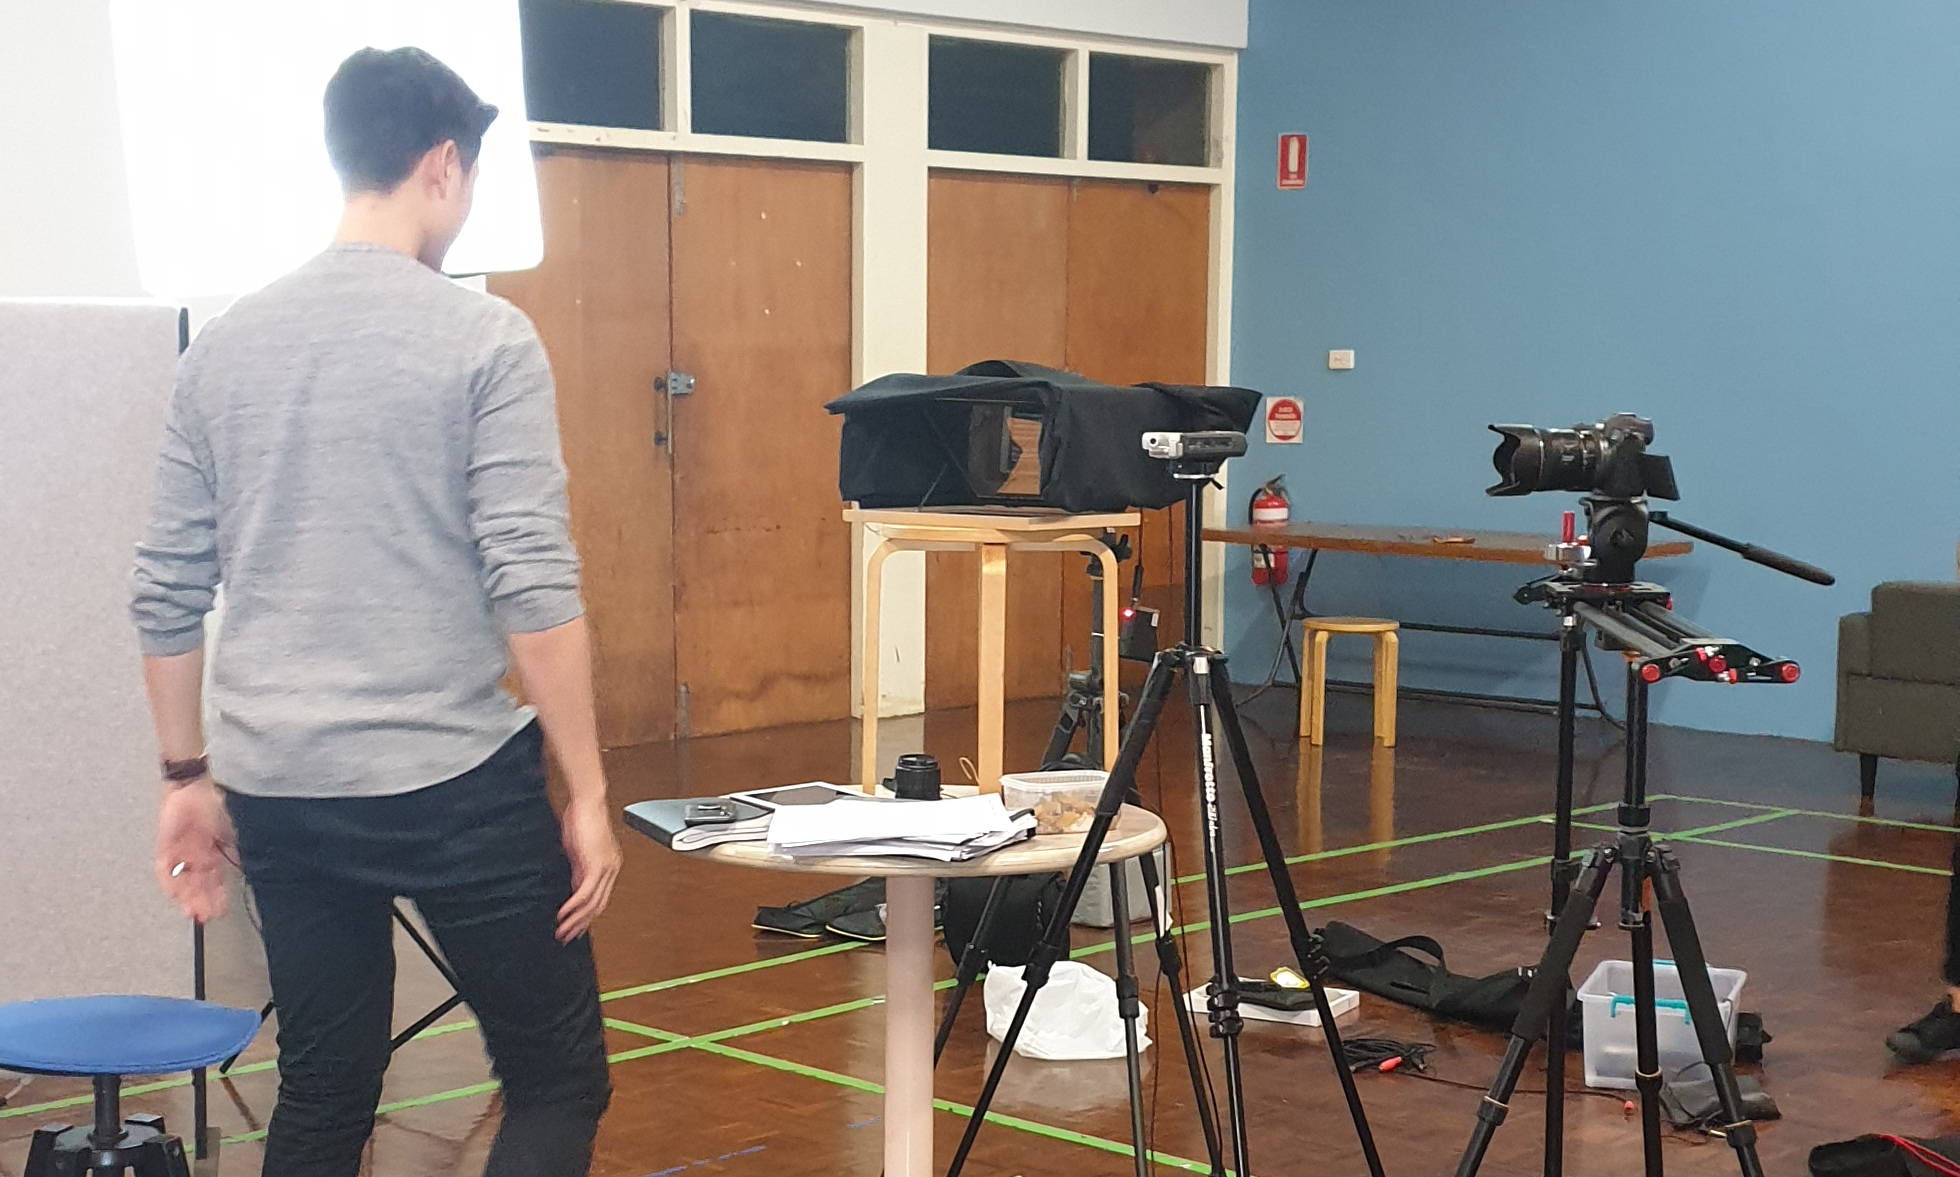
Alright so let’s make one!
In essence, a teleprompter screen positioned 45 degrees to a screen will reflect the screen on the glass facing it, but not be visible on the other side of the glass. So to make one you just need a frame that can hold the glass/acrylic sheet at 45 degrees.
As to make it portable, I wanted the frame to be foldable, so I drafted up a quick diagram of a Z-frame (3 members on 2 pivots)
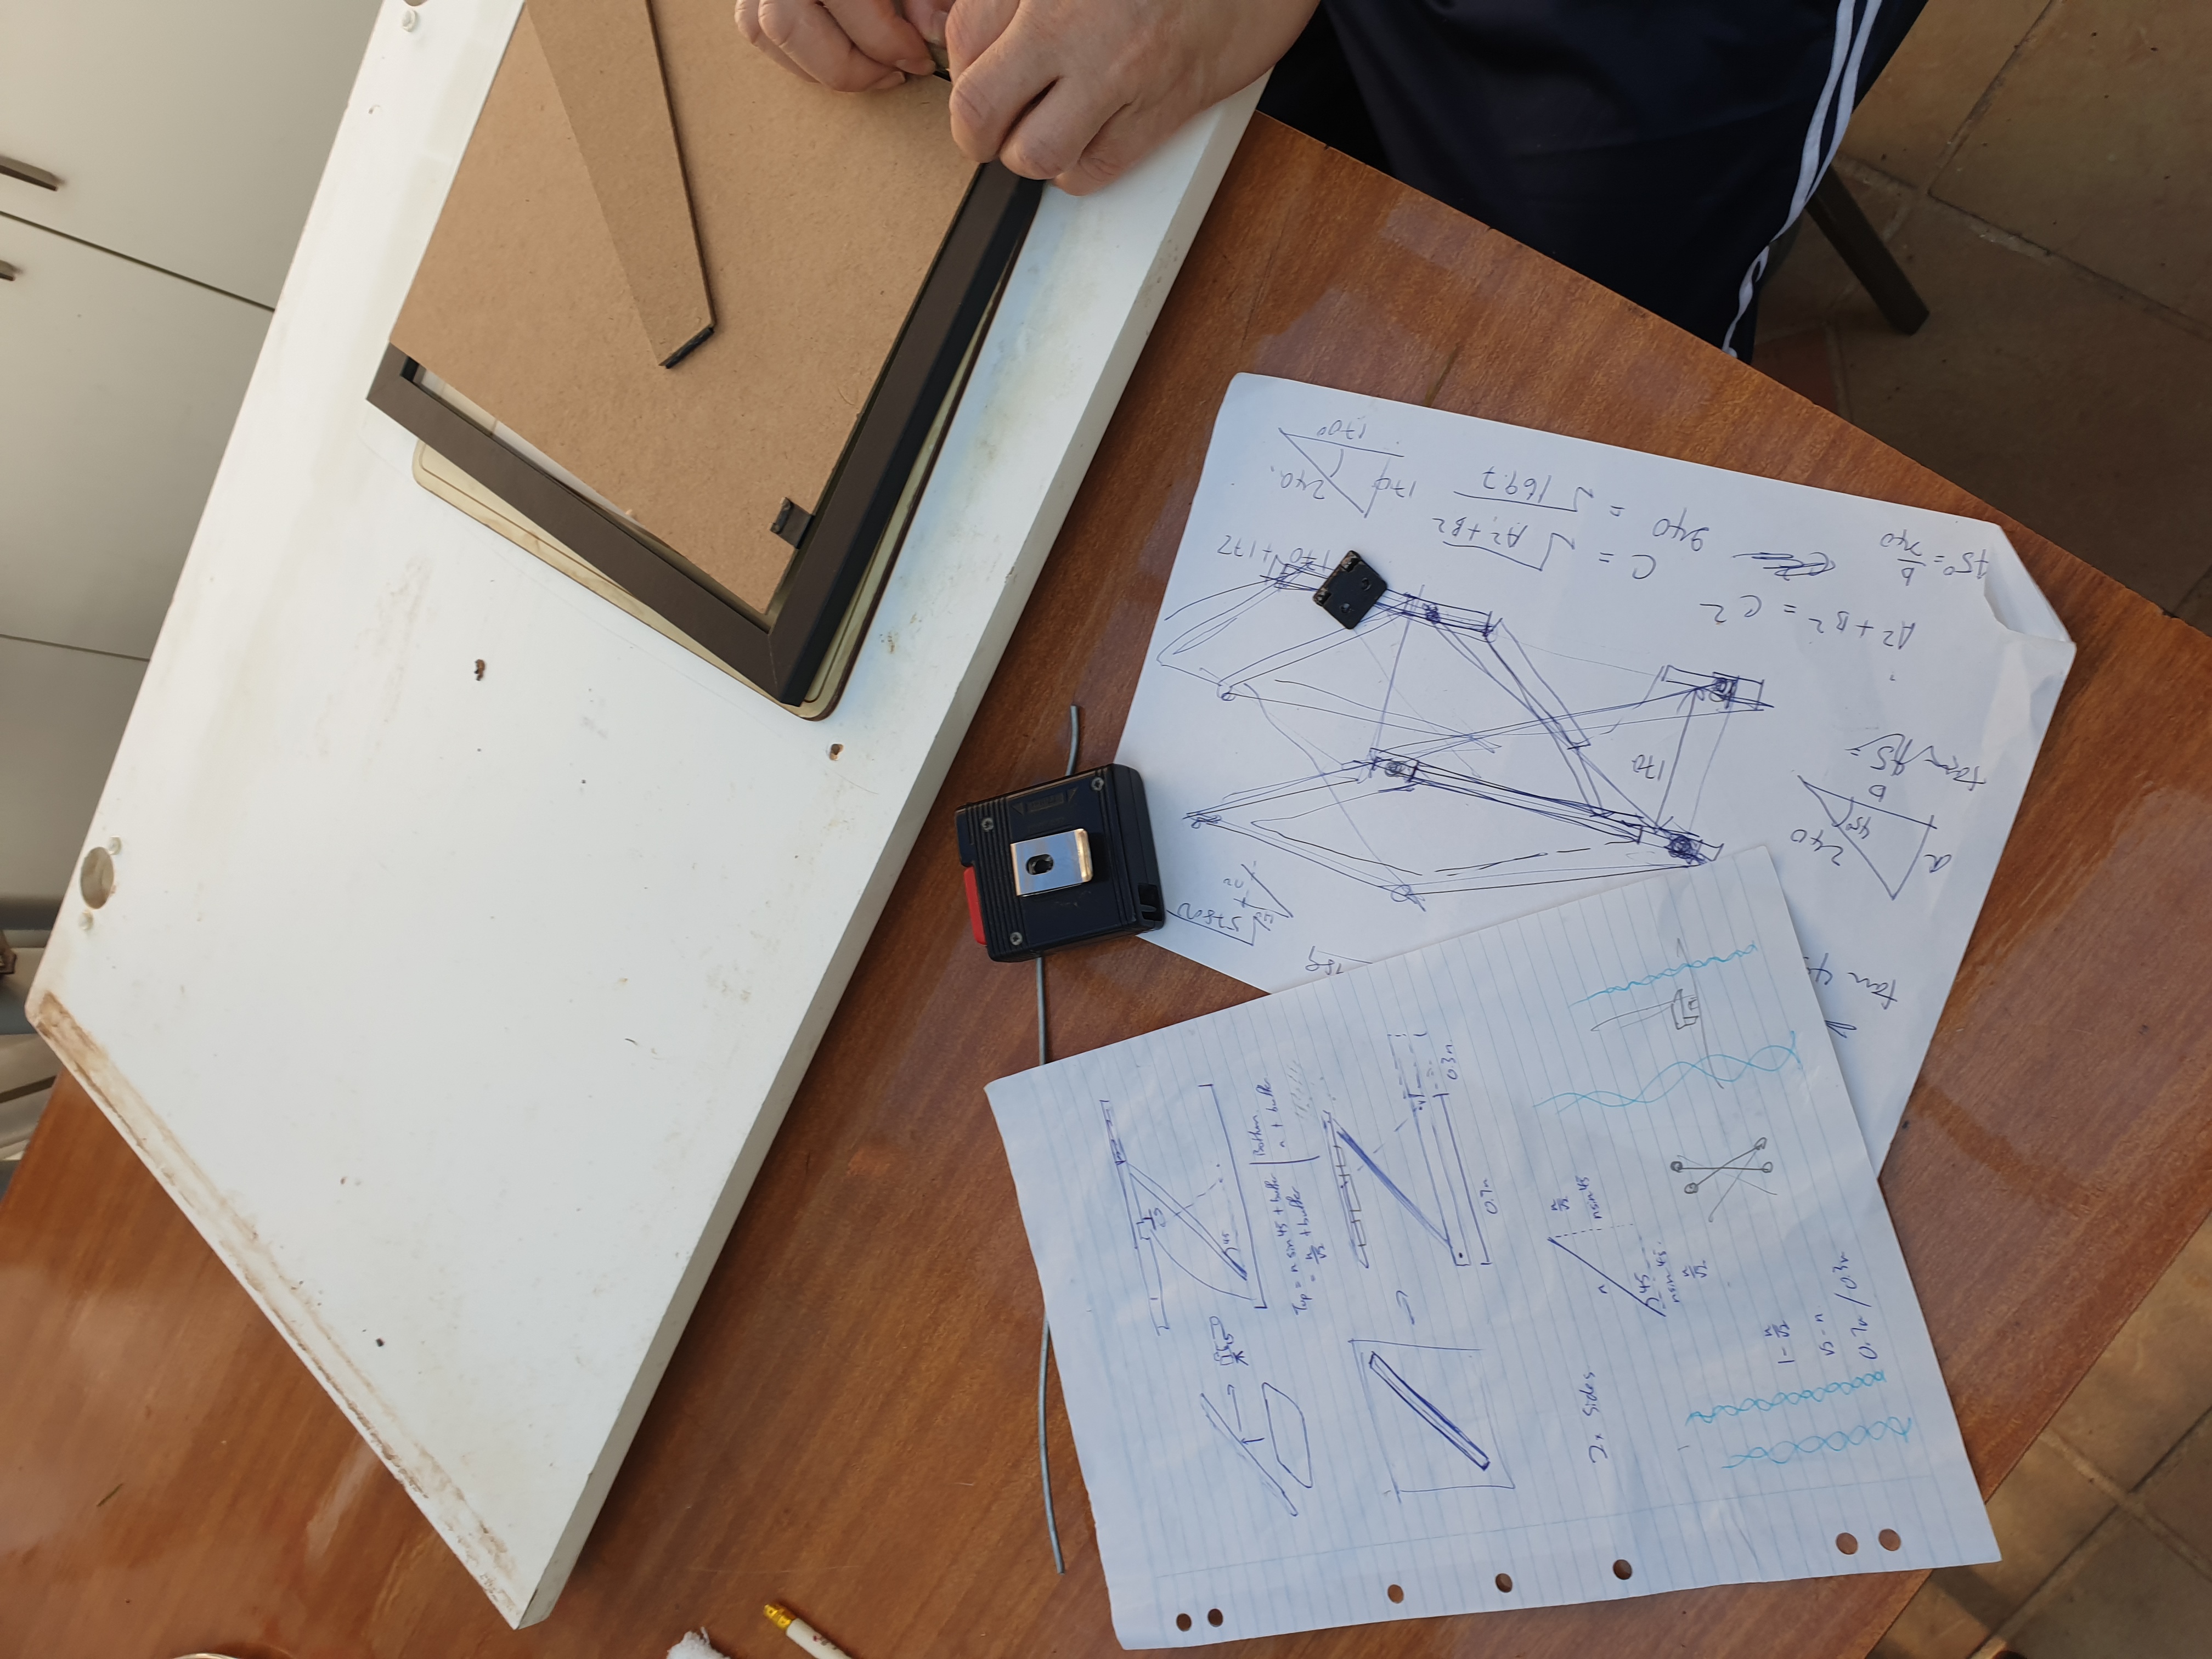
After, I found some scrap wood and whacked them onto each other, adding a hinge to keep the frame open
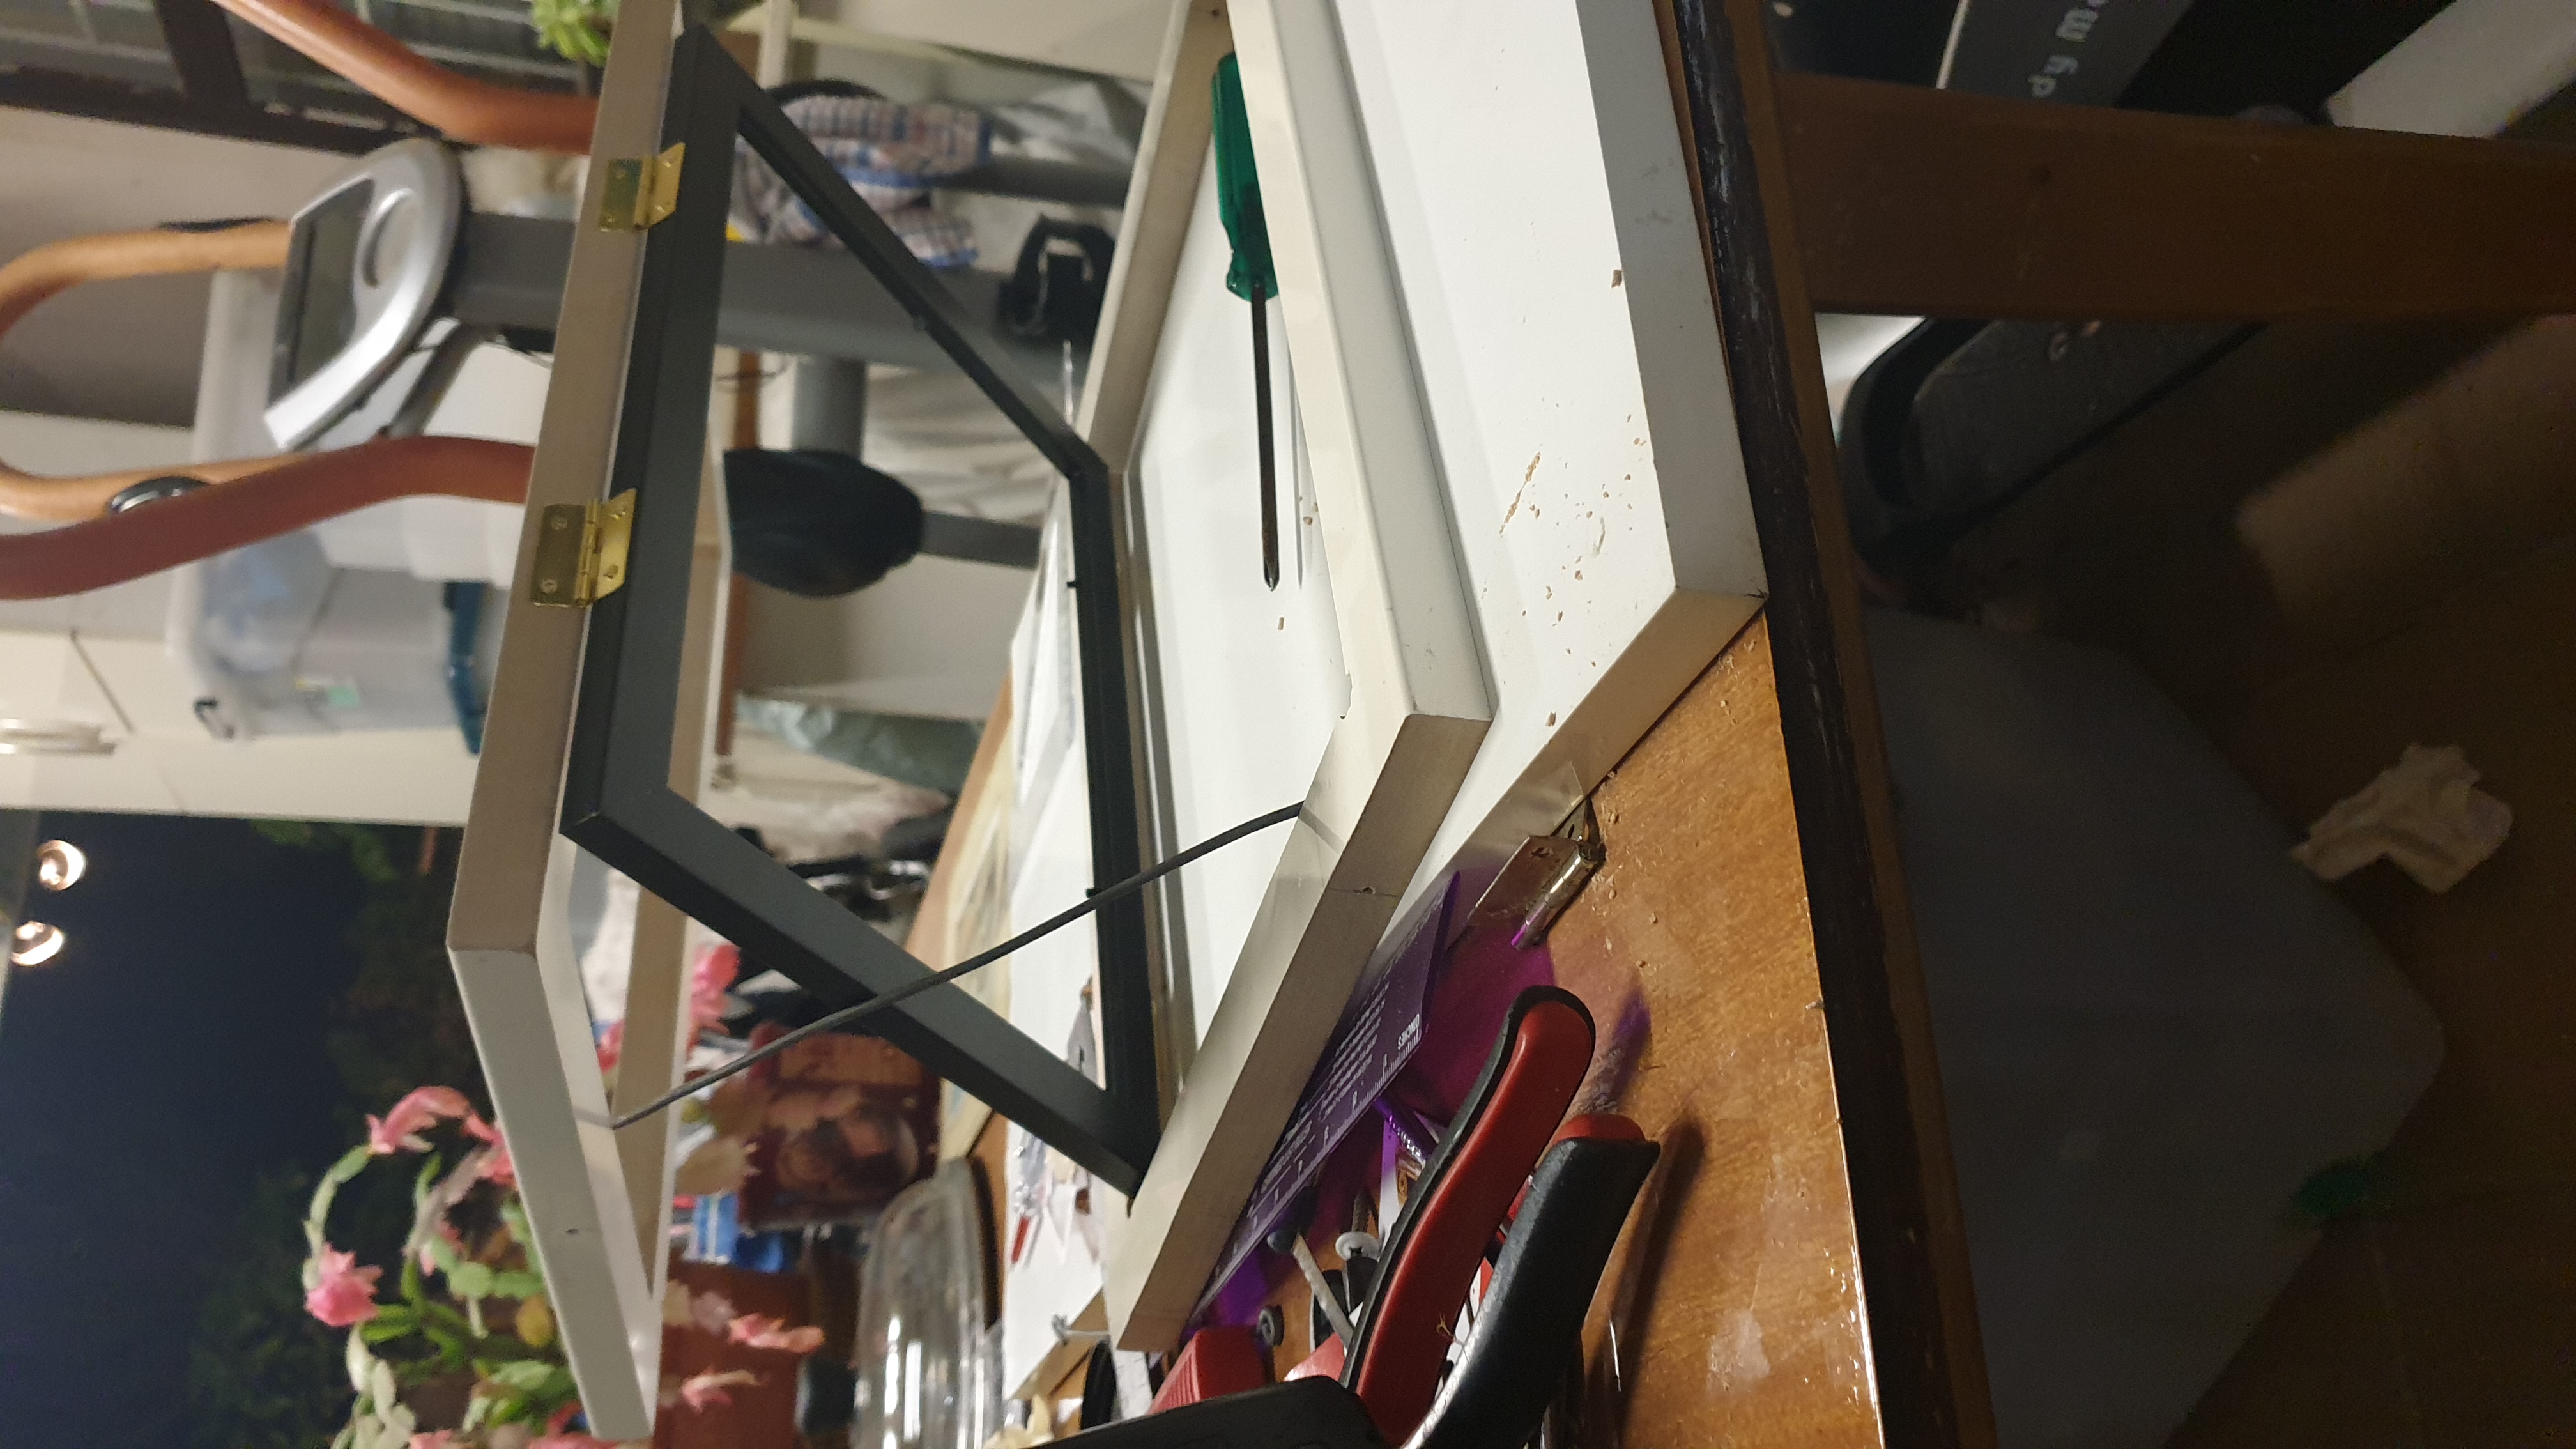
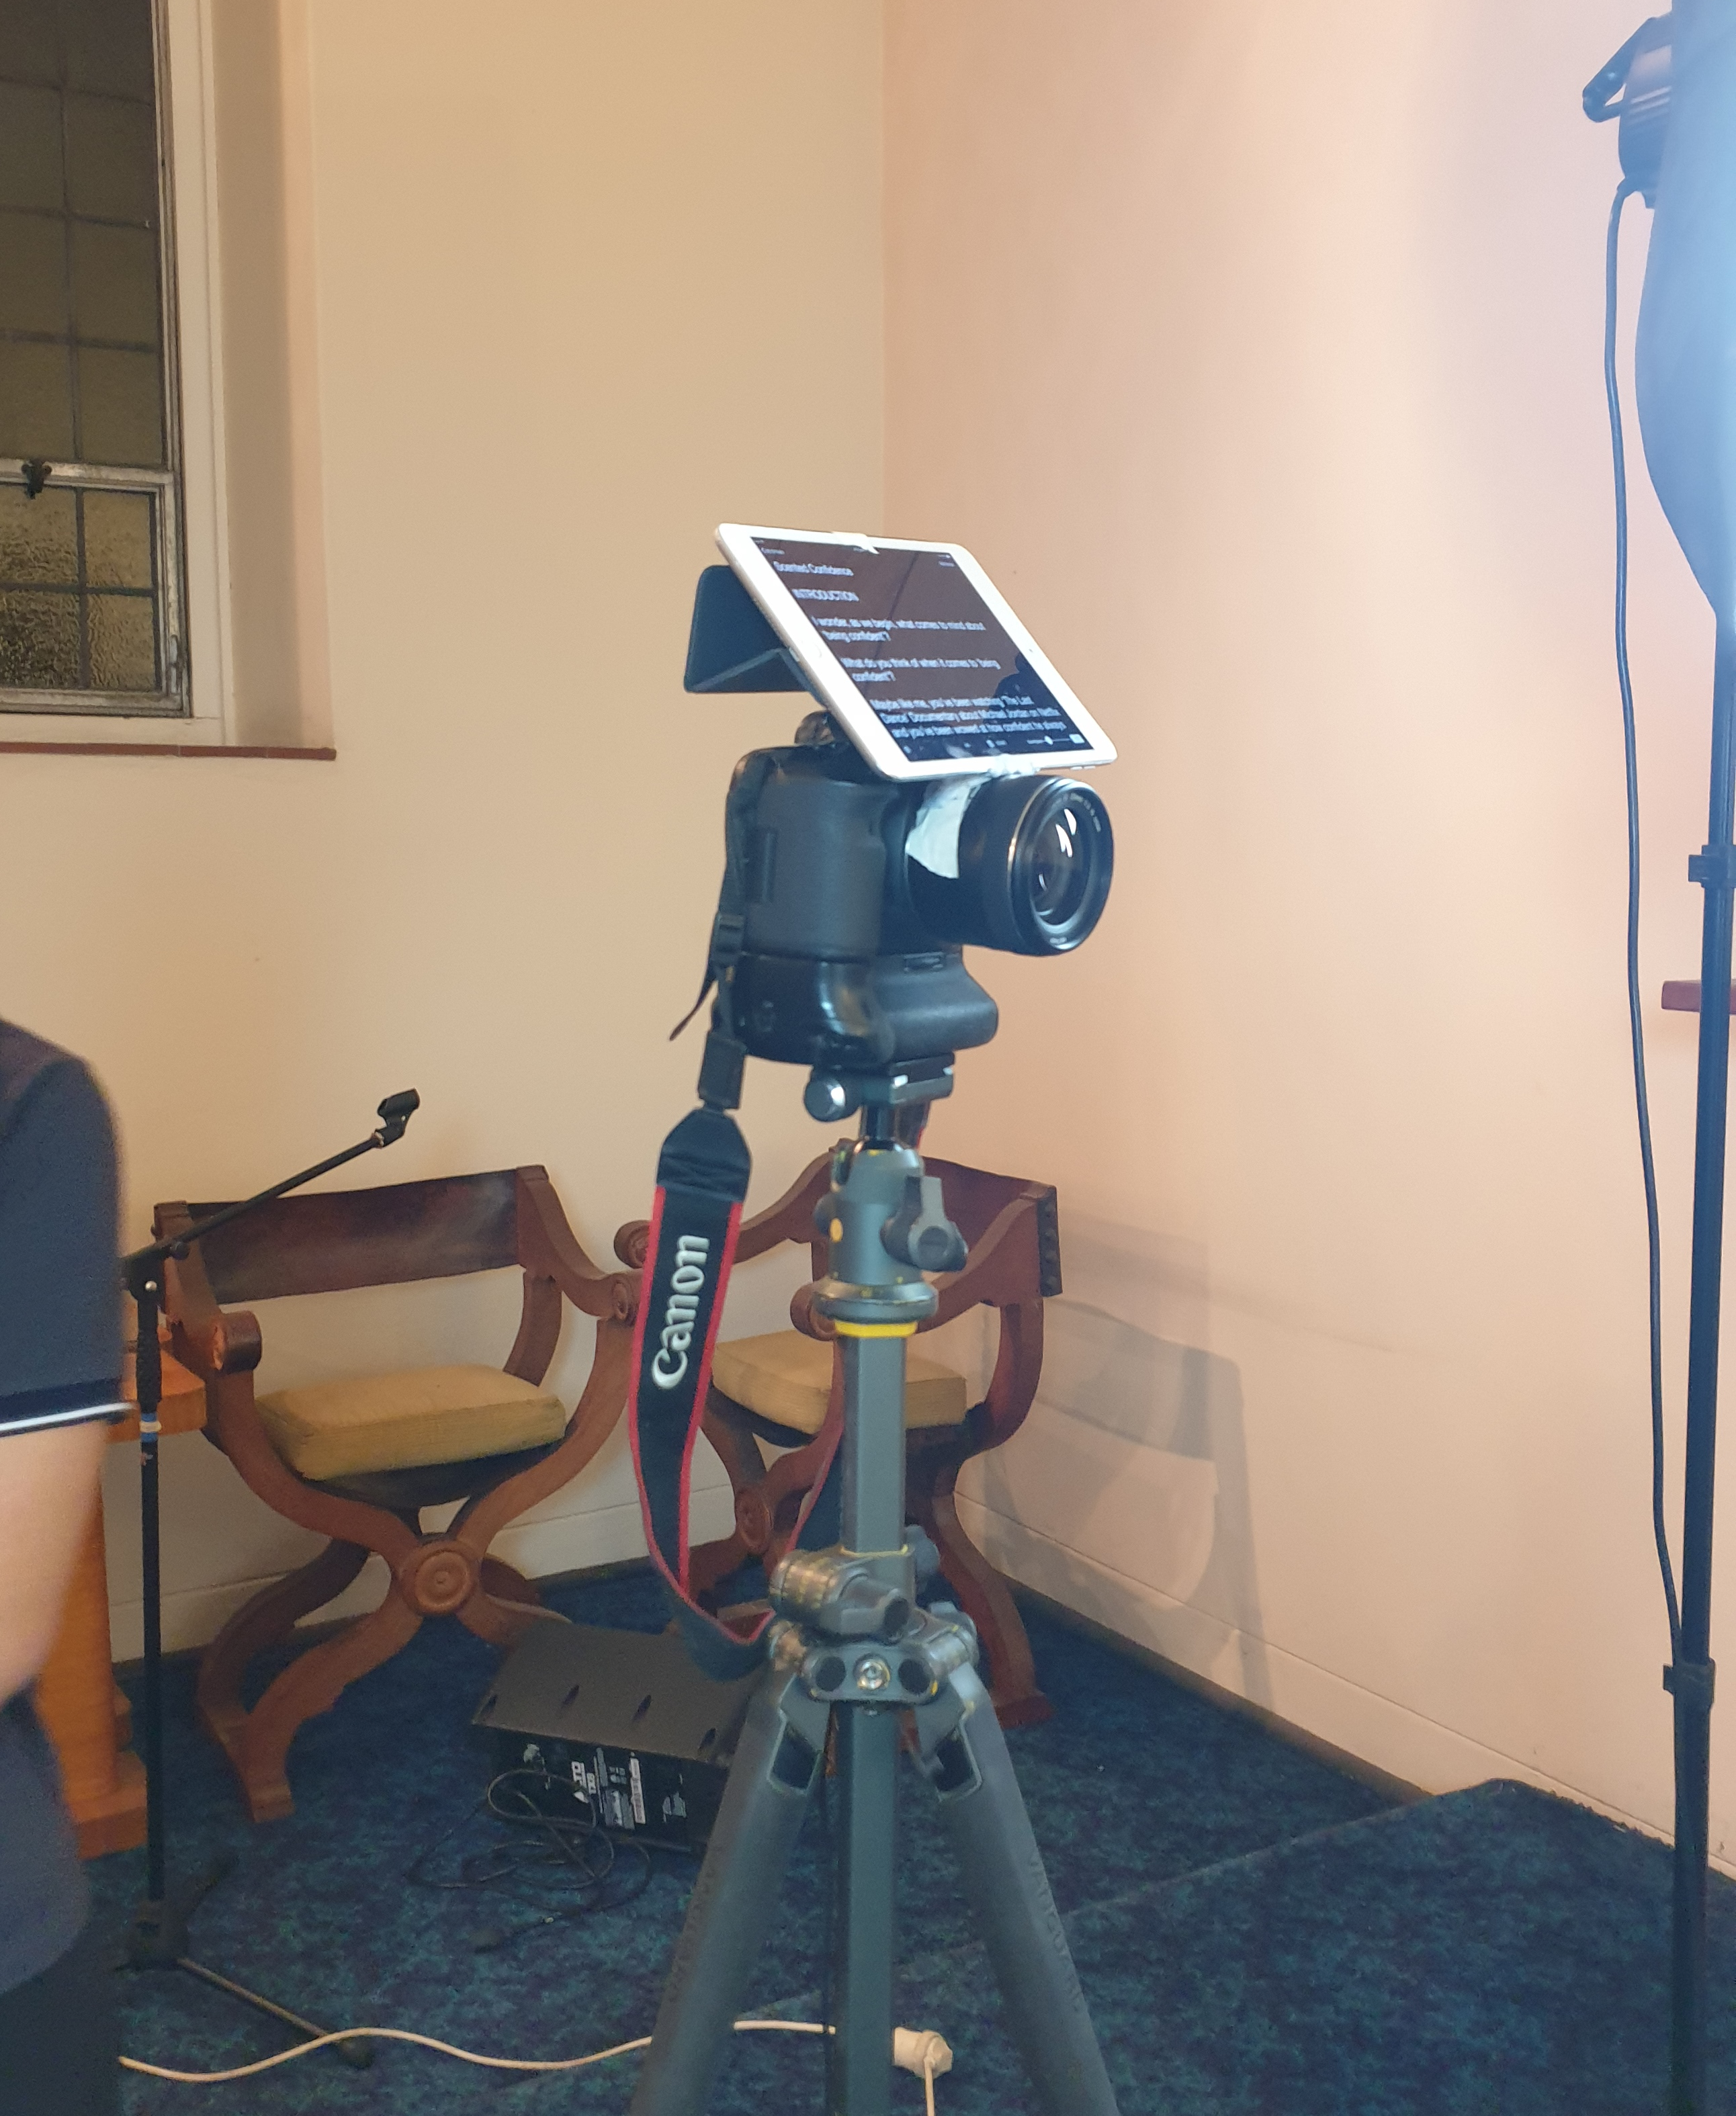
At this point we’re essentially done!
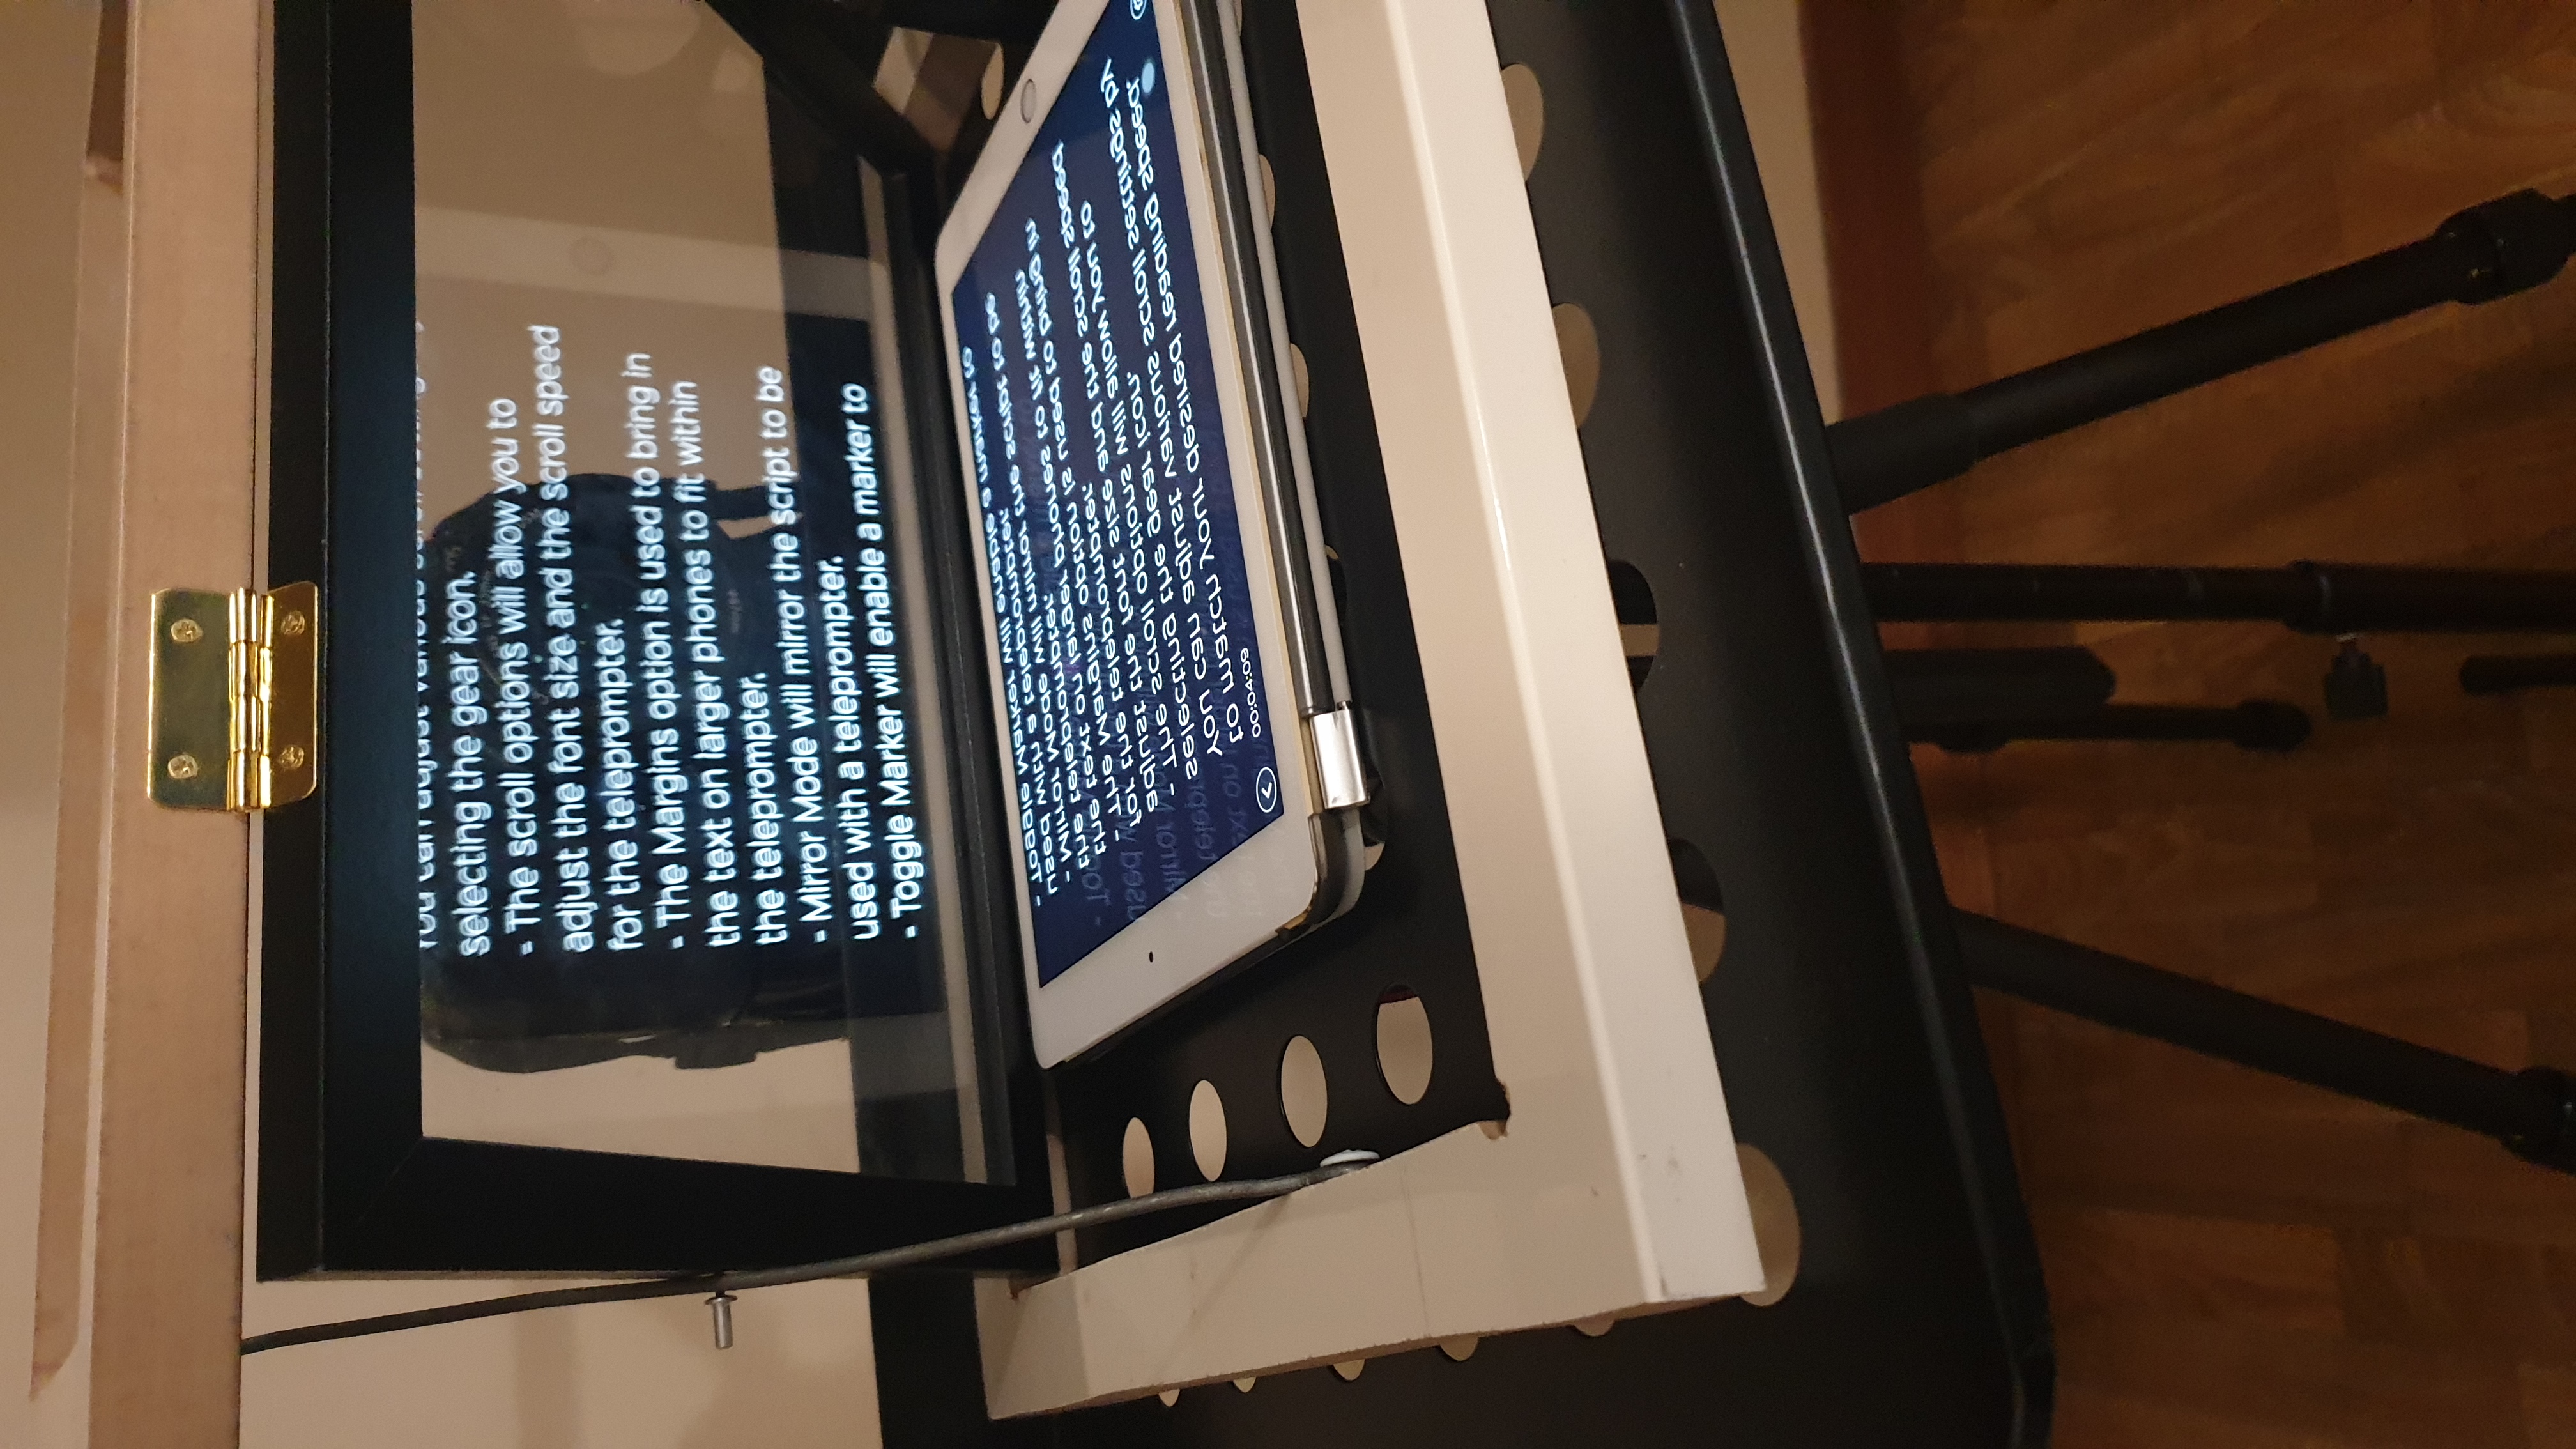
To best use the teleprompter, a black casing (a cloth will do) should enclose screen - which helps to reduce stray light and reflections, as well as to increase visibility and contrast of the text.
Due to how light and mirrors work (physics and all that) the text on a display (i.e. my iPad) is flipped on the teleprompter screen - so you’ll need to reverse the content to make it readable. I’m currently using the Parrot Teleprompter application, but in the future I’ll be writing my own application.
But for now, it works like a charm!
There’s a bit of doubling of text (as a result of using standard glass rather than the special beamsplitting mirror), but it’s not too distracting.